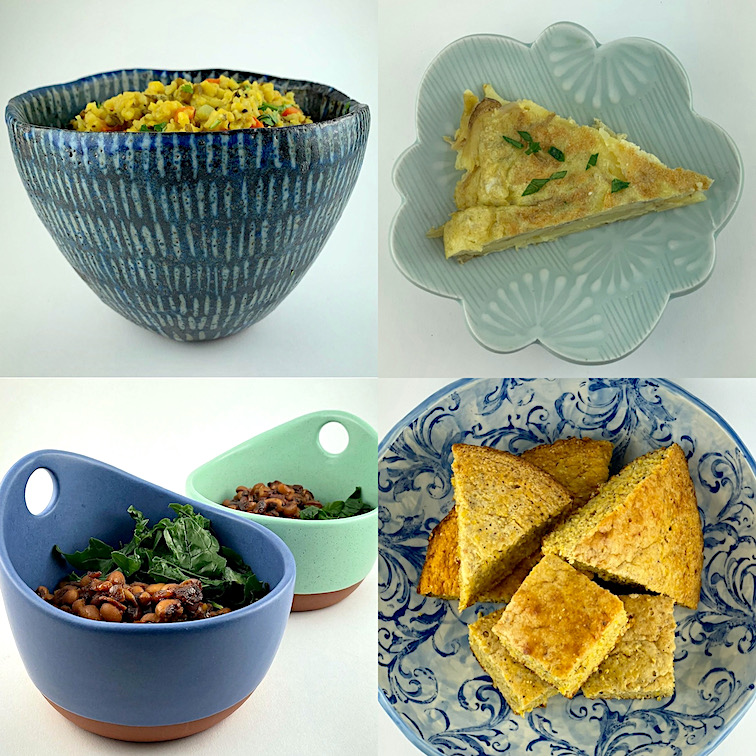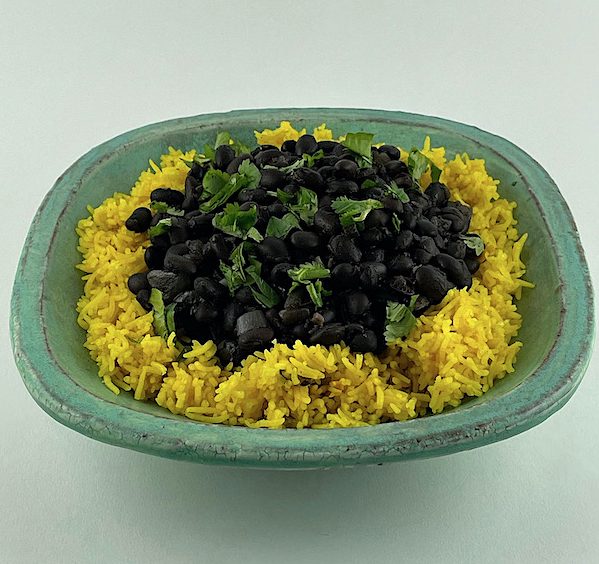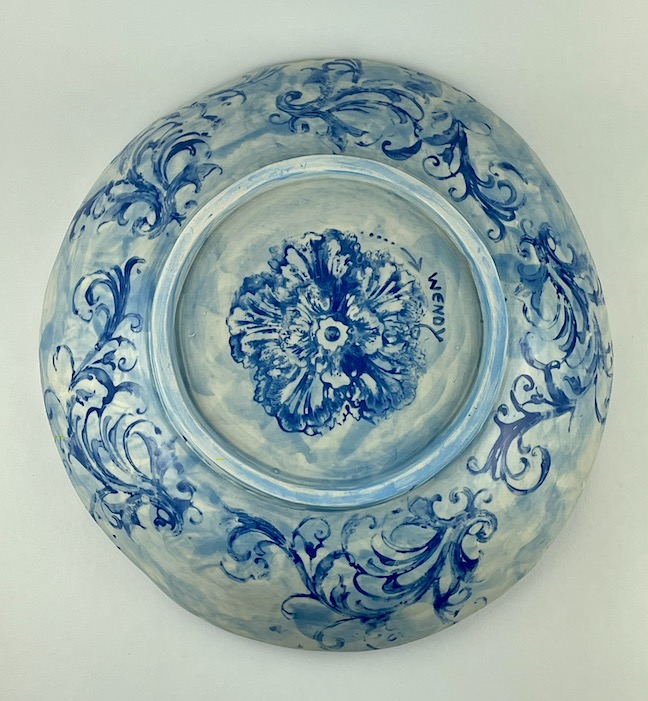
Large blue and white stoneware bowl
by Wendy Goldsmith
I love rye bread, especially for toast and sandwiches. It has a specific flavor quite different from the more common wheat breads that derives not just from the rye flour but mostly from the caraway seeds. It is somewhat sour, somewhat sweet and just mildly salty. It is also one of the easiest yeast breads to make since the texture is dense and not as persnickety as sourdough, challah or sandwich loaves.
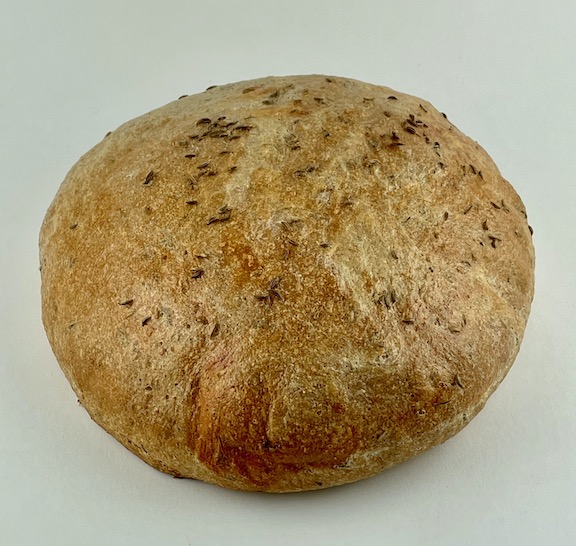
makes the crust darker and glossy
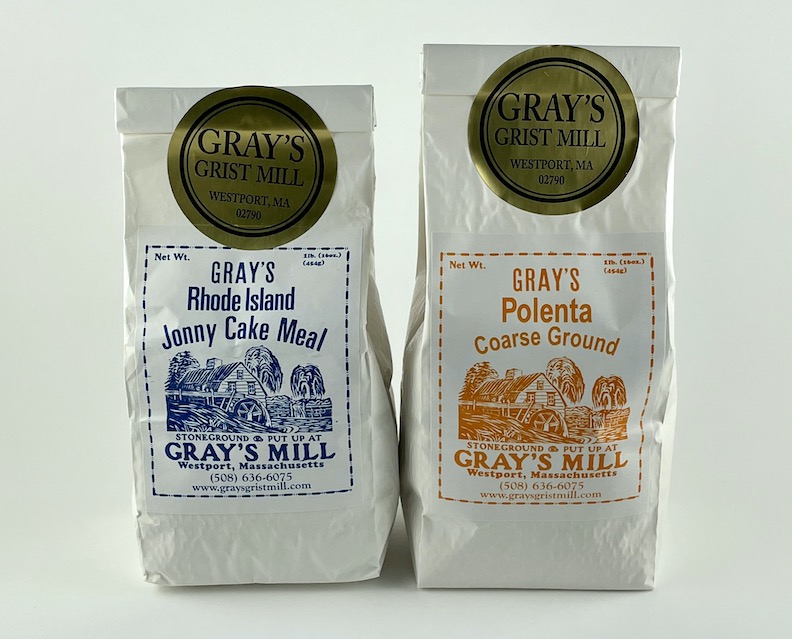
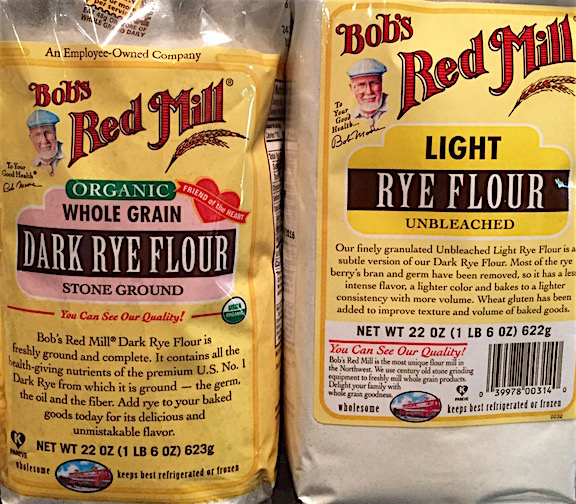
Because it is so simple, the quality of your flour is important so it isn’t stale, rancid or devoid of nutrients. Buy fresh rye and wheat flour from good sources (King Arthur, Arrowhead Mills and Bob’s Red Mill are widely available but you may have a local (or near local mill) you shop) and keep it in your freezer if you don’t use it up quickly. Here is a list of excellent millers. The original of this recipe by Jeanne Heyerly of Chenoa, IL (from a community cookbook called Simply In Season) only called for 1 cup of rye flour in the sponge (the first step in bread making which starts fermentation) and 3 cups of bread flour to be added. Bread flour has higher protein than all-purpose so it forms more gluten, resulting in a better rise and texture. I tried to use equal parts whole rye, whole wheat and white flour to have more rye and more whole grain and it was good but quite dense. If you want to add some whole grain, try one cup of whole wheat and see what you think. The tiny amount of sugar is optional but I think the flavor of rye profits from a bit of sweetness. Honey, maple or date syrup, apple juice concentrate or agave are all usable.
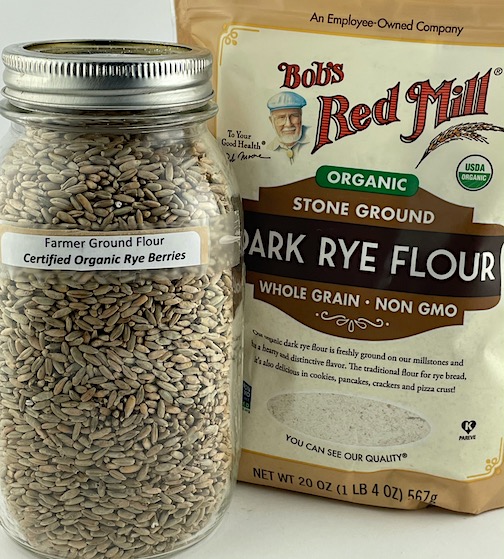
flour makes a big difference to taste and nutrition
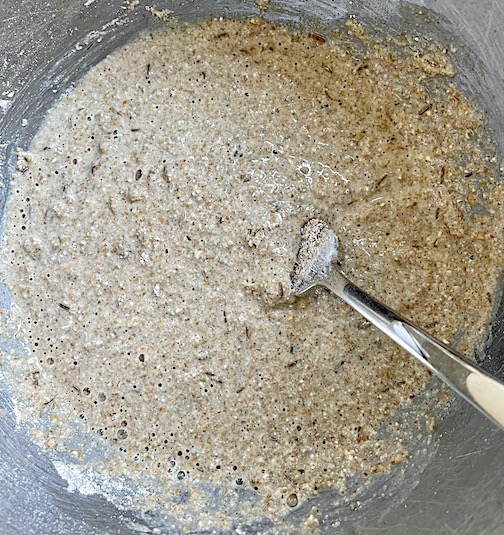
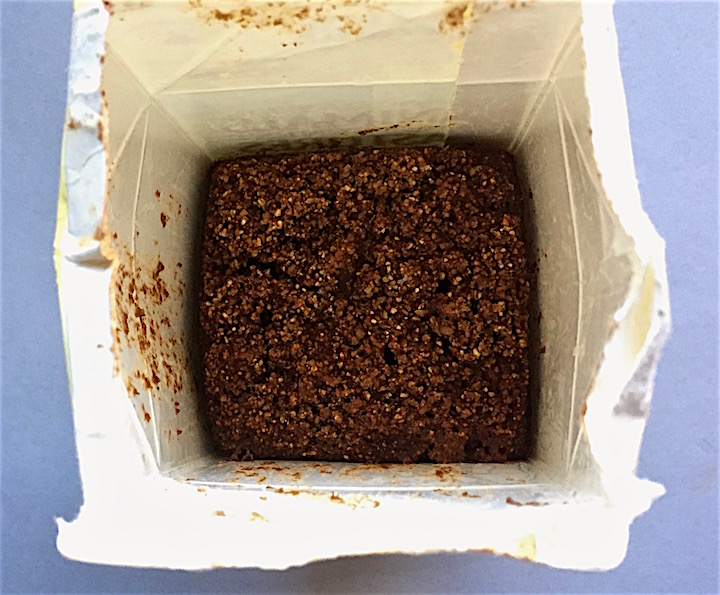
caraway seeds and yeast mixed to start fermentation
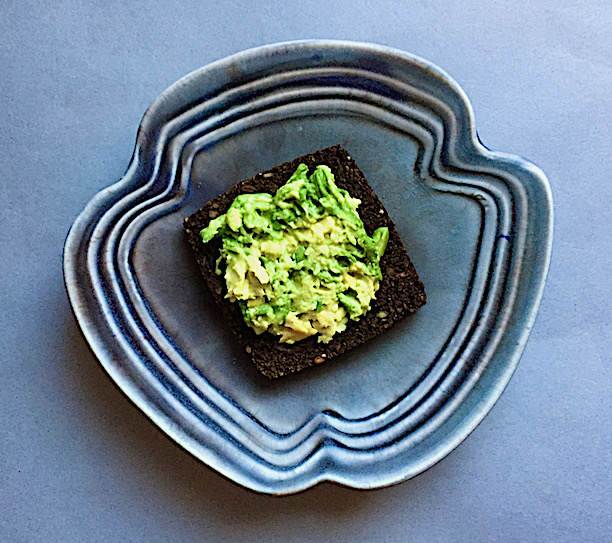
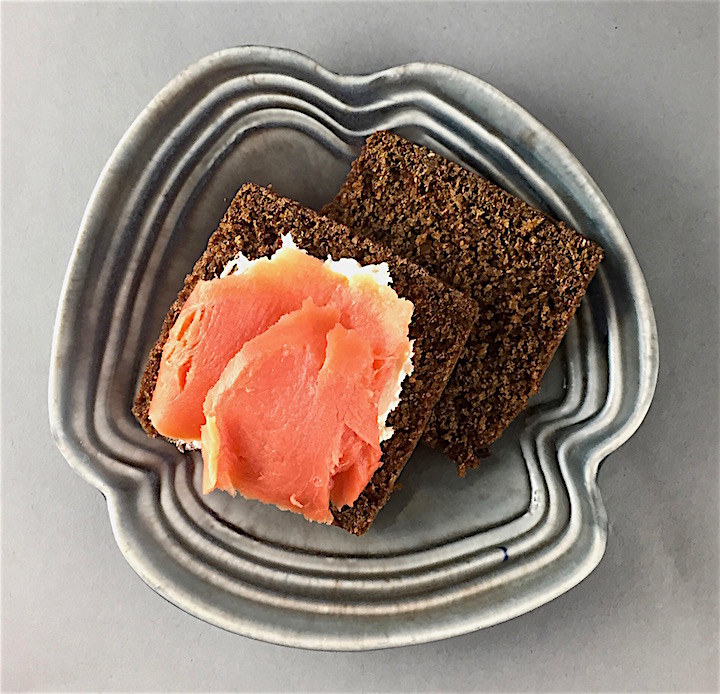
Growing up, I used to go shopping with my mother at a grocery store that had an in-store bakery that made fresh rye bread. The bakery women used to give us (kids) a cookie with sprinkles or a candied cherry when we tagged along but the crusty end of the freshly sliced (in those amazing bread slicers I always feared would take off someone’s fingers) rye bread was my preference. I still choose bread over cookies and rye is one of my favorites, especially for avocado toast, smoked salmon, grilled cheese or a bbq tempeh Reuben. This recipe makes one big loaf or two smaller loaves, one of which you can freeze for up to a few months.
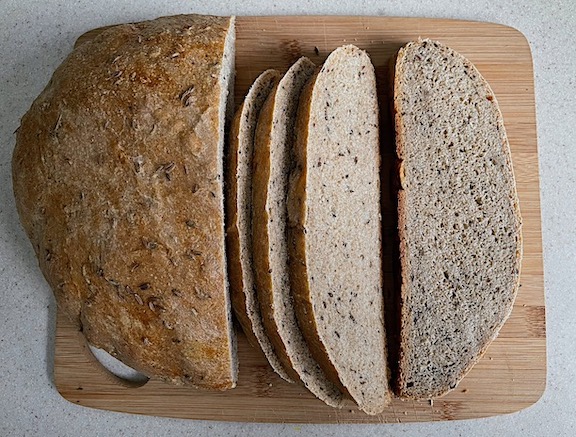
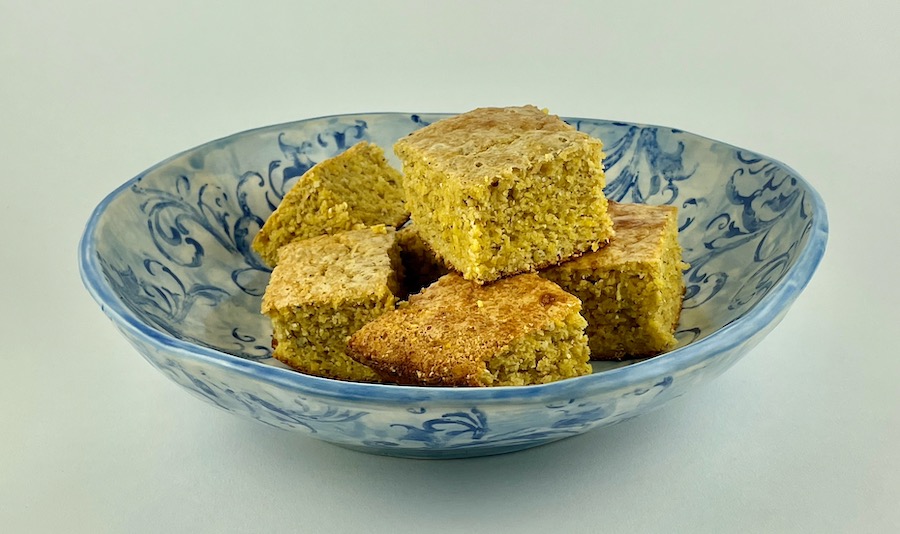
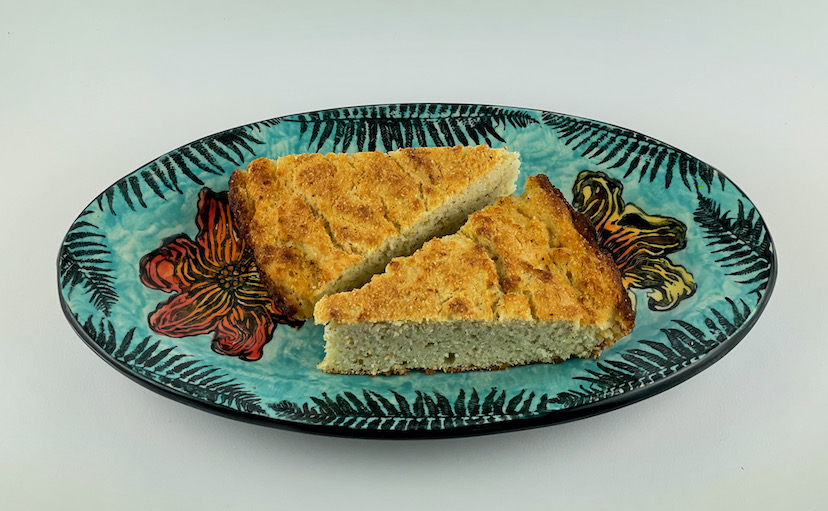
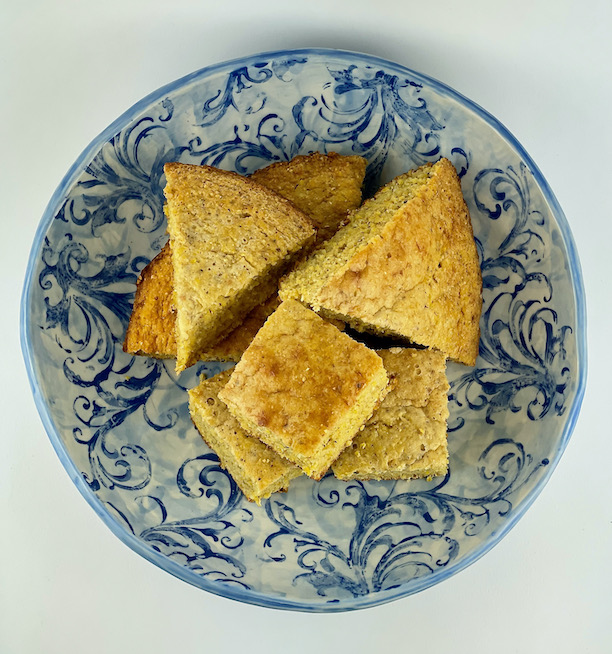
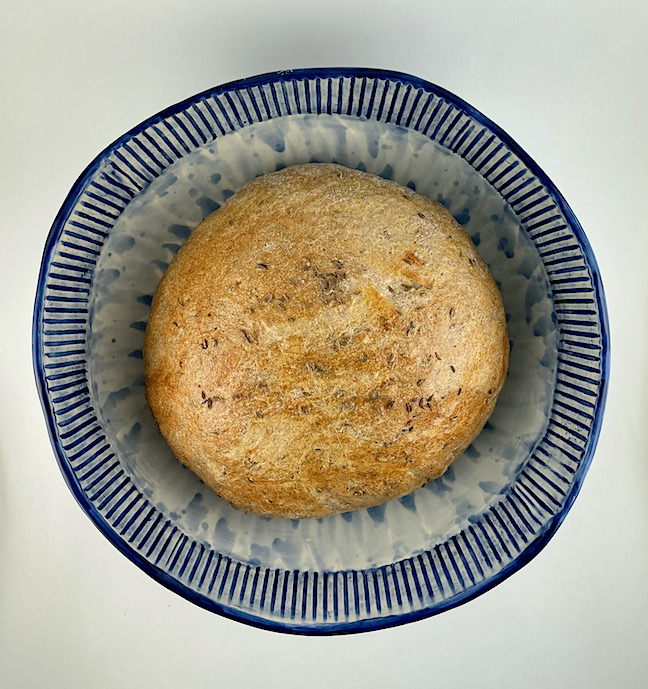
this rye bread slices easily
I asked a bread-baking phobic friend to try this recipe and she had encouraging results. She used one cup rye and 2 cups whole wheat in her trial and she found she had to add a little more water in order to knead the dough, which was too dry. Her bread was dense but she likes it that way. I am so happy she is optimistic about continuing to bake bread. Whether you use all white bread flour or some combination of flours, I wish you the same results.
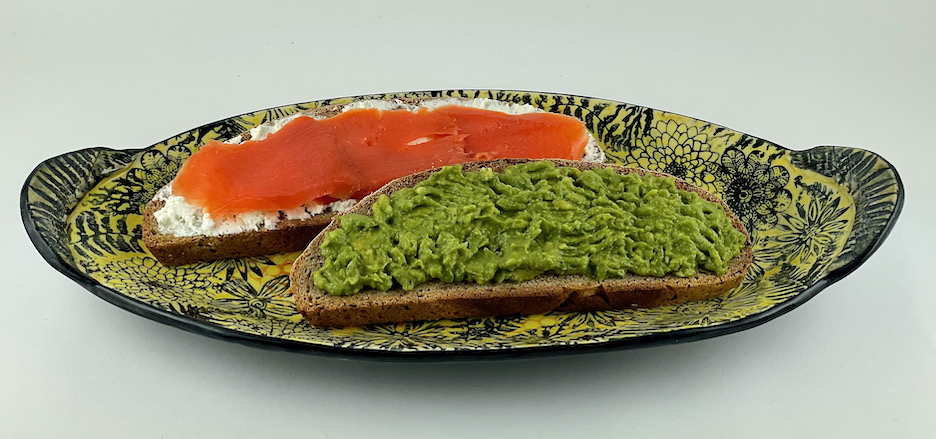
are both delicious on rye bread or toast
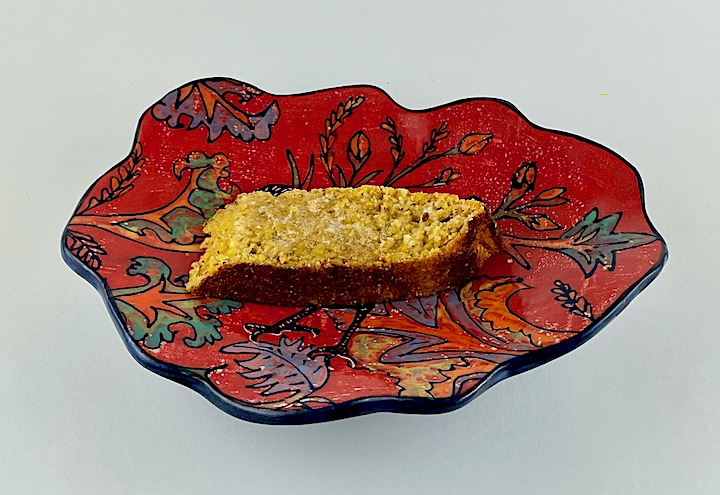
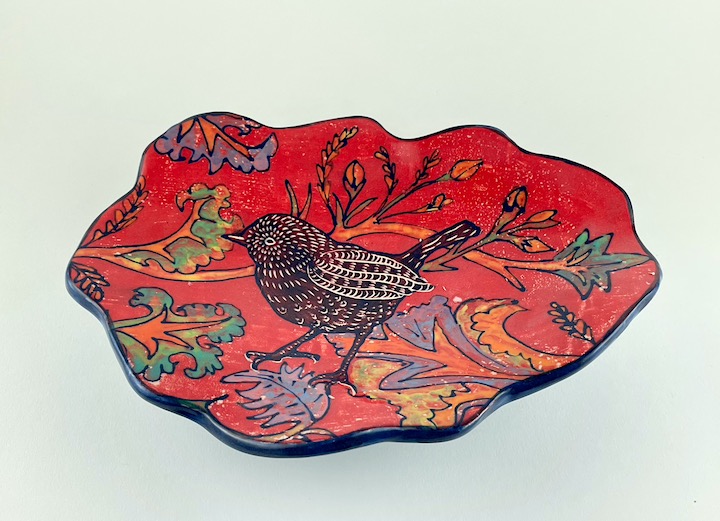
Platter by Wendy Goldsmith
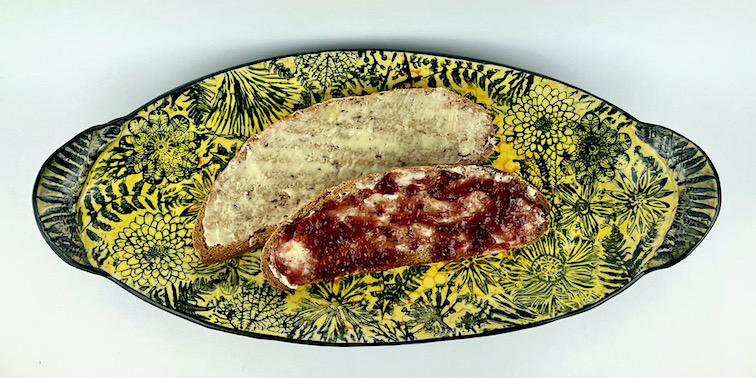
Platter by Wendy Goldsmith
SEEDED RYE BREAD
Sponge:
Mix in a large bowl and let stand 3-5 minutes to proof:
- 1 cup/250 ml warm water
- 1 TBs active dry yeast
Add and stir in:
- 1 cup/250 grams rye flour
- 1/4 cup/ 60 grams bread flour
- 1 generous TBs caraway seeds
Next day, stir down the yeast sponge and add:
- 3 cups/750 grams bread flour (or a mix of whole wheat bread and all purpose)
- 3/4 cup room temperature water
- 2 1/2 tsps salt
- 1-2 tsps sugar (optional)
Cover with a damp cloth and let rise until doubled, about one hour.
Punch down and shape into one large loaf (tucking sides under to tighten the ball) or 2 small loaves, letting rise until doubled again.
Brush loaf with a lightly beaten egg white before baking and again 10 minutes before end of baking to promote a shiny crust. You can add more caraway seeds to the top if you like.
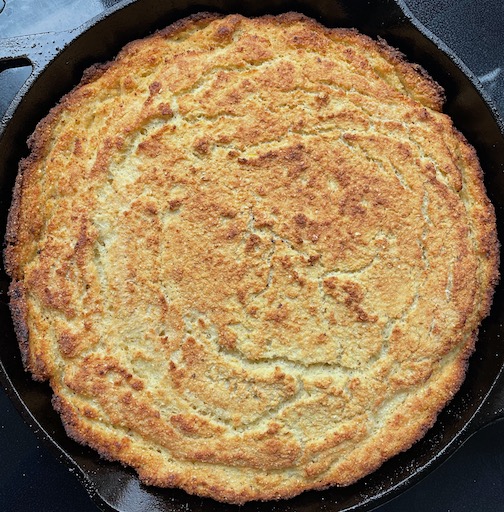
You can bake on a rimmed cookie or baking sheet or in a Dutch oven.
Bake in preheated oven (375F) for 35-45 minutes, depending on loaf size. Check for doneness by tapping on the bottom (it should sound hollow) or check temperature for 190F.
Cool on a wire rack for at least 1 hour before slicing.
Note – When I bake bread, I usually measure in grams because it is more precise and baking is an exercise in precision. This recipe is so foolproof, however, that such extreme precision doesn’t seem necessary so I use cup measurements here for ease and because not everyone has a gram scale. I have included both measurements so use whichever you prefer.
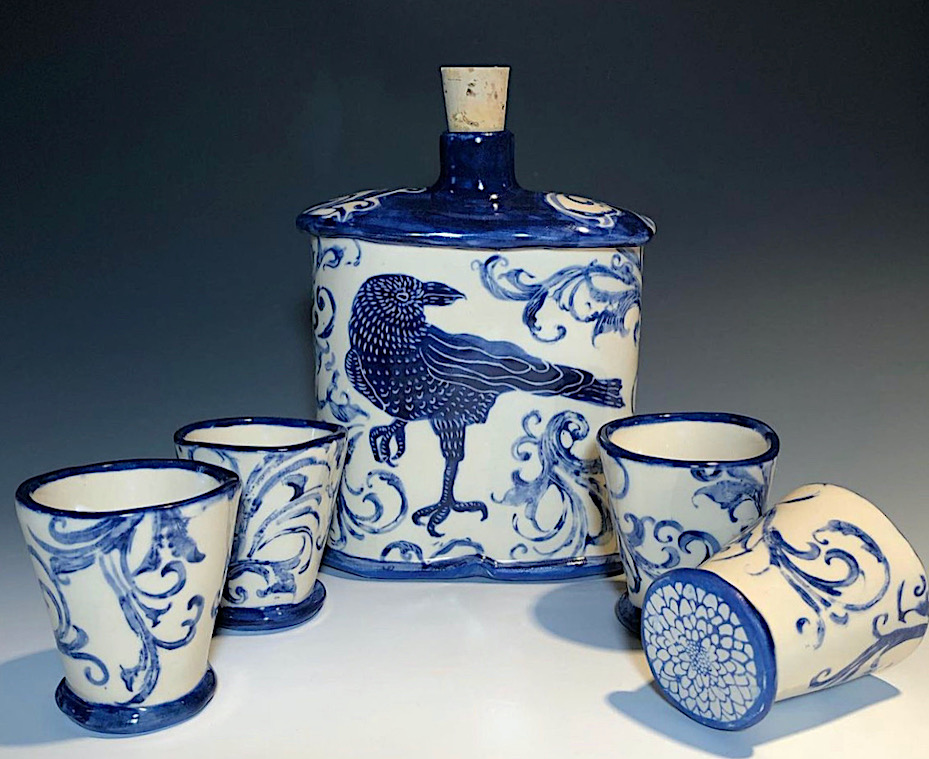
by Wendy Goldsmith
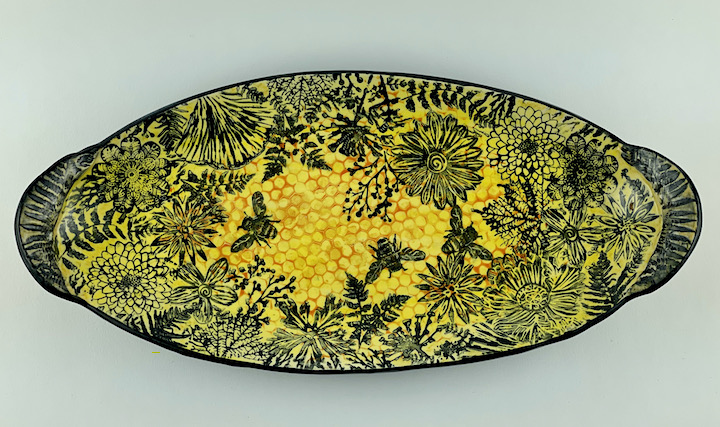
Wendy Goldsmith’s beehive platter