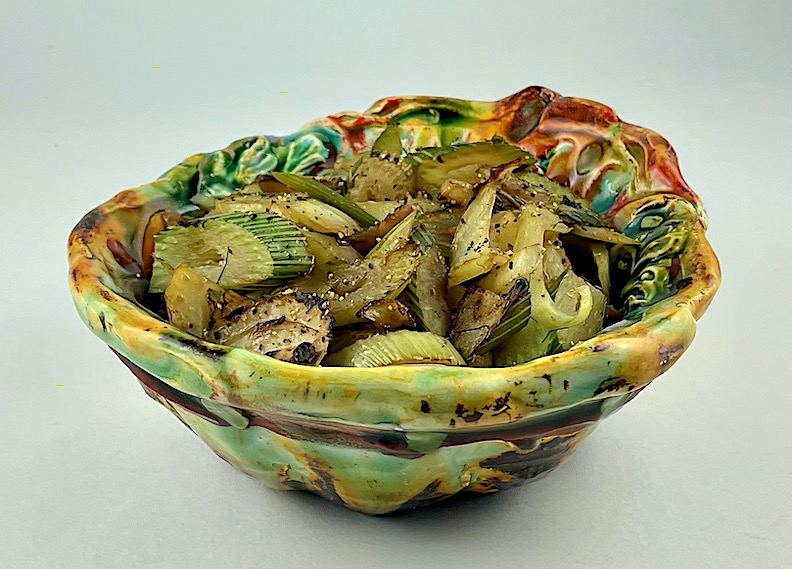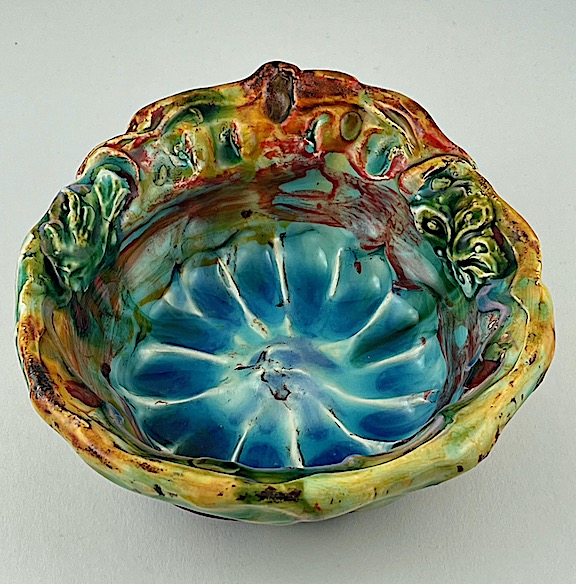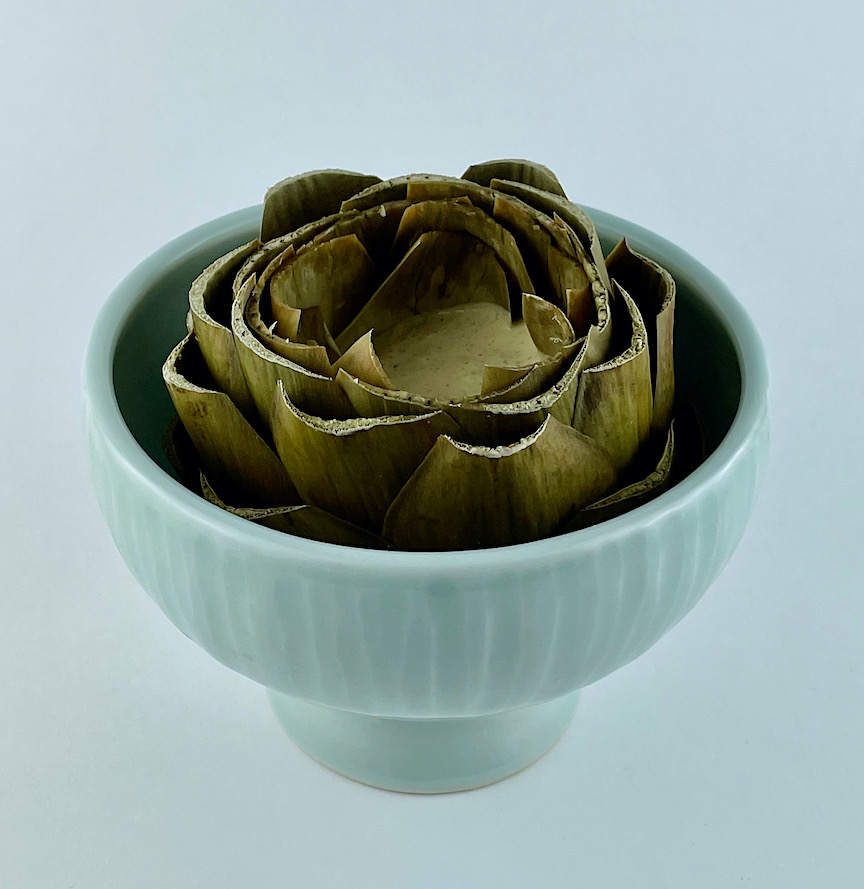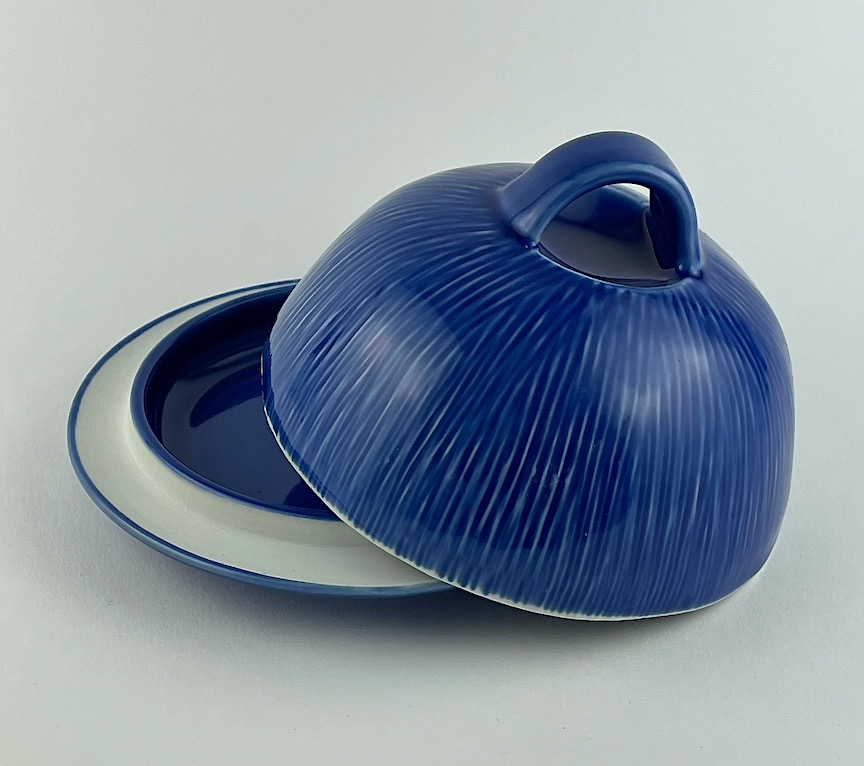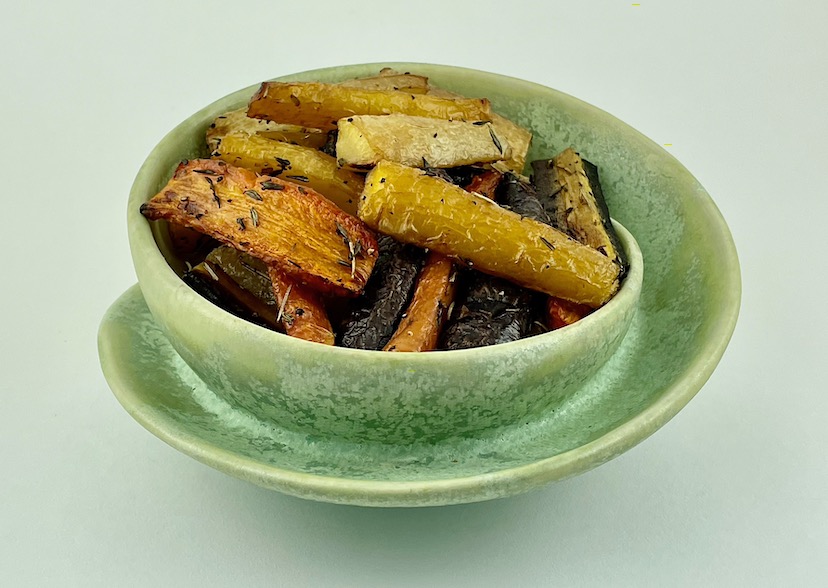
soda fired earthenware ramen bowl
by Justin Rothshank
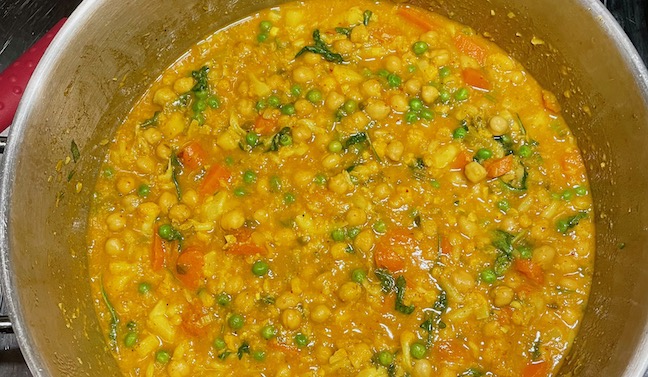
When it gets to this time of late winter, I have made all my favorite bean recipes (baked beans, mushrooms and beans, black beans and rice, red bean and turkey chili) so many times that we are longing for a different flavor. Then I remember curry and our tastebuds are satisfied for a few days. Curried red lentil soup and Jane Brody’s simple curried lentils are two easy recipes I rely on but my winter curry of choice is made with chickpeas and lots of vegetables.
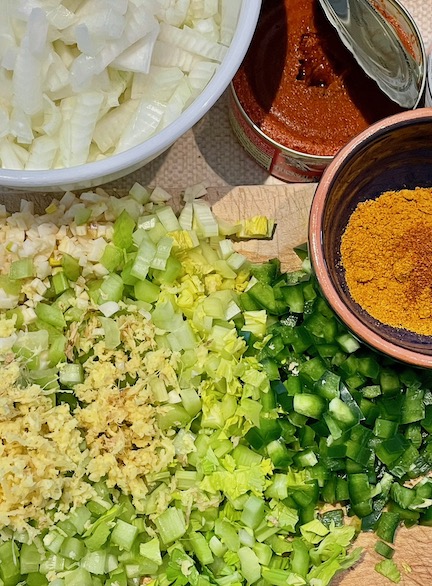
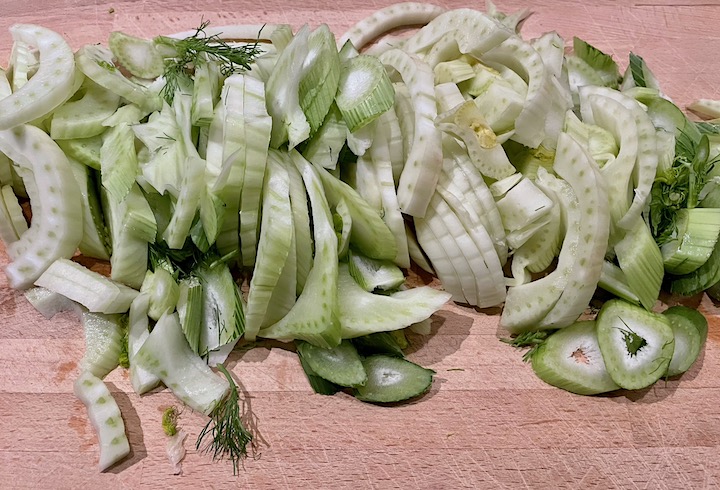
(your mise en place)
and cooking will be both easier and calmer
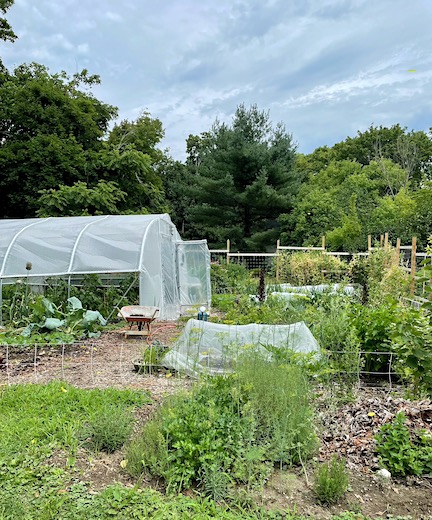
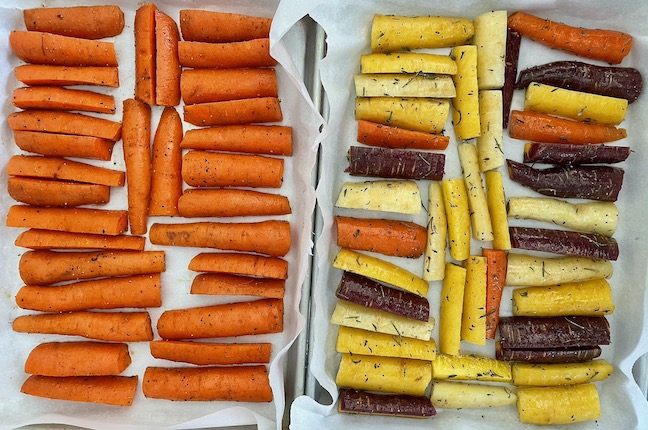
Right now, when most fresh local veggies are still not available, I use a combination of winter farmers market storage vegetables (carrots, onions, potatoes, squash) and grocery store staples (cauliflower, celery, frozen peas, bagged arugula or baby kale and cilantro). Adding cubes of potato and/or winter squash makes this a heartier stew but I don’t always want it so starchy so they are optional. My husband doesn’t like coconut but I can get away with some coconut milk in a curry since the spices are so flavorful that he doesn’t notice. You could use just broth and settle for a thinner consistency or add some cream. And if you do make it thinner and purée a bit (use an immersion blender for 15-30 seconds or take out a cupful and purée in a blender and add back in), you could serve the leftovers as soup.
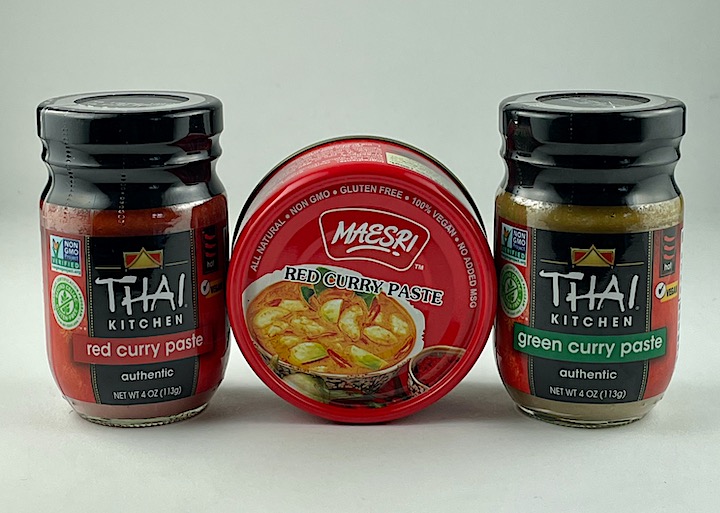
Use the one you like
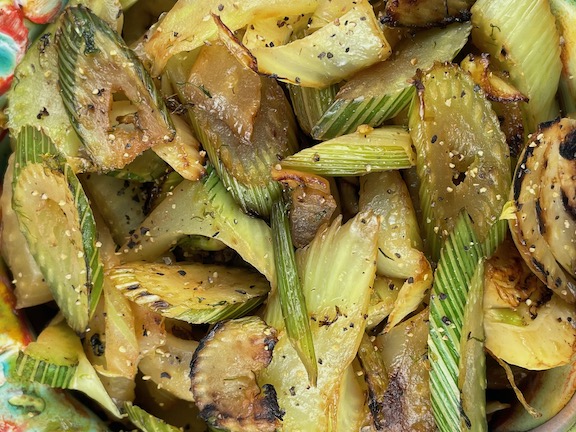
so they stay green
Which curry seasoning you choose is a bit flexible. I use Madras curry supplemented with Thai red or green chili paste but Jamaican or any other yellow curry powder will work. If you want a milder flavor, leave out the chili paste and cayenne, double the amount of curry powder and perhaps use some lemongrass to enhance the complexity. We love this curry with basmati or Japanese rice (or papadem crackers) but if you add enough vegetables, you won’t even miss the rice.
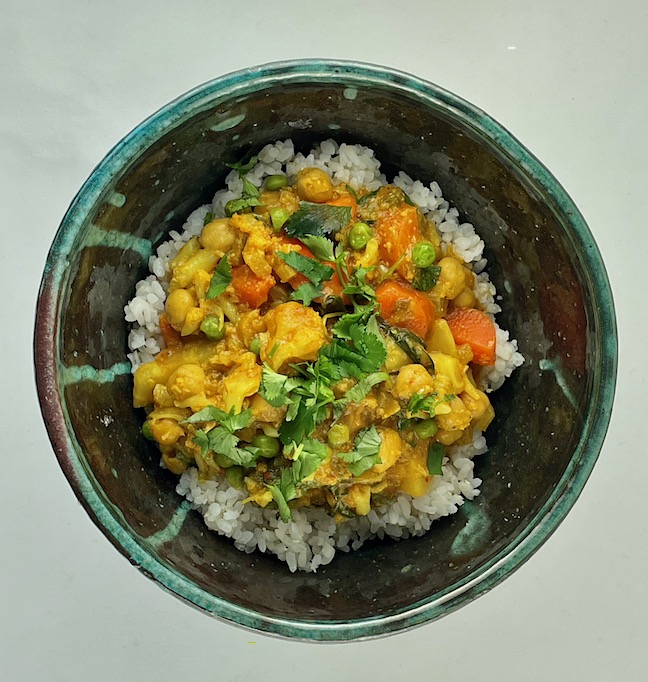
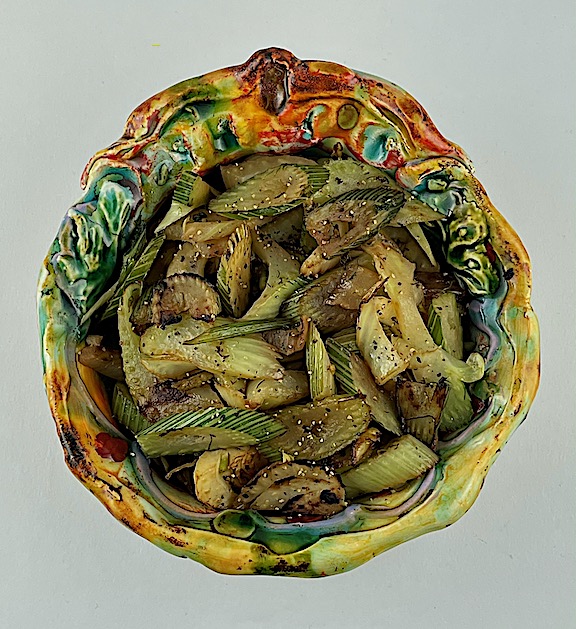
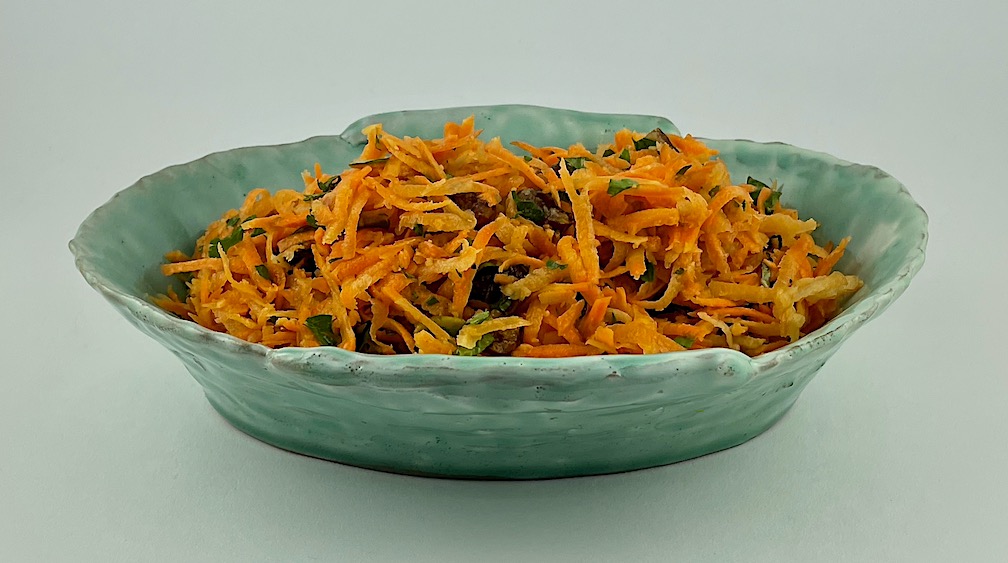
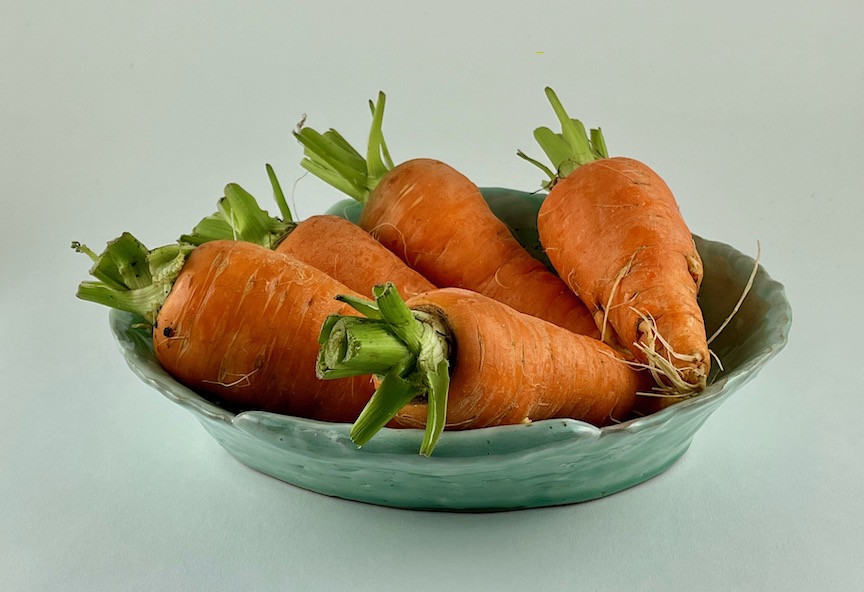
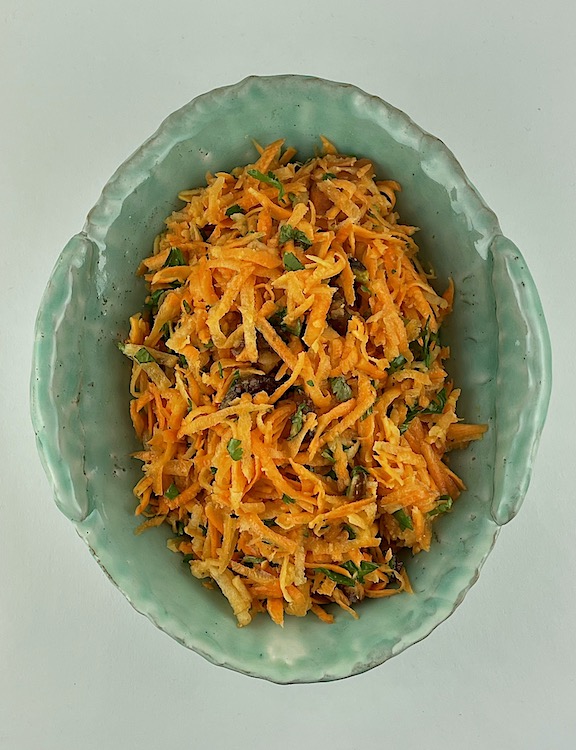
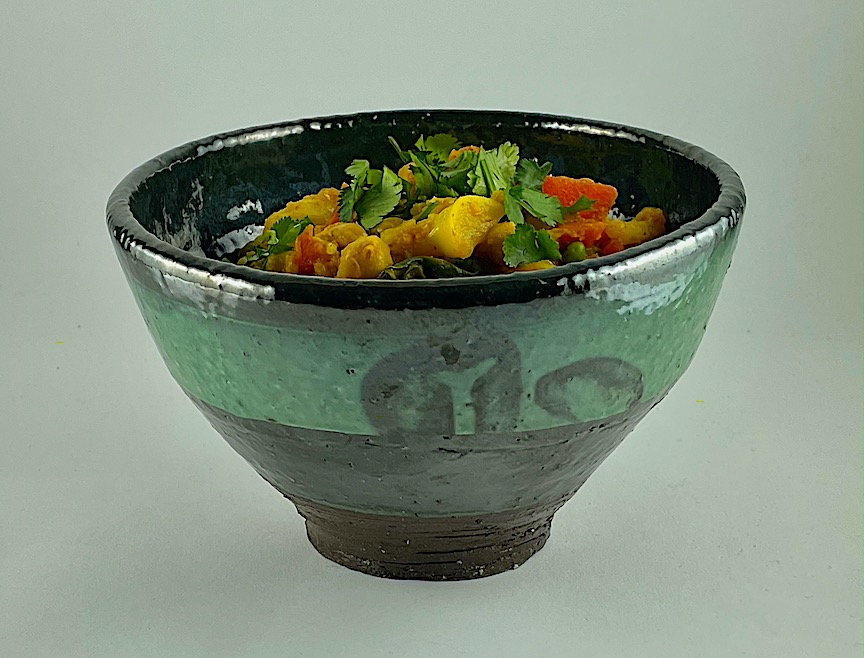
Earthenware bowl by Justin Rothshank
CURRIED CHICK PEAS
- 2 TBs neutral oil
- 1 large onion, finely chopped
- 2 stalks celery, finely chopped
- 1 jalapeño pepper, seeded and finely chopped
- 6-8 cloves garlic, minced
- 2 TBs minced or grated fresh ginger
- 2 tsp yellow curry powder
- 1 tsp turmeric powder or 2 tsps fresh turmeric, grated
- 1 tsp cumin powder
- 1/4 tsp cayenne
- 4 oz jar or tin of red or green curry paste
- 1 can coconut milk (regular or light) plus one canful water
- 4 cups vegetable or chicken broth or chickpea cooking water
- 5 cups cooked chick peas (or 3 cans)
- 1 cauliflower, cut in small florets
- 2-3 carrots, in half moons or chopped
- 1 parsnip, diced (optional)
- 1 cup frozen peas
- 1 cooked sweet potato, diced (optional)
- A couple of handful of arugula or baby kale
- 1-2 heaping TBs Major Grey’s chutney (optional but delicious)
- 1/2 bunch fresh cilantro, stems and leaves chopped separately (or parsley)
Heat a stockpot and add the oil. Add and sauté the chopped onion until translucent and then add the celery, jalapeño, garlic, ginger and spices. Sauté another minute or two and then add the liquids. Bring to a boil and reduce to a simmer. Simmer 10-15 minutes until the flavors have blended and stir in the chili paste. Add the cooked chickpeas, cauliflower, carrots and parsnip, if using, and cook 10-12 minutes until just tender. Taste for spiciness and adjust to your preference, adding hot sauce, cayenne or chili flakes as you choose. Add in the peas, greens, if using, chopped cilantro stems and chutney. Cook 1-2 minutes more until greens are wilted and remove from heat. Serve plain or over rice topped with chopped cilantro and lime wedges to squeeze.
Serves approximately 8 and keeps well in the refrigerator for 2-3 days.
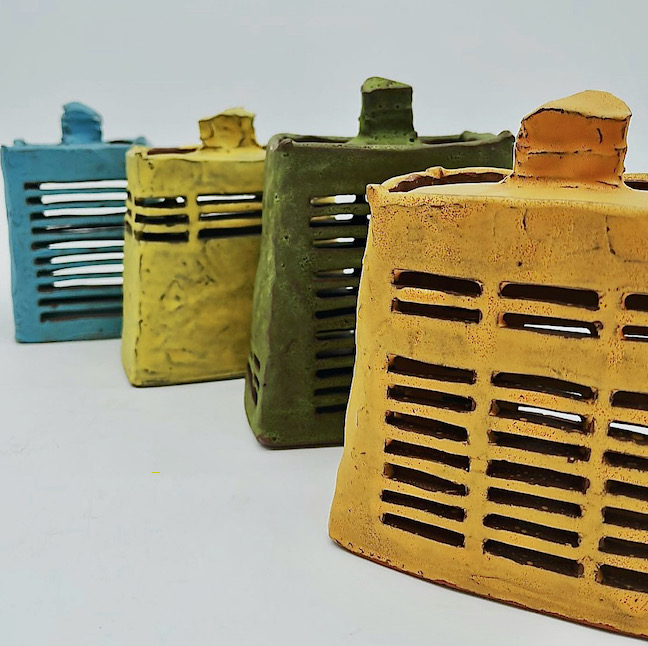
JUSTIN ROTHSHANK makes different lines of pottery including collaborations with his family members and other artists, political pottery and soda fired earthenware. He is best known for his poppy decals but uses many others and sometimes, as in the bowl above, leaves off the decals. His pieces are sometime whimsical and sometimes serious but always delightful. He lives in Indiana but is currently teaching at Penland. You can find his work at his web shop.
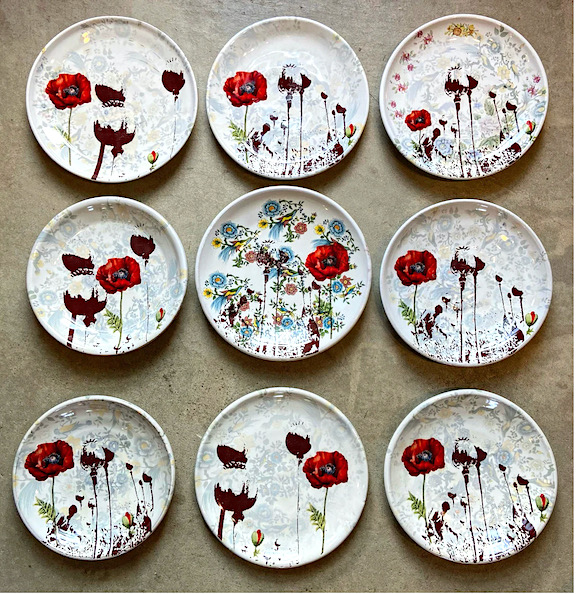
Photo courtesy of the artist

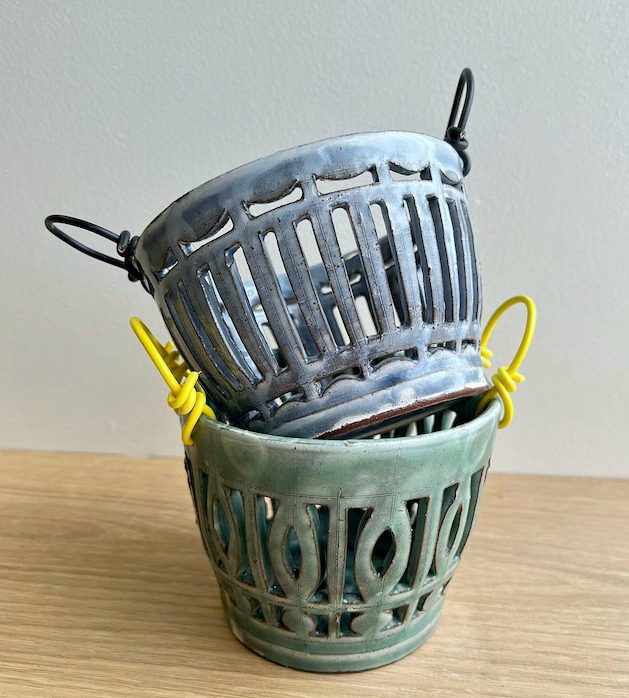
Photo courtesy of the artist
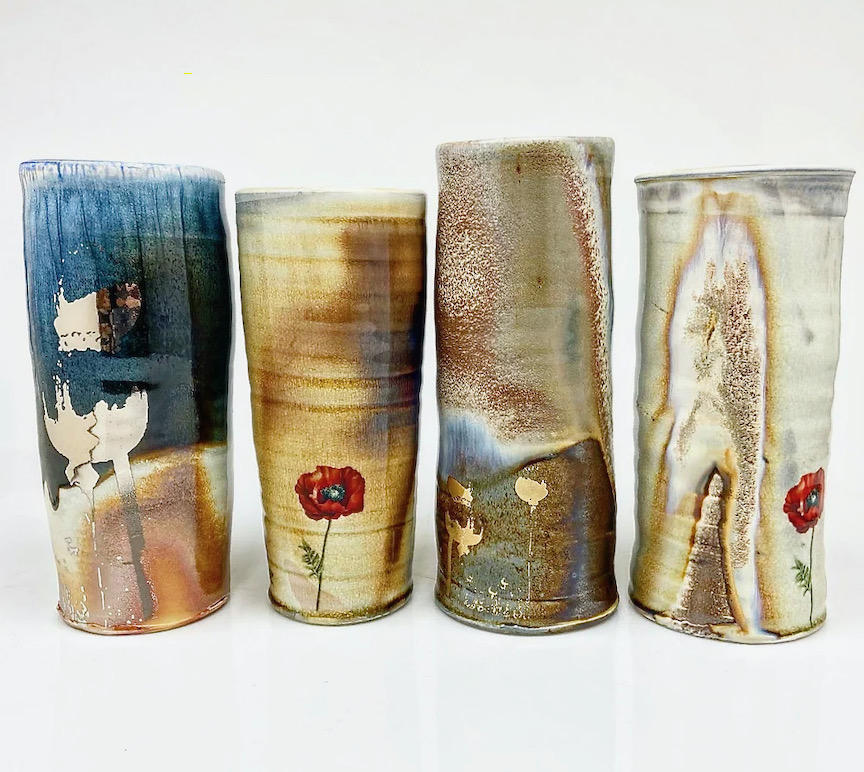
Photo courtesy of the artist