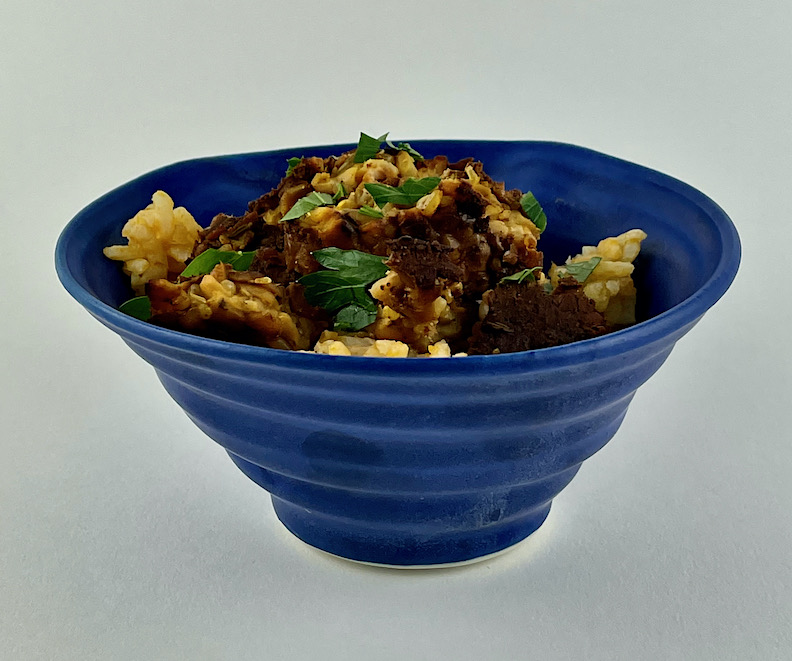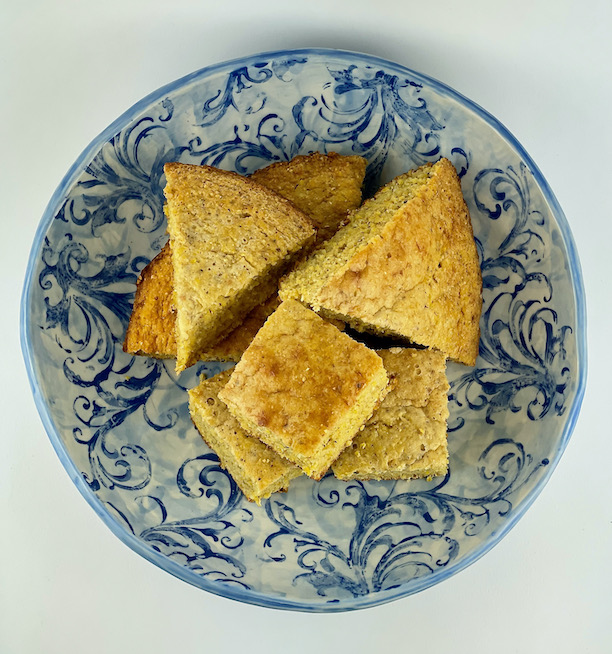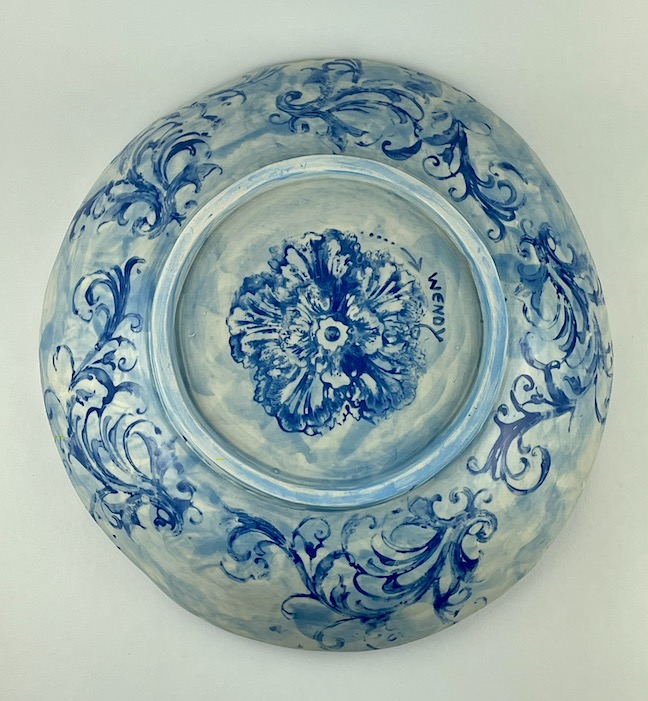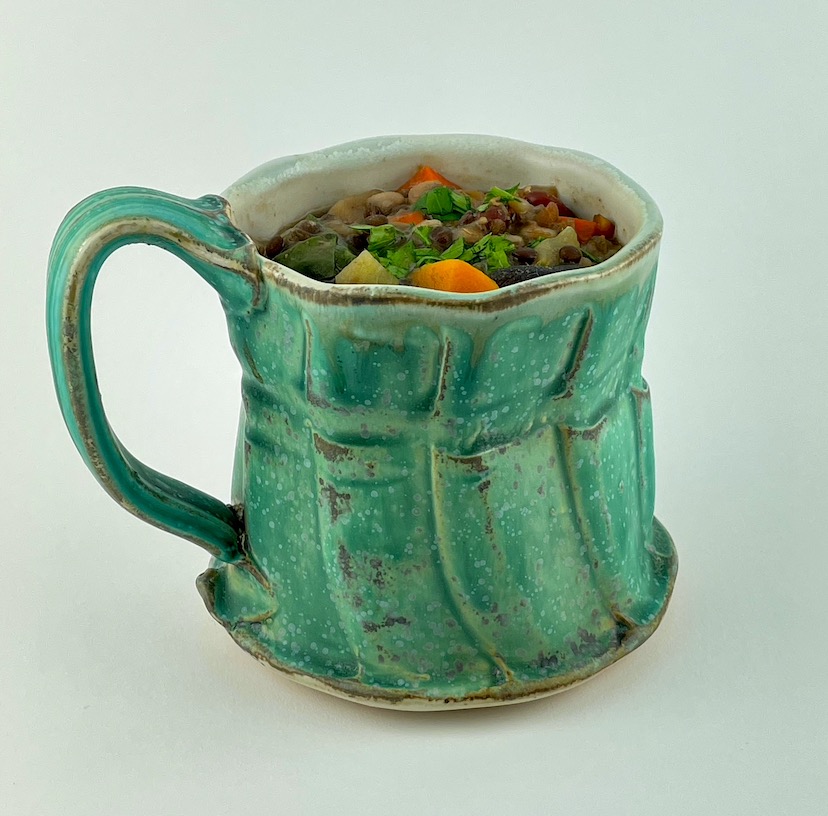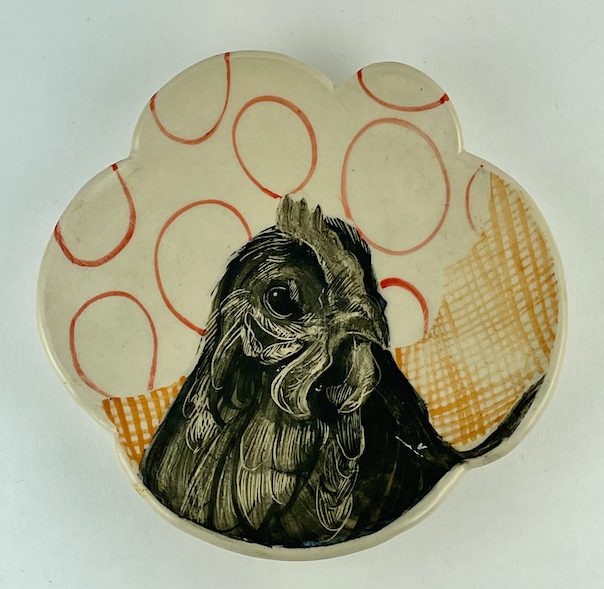
Porcelain bowl by Bryan Hopkins
I try to get some kind of salad on the table at least once a day. While I can happily eat a green salad daily through the warmer months, I don’t always feel like lettuce during winter. Perhaps because lettuces tend to be cooling or because the boxed and bagged supermarket options, or their packaging, don’t always seem appealing, I stick mainly with my favorite carrot, beet, cabbage and fennel salads with arugula making an occasional appearance through the coldest months. Celery as a main ingredient is a fresh addition to the winter salad rotation.

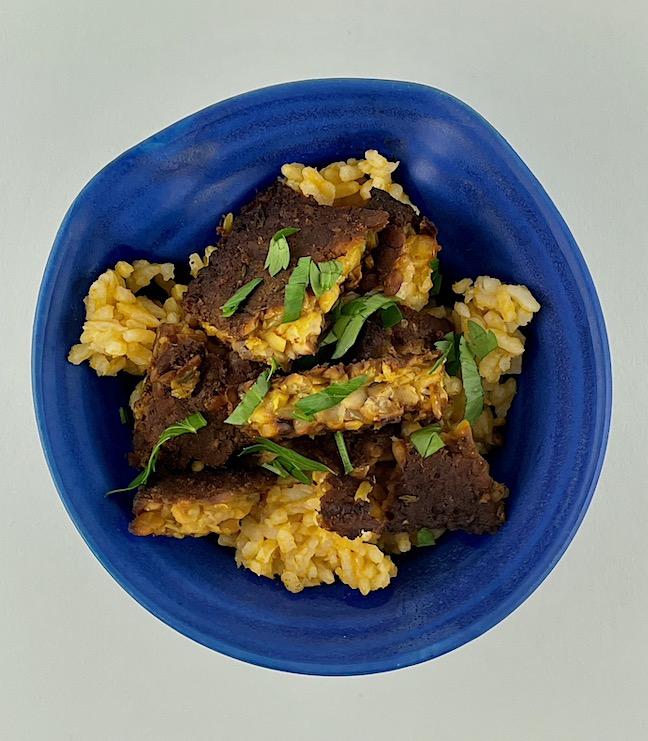
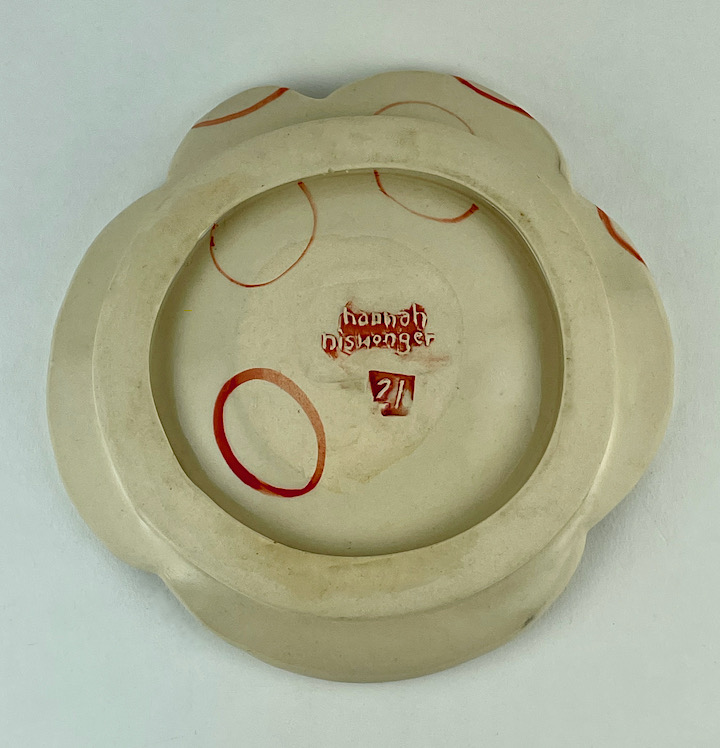
Porcelain bowl by Bryan Hopkins
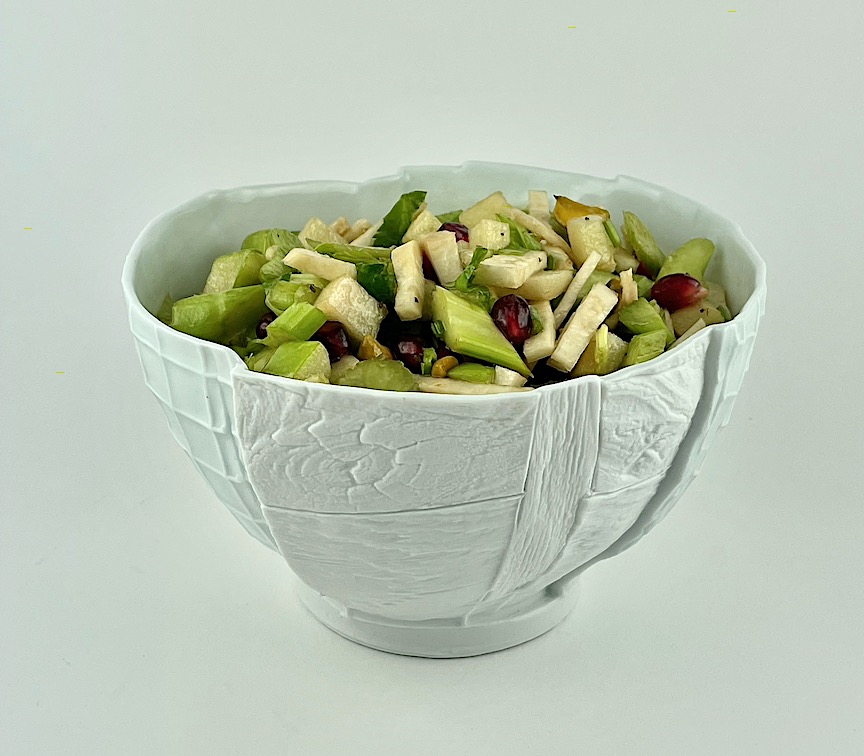
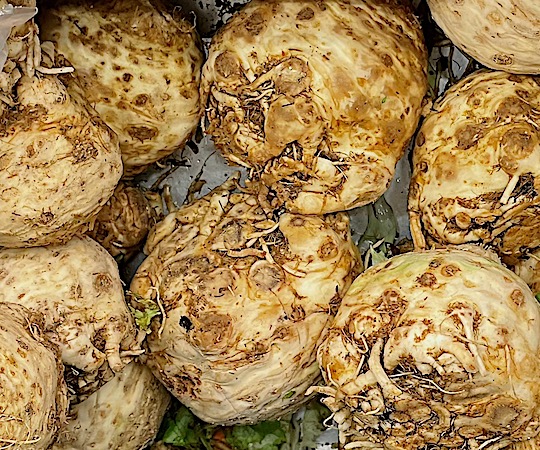
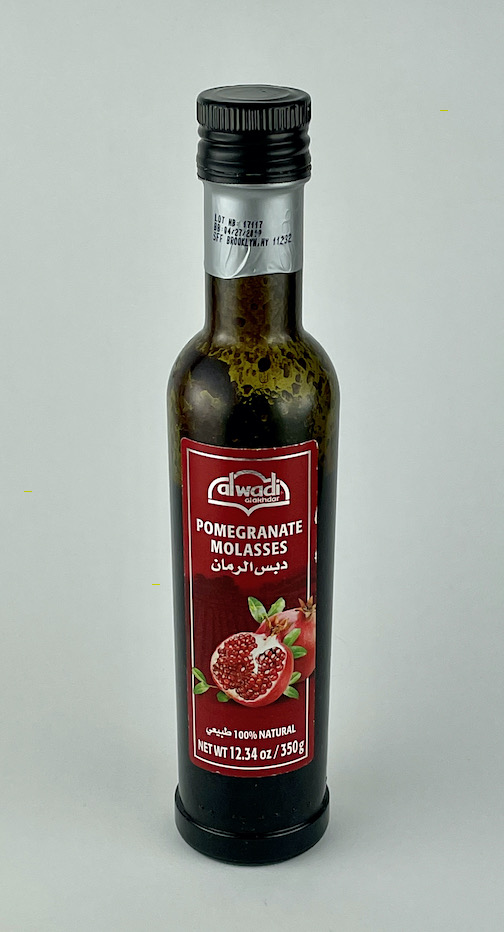
Celery remoulade is the classic French preparation of celeriac (aka celery root) as salad but it always has too much mayo to even consider serving it to my mayonnaise-averse family. But julienned celery root adds texture and flavor when combined with sliced celery stalks and really comes alive with a pomegranate molasses (just evaporated pomegranate juice – if you see other ingredients, look for a different brand) vinaigrette. I found the recipe in Cook’s Illustrated and altered it to satisfy myself by eliminating the honey, shallots and frisée, adding a green apple, and making the cheese optional. Choose any nut you like and adjust the proportions to suit yourself. If you don’t have fresh or frozen pomegranate available (I think this year’s window on fresh has closed), use a smaller amount of dried cranberries or cherries – they will be a similar tart/sweet taste that you need here. And if, for some reason, you don’t want to buy pomegranate molasses, you could boil down some pomegranate juice to thicken it and use that – it is essentially the same thing.
The original recipe calls for shaved Pecorino and that is tasty but if you don’t want to use cheese, and we usually don’t, just leave it out. If you still want more protein involved, add a can of rinsed white beans. This is a really easy, crunchy, flavorful salad with a tangy vinaigrette that offers a welcome change of flavor and texture in mid-winter. It also keeps well for a day in the fridge so you can prepare it once and eat twice.
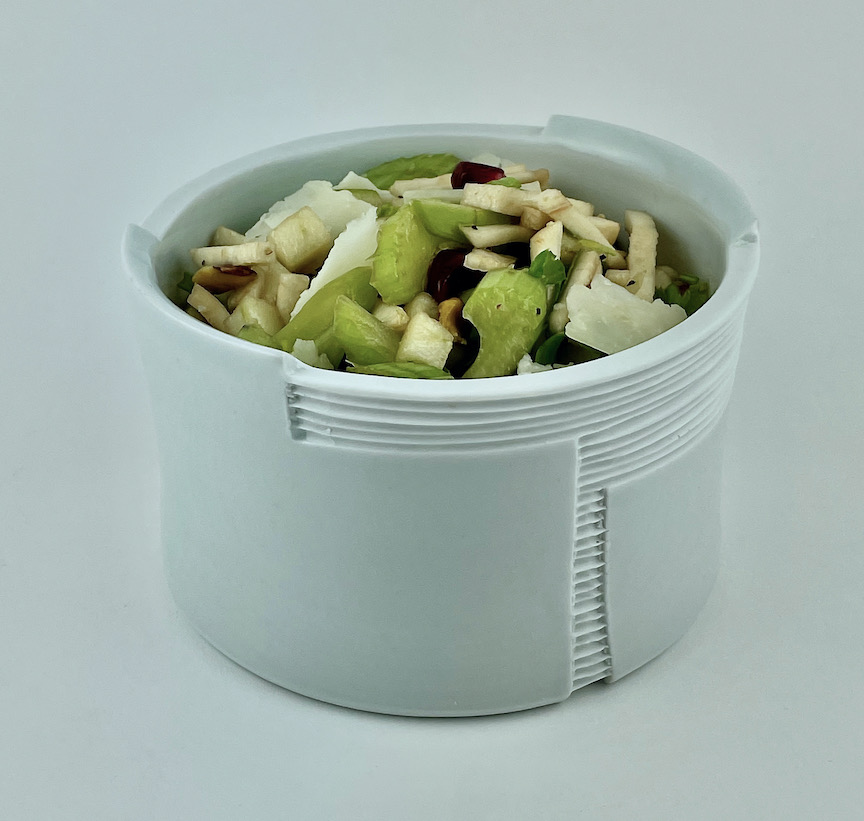
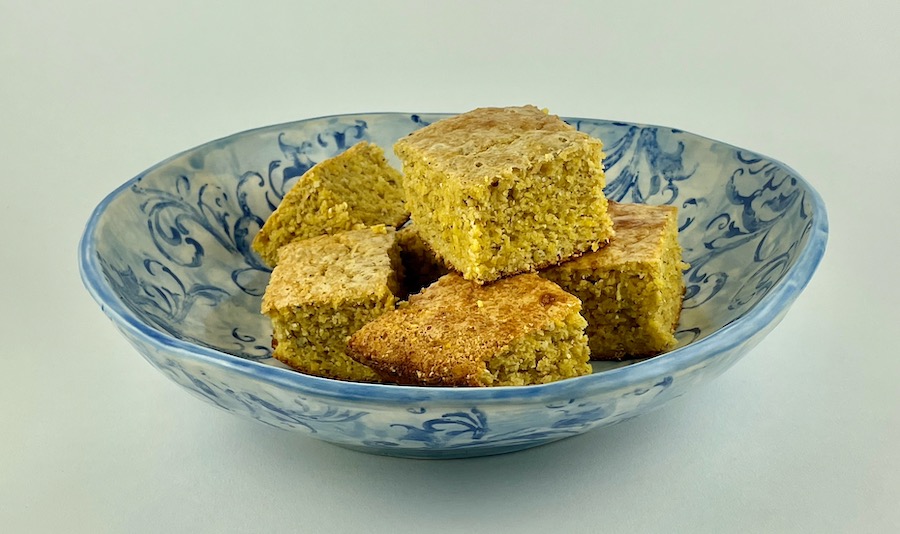
Porcelain bowl by Bryan Hopkins
CELERY SALAD
Combine in a large bowl:
- 1 bunch celery, with leaves, sliced thinly (2-3 cups)
- 1 cup celery root, peeled and julienned
- 1 tart apple, like Granny Smith, diced
- 1/2 cup pomegranate arils or dried cranberries, cherries, etc)
- 1/4 cup shelled pistachios or walnuts
- A big handful of arugula – optional
- Shaved Pecorino, Parmesan or Ricotta Salata – optional
In another bowl, whisk:
- 1 TBs pomegranate molasses
- 1 TBs lemon juice
- 1 TBs wine vinegar
- 1 tsp Dijon mustard – optional
- 2 TBs olive oil
- Pinch each of salt and pepper
Pour vinaigrette over celery mixture, toss and serve.
* * *
Bryan Hopkins makes both functional and sculptural vessels in porcelain but I would venture that even when physically utilitarian, all of his work is sculptural. Hopkins plays with texture, volume, line, rhythm, pattern and space in order to create works that pull us in, wanting to know more, wanting to touch and turn the pieces in order to understand them. His work is constantly evolving, perhaps a result of his continual experimentation, and always tactilely inviting. Hopkins is a teacher in Buffalo but also teaches via video posts on Instagram, sharing ideas, explaining techniques, promoting less well-known potters and encouraging others, the best kind of teacher. Find his work at hopkinspottery.com where he also shares a terrific pretzel recipe!

Photo courtesy of the artist

Photo courtesy of the artist
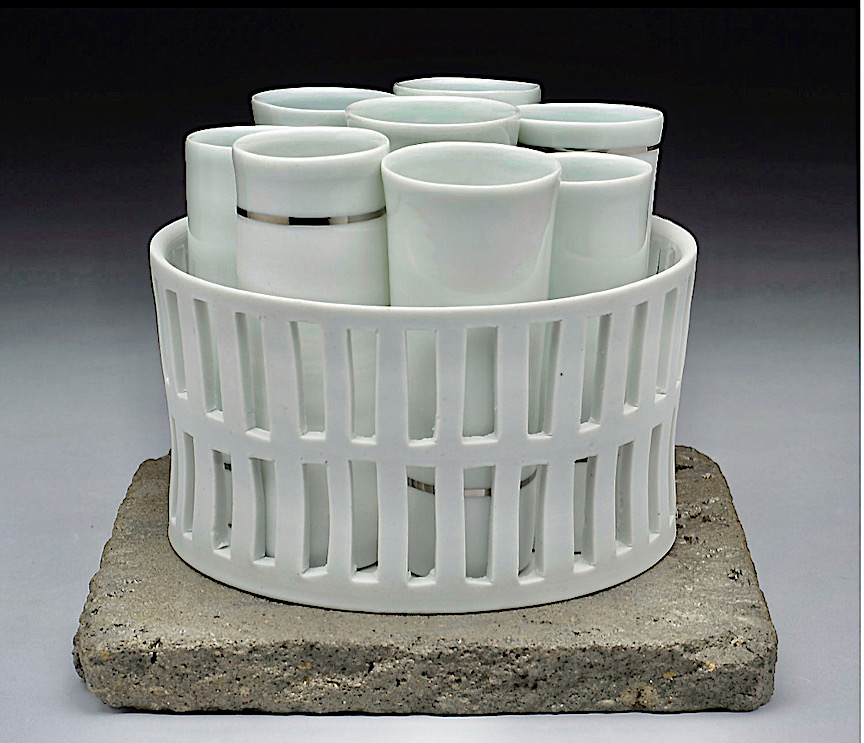
Photo courtesy of the artist