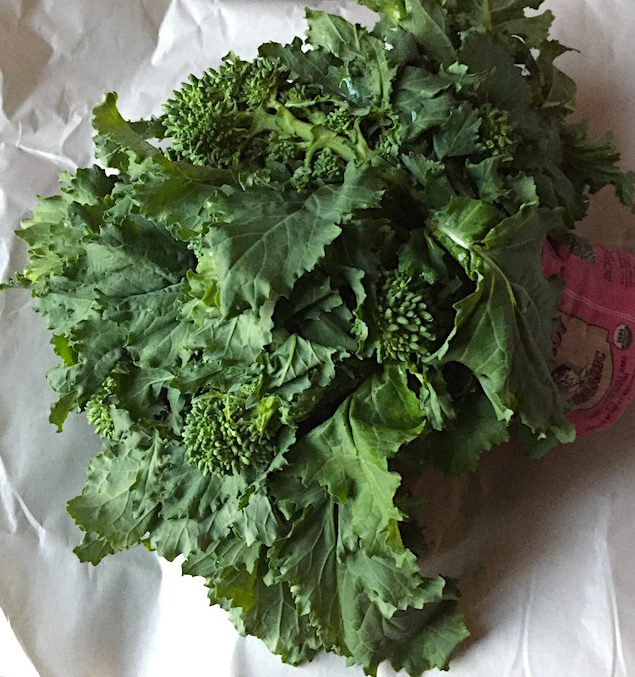
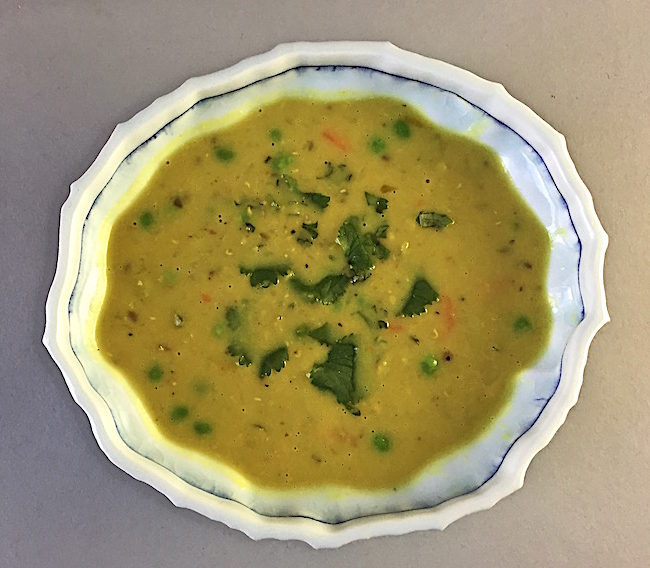
Porcelain bowl by Andy Brayman
I meet more or less monthly with a group of women organized by one friend who knew the core group primarily, but not exclusively, from her children’s schools or activities. It is a varied group of teachers, artists, writers, attorneys, non-profit administrators, media producers and art historians – a not atypical cross-section of smart, engaged and progressive city dwellers. We usually meet in a neighborhood bar or restaurant but this week we were meeting at my apartment – coincidentally at a moment when the comfort of a home and of home cooked food meant more than usual.
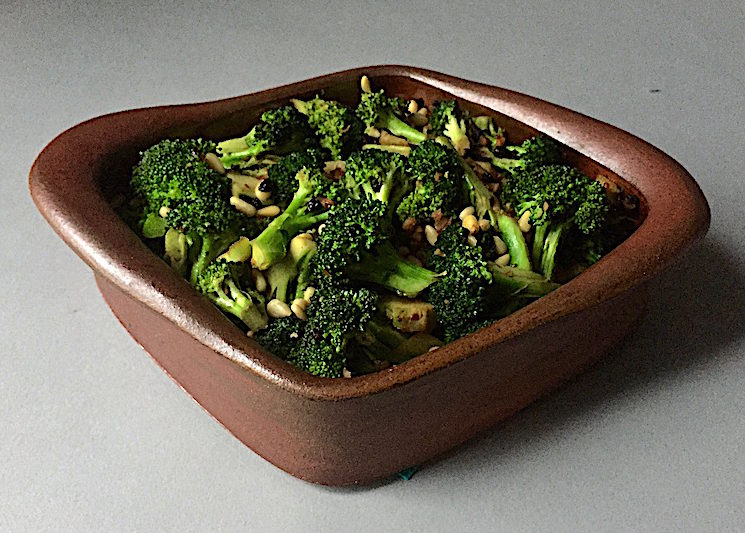
In the wake of the electoral earthquake to which we woke up last week, we all need soothing of one sort or another. I thought about making a typical comfort food like pasta or grilled cheese. But because so many people are watching their carb and gluten intake, I opted for a vegan soup and salad.
The recipe for the soup I chose is an expansion of a curried lentil recipe from Julia Turshen’s new book, Small Victories: Recipes, Advice and Hundreds of Ideas for Home-Cooking Triumphs. I added some ingredients, changed the amounts of others and morphed a lentil dish into a soup. You can add additional vegetables to the leftover soup or it can be cooked down to serve over rice. The vegetables in the recipe are optional but add a lot of texture and nutrients. This fragrant soup tastes even better if you make it the day before you want to serve it. Just be careful to rewarm it over low heat as it will easily scorch (yes, I know this from experience!) Feel free to fiddle with the amounts, spices and ingredients yourself until you come up with a taste that pleases you. The additional vegetables are optional but add a lot of texture and nutrients. I find this soup quite soothing and fortifying, feelings we can all use a little more of stumbling into the social and political unthinkable that lies ahead.
Bowl by Andy Brayman
Curried Red Lentil Soup
- 3 TBs olive, avocado or grape seed oil
- 3 large garlic cloves, minced
- 3″ knob of ginger, minced (about 1/4 cup)
- 1 red onion, minced (about 1 cup)
- 2 tsps cumin seeds
- 2 tsps ground turmeric (or grate fresh if you have it)
- 1/2 tsp ground black pepper
- 1/4 tsp cayenne
- 2 cups split red lentils, washed
- 1 can(4oz) of chopped green chilies
- A big handful of cilantro, stems and leaves chopped separately
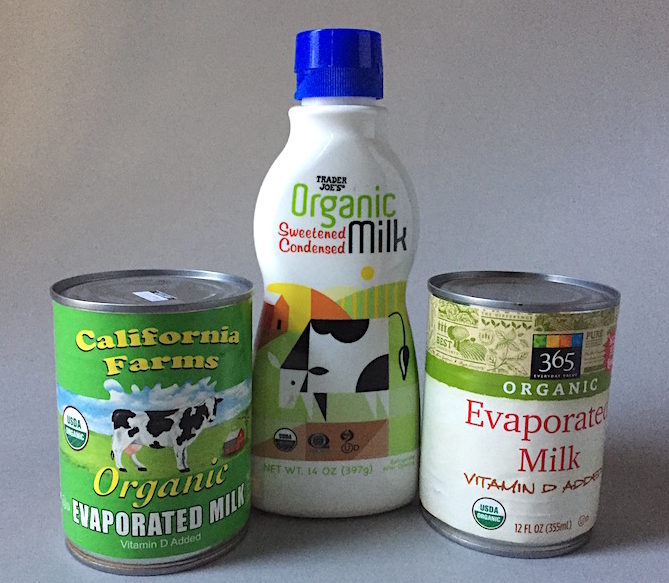
- 2 cans(13.5oz) coconut milk (I used one full fat and one reduced fat)
- 3 cans of water (use the empty coconut milk can)
- 3 carrots, diced (optional)
- 3 stalks celery, sliced thinly or diced (optional)
- 1-2 cup small pieces of cauliflower (optional)
- 1 cup frozen peas (optional)
In a medium stockpot, heat the oil and add the garlic, onion, ginger and spices.
Cook over medium heat, stirring occasionally to keep from sticking, until soft, about 5-6 minutes.
Add the chilies, lentils, coconut milt, water, cilantro stems and 1 tsp of salt.
Bring to a bowl and then lower to a simmer, cooking for about 10 minutes.
Add vegetables (except peas) and cook about 10 minutes more. If you want to throw in a handful of a green like arugula or spinach with the frozen peas at the end, do it just a minute before turning off heat.
Serve with chopped cilantro, lime wedges and crumbled sweet potato chips.
Serves 4-6 as a main course and 6-8 as a starter.