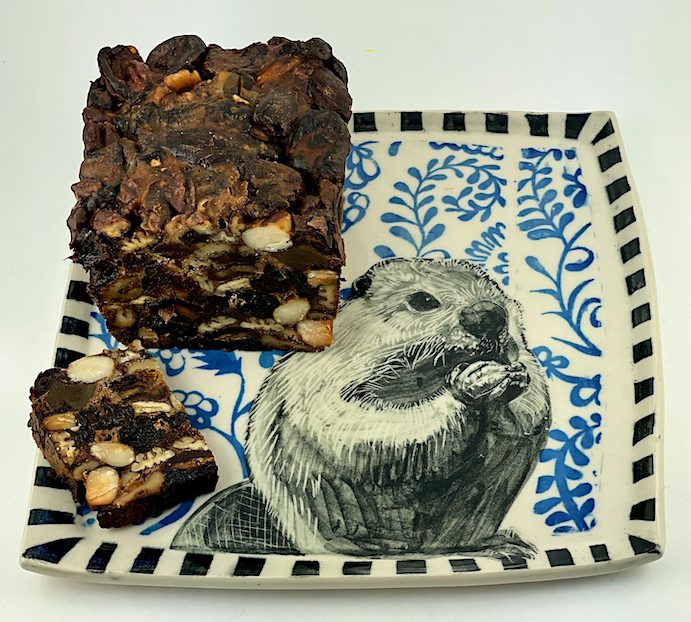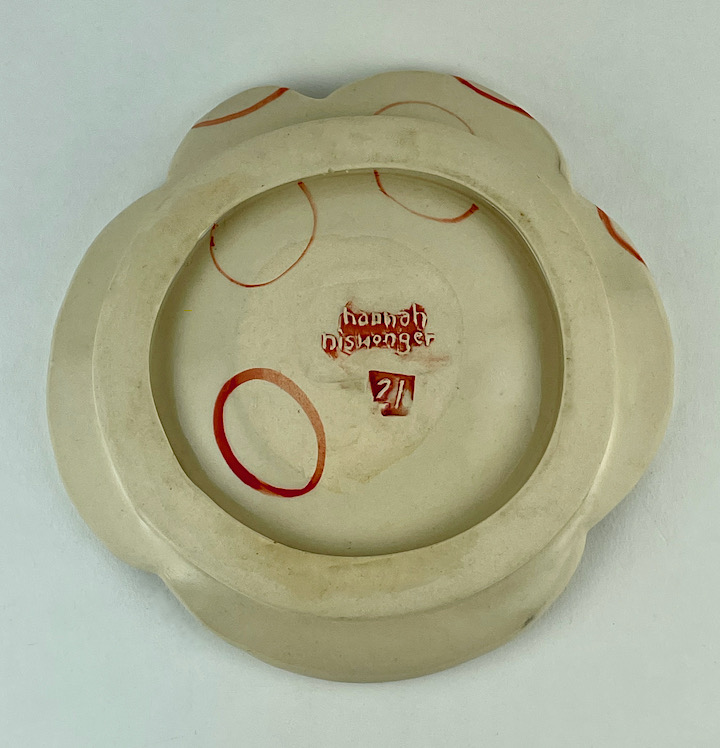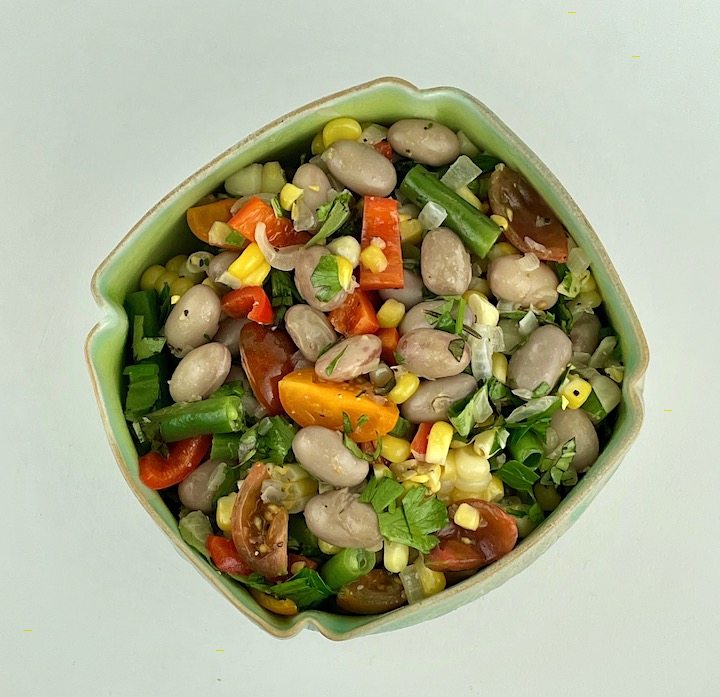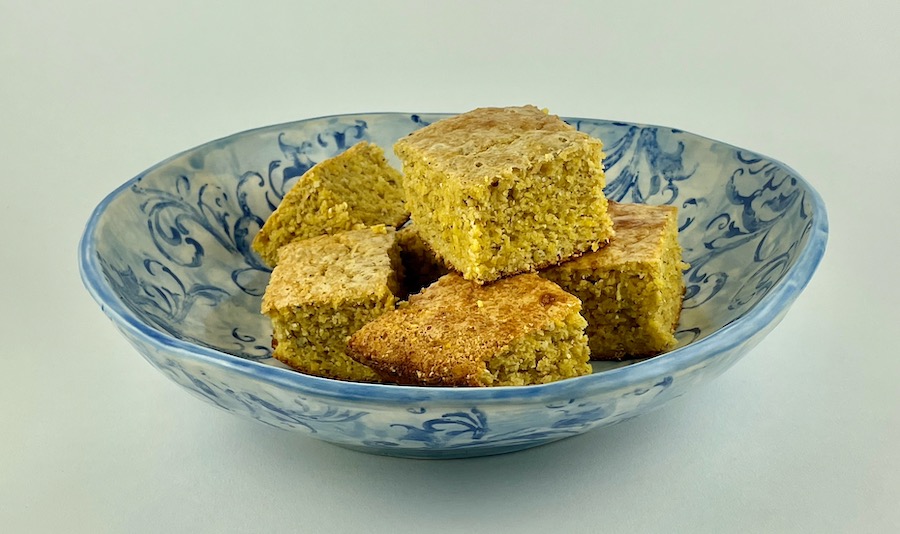
Blue and white bowl by Wendy Goldsmith
Cornbread is one of those comfort foods that is simple to make and almost everyone loves. The sunny color is perfect for brightening these short days and long nights! I have tried many versions over the years since I made my first one from a boxed Jiffy mix as a teenager. People have strong feelings about the right way to make cornbread. Some say sweet while others insist on no sweetener. Some use half flour half cornmeal while others are cornmeal-only purists. Finely ground corn flour, as Edna Lewis preferred, vs. coarse corn grits or polenta. Add corn kernels, cheese or green chilies? I think all can be delicious (have you ever had bad cornbread?) as long as the ingredients, particularly the cornmeal, are fresh.
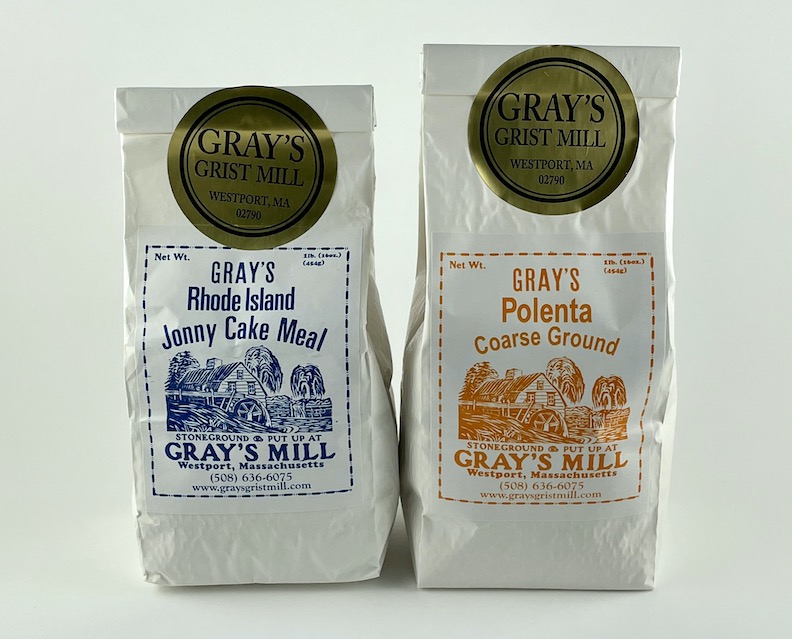
from Gray’s Grist Mill
Freshly milled cornmeal can be found across the country. On the east coast there is Maine Grains, Farmer Flour, Anson Mills and Marsh Hen Mill, among many others. Our local place, Gray’s Grist Mill, stone grinds flint corn, both white and yellow, and does mail order. Use white or yellow (or blue or red if you can find it), finely or coarsely ground – just make sure it is fresh. And whatever you don’t use, store in the freezer until you bake again.
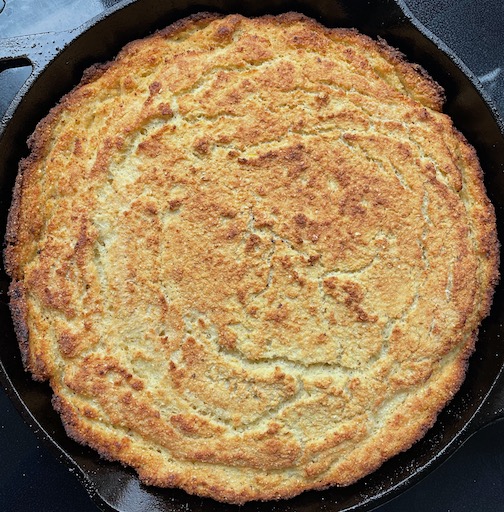
in cast iron pans
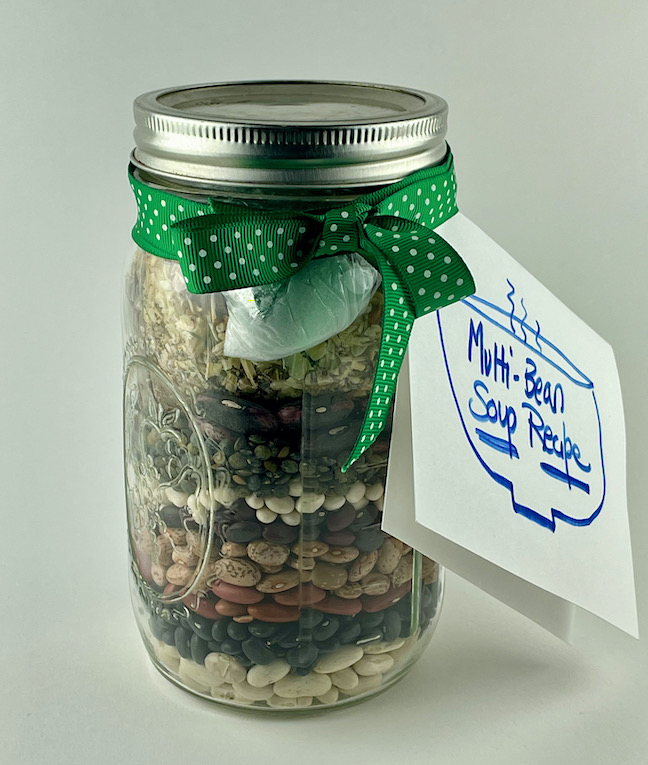
I make my cornbread without flour because because, after all, it is corn bread and not cake. If you want it lighter and cake-like, use half cornmeal and half flour. There are endless recipes, many collected in Crescent Dragonwagon’s The CornBread Gospels, in which she lays out Northern vs. Southern cornbread plus the sweet vs. unsweetened debate. Sometimes I add some date or maple sugar and other times I don’t sweeten at all. I like to use whole or buttermilk but any kind of milk, even plant milks, work. (If using buttermilk, substituting a little baking soda for some of the baking powder will prevent sourness).You can even use half milk and half cream, if you want it richer. I can’t bring myself to use lard but people do. I find the butter adds plenty of flavor and crispness. Add oregano, thyme, diced chilis, dried cranberries, cherries or diced apricots, corn kernels or diced cheese if you want to vary the taste. For a really sweet treat, slather the top with honey or maple butter as soon as the hot pan comes out of the oven. Cornbread makes a great gift, either baked by you (and given in a pan or towel meant as part of the gift) or given as a kit, all the dry ingredients in a jar accompanied with a recipe.
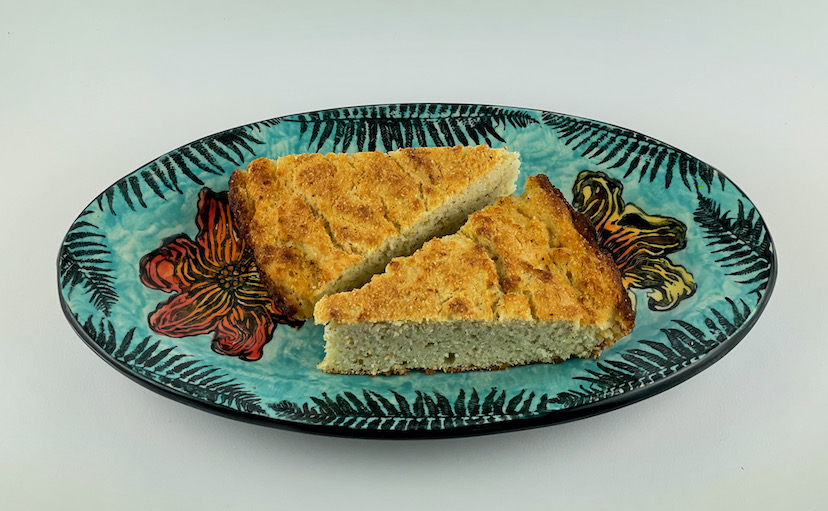
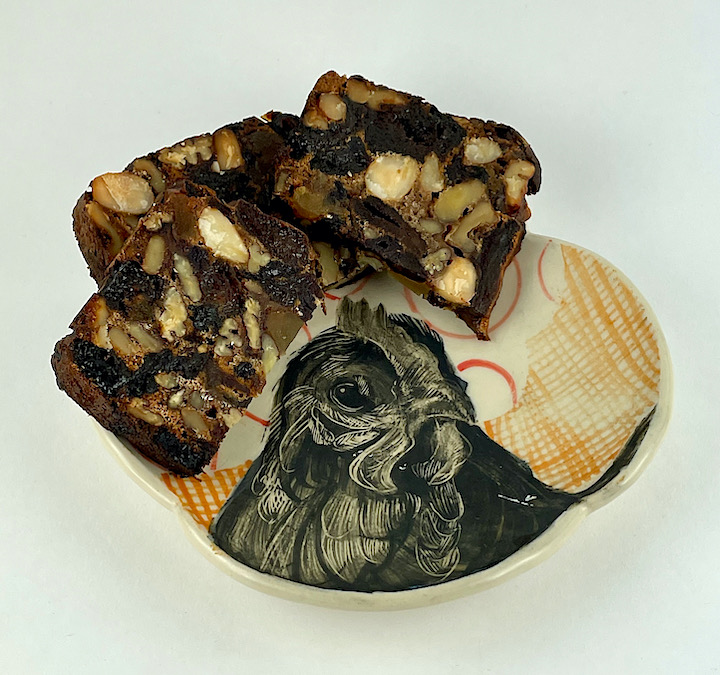
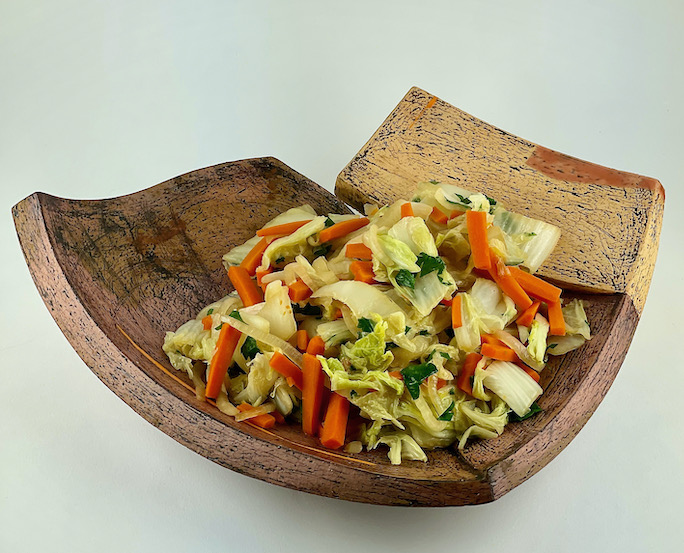
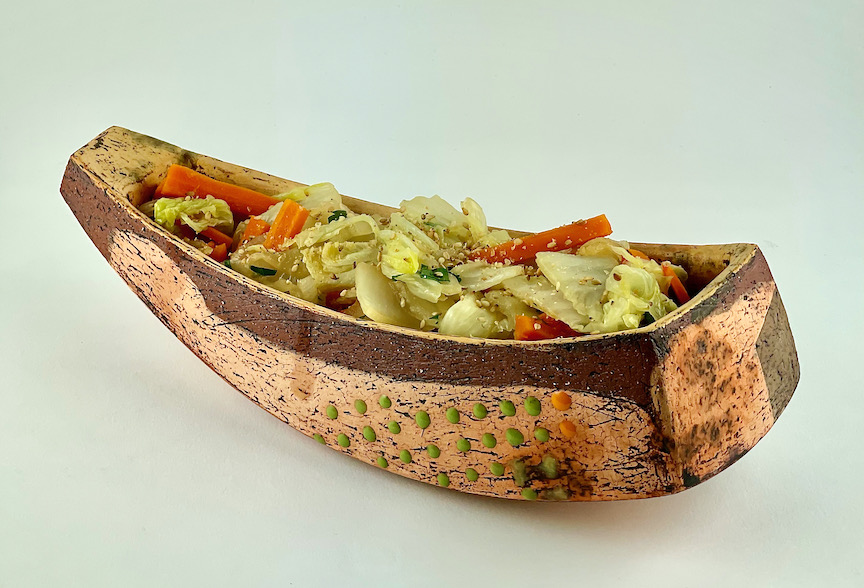
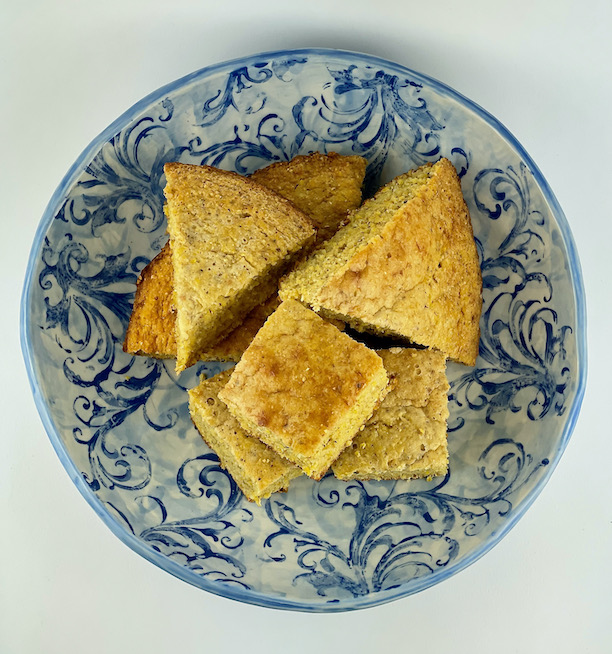
Oval plate by Wendy Goldsmith
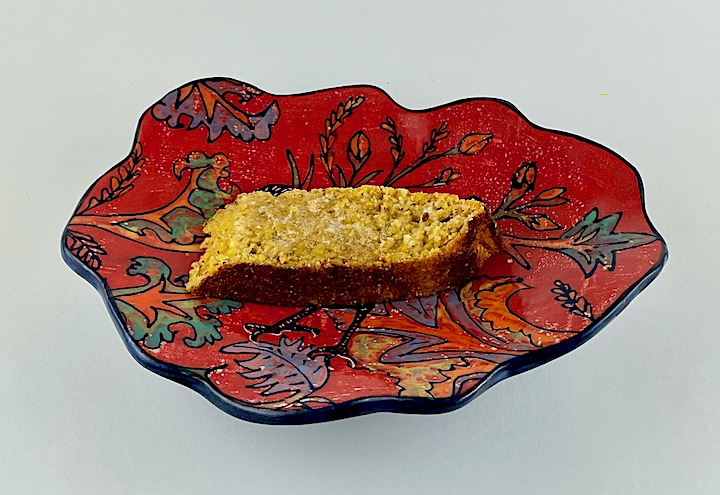
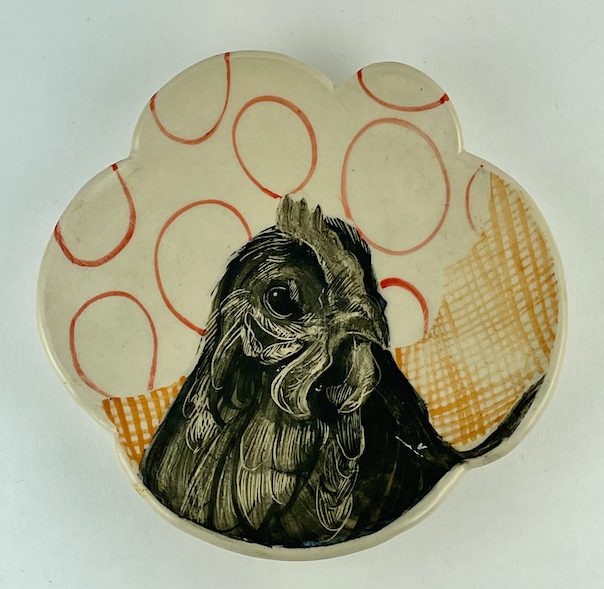
Red plate by Wendy Goldsmith
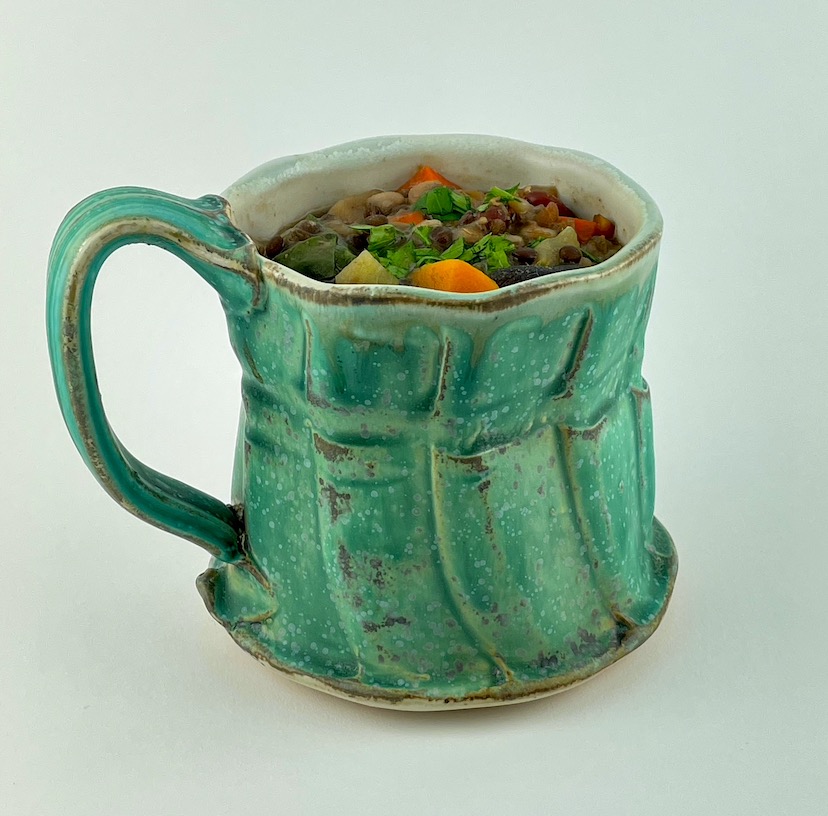
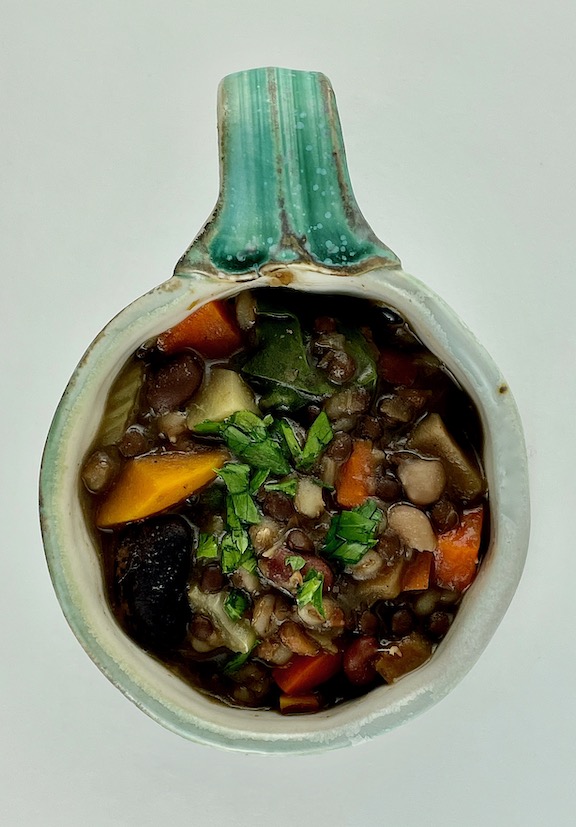
Cornbread keeps a couple of days and can be frozen but it is definitely at its best hot out of the oven. You can serve it plain or topped with butter while still warm. It is a great accompaniment to bean dishes, chilis, stews and salads, makes delicious Thanksgiving stuffing and can stand alone as an easy breakfast when warmed or toasted, perhaps with a spreadable soft cheese (I am thinking baked farmer, ricotta or cream cheese) and jam. And cornbread makes a great ham or turkey sandwich, spread with mustard, cranberry sauce or pepper jelly and topped with fresh greens. And although you can make cornbread in any baking pan, a cast iron skillet is best for holding heat. You want the pan hot to make the batter sizzle when it comes in contact with the bubbling melted butter to achieve a crunchy crust. Just thinking about it is making my mouth water.
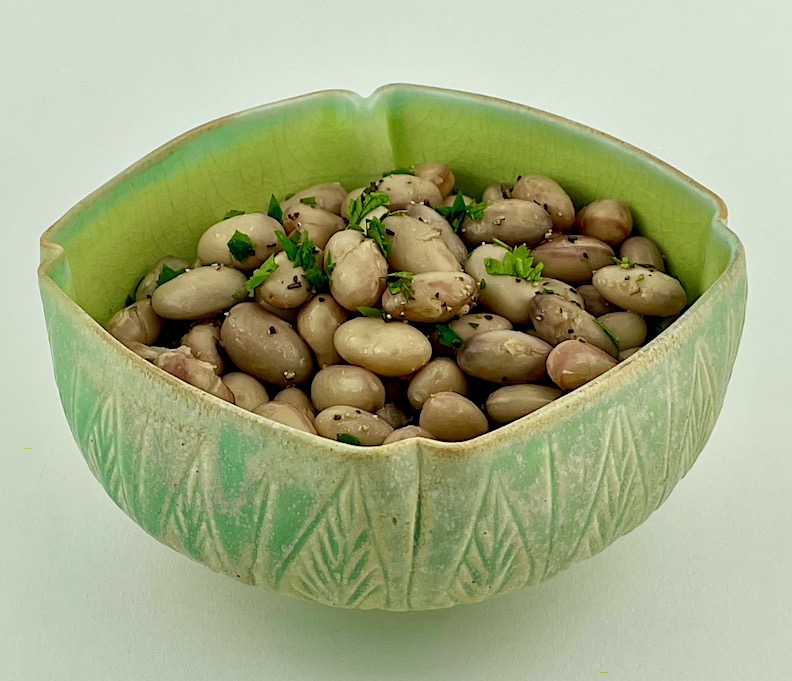
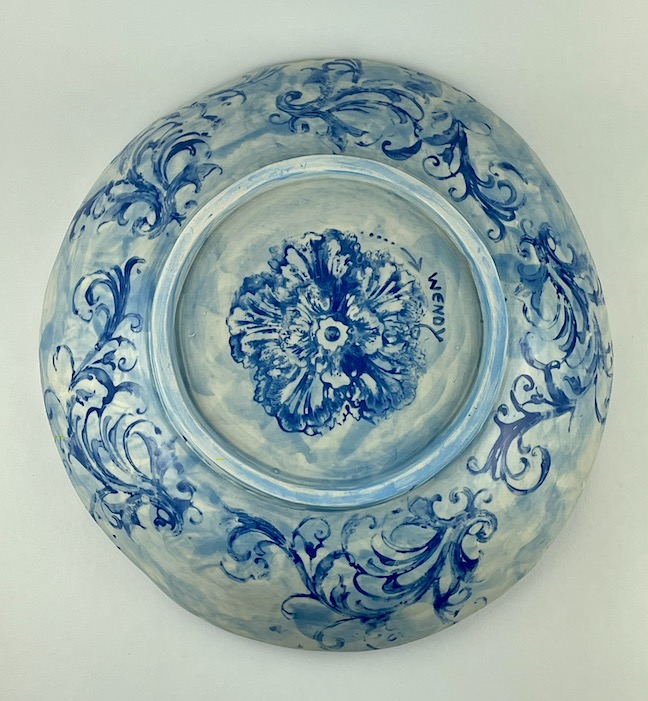
White and blue bowl by Wendy Goldsmith
CORNBREAD
Preheat your oven to 400F and place an 9” cast iron skillet in the oven to heat.
Place dry ingredients in a mixing bowl and whisk to combine:
- 2 1/2 cups stone ground yellow or white cornmeal
- 1 1/2 tsps baking powder
- 1 1/2 tsp sea salt
- 1-2 TBs maple, date or white sugar, optional
- Beat together in a separate bowl:
- 2 eggs
- 2 cups milk or buttermilk (if buttermilk, use 1/2 tsp baking soda and 1 tsp baking powder)
With a potholder, carefully remove the hot skillet from the oven, set in a safe place and add 2-3 TBs butter.
While the butter is melting, whisk the wet ingredients into the dry.
When the butter is starting to brown and bubbling (don’t let it burn and don’t burn yourself)), pour about half of it in the batter, mix in and pour the batter into the hot skillet (it should sizzle) and then place the skillet in your preheated oven.
Bake 25-30 minutes, until starting to brown and coming away from the sides.
Either invert the cornbread to serve crunchy side up or slice into wedges or squares and serve right away. Makes 8 generous wedges.

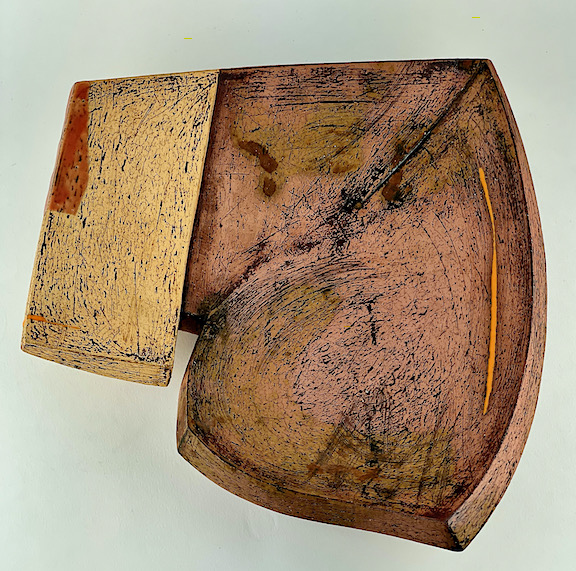
by Wendy Goldsmith
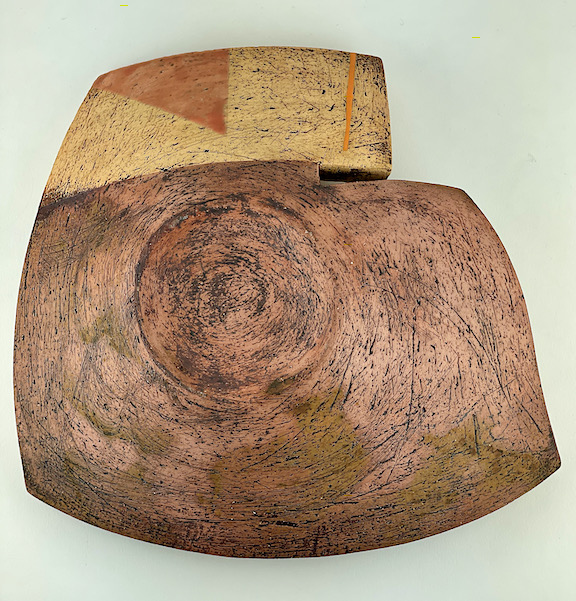
by Wendy Goldsmith
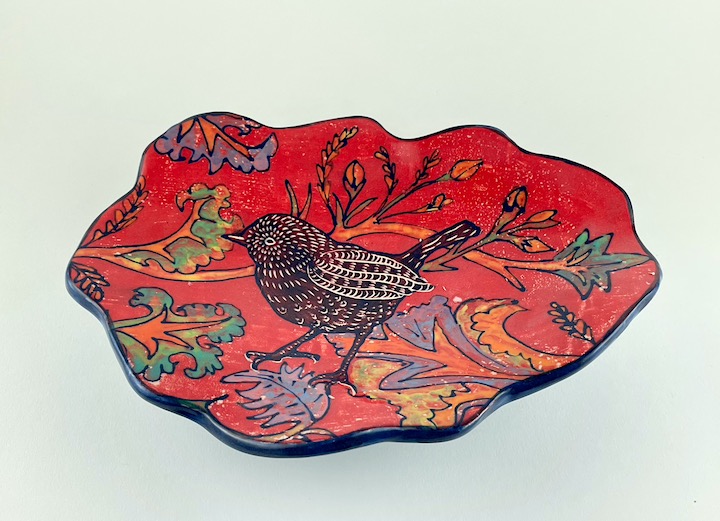
Wendy Goldsmith makes charming, appealing handbuilt pots that are a pleasure to use. Her whimsical, nature-based paintings, primarily of birds but also fish, flowers and trees, with decorative patterning make me smile when I use them. Lightweight with compacted, rounded edges and glossy glazes on a porcelaneous stoneware, they hold up to repeated usage. You can find her on her website and on Instagram.
by Wendy Goldsmith
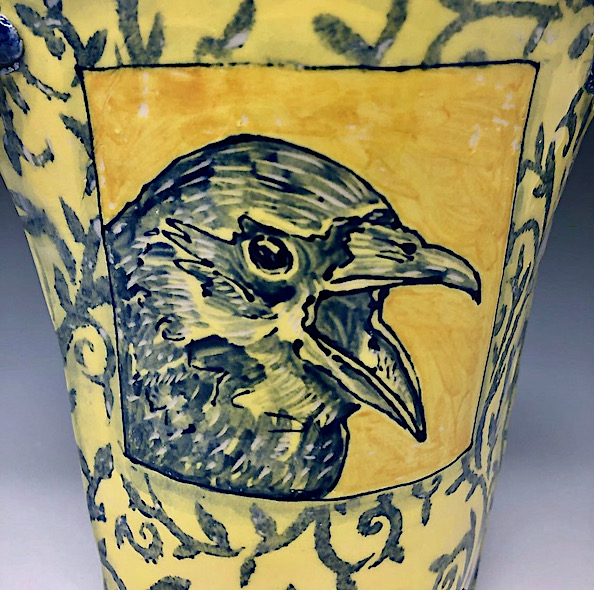
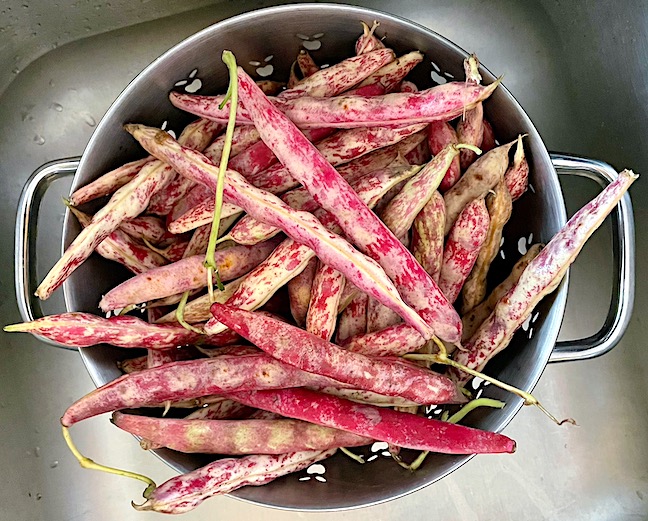
Photo courtesy of the artist
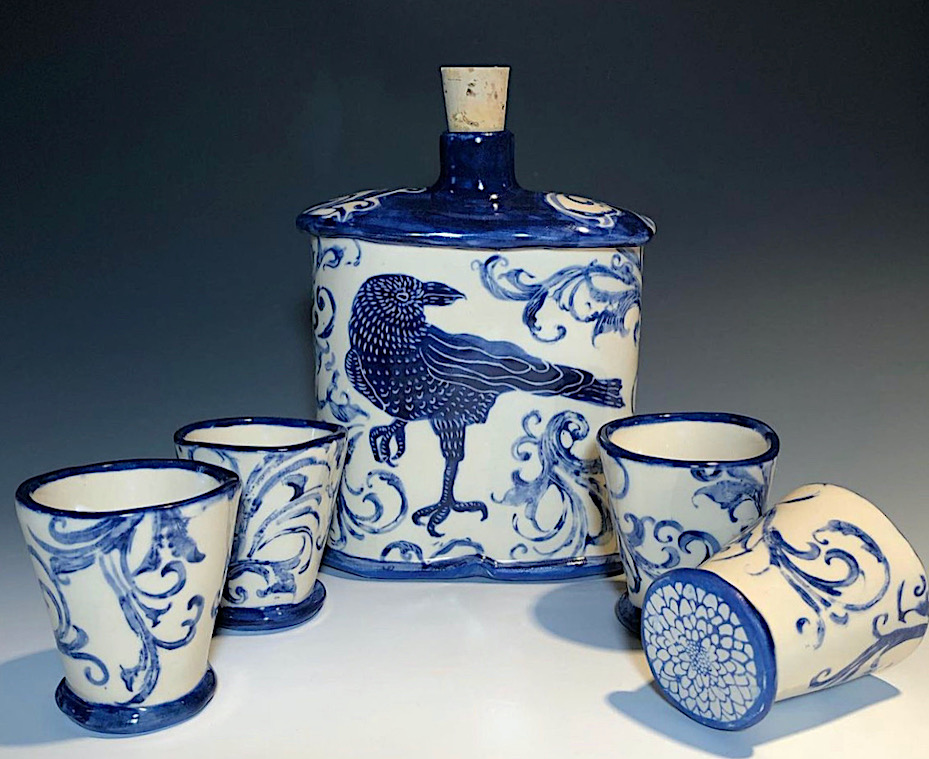
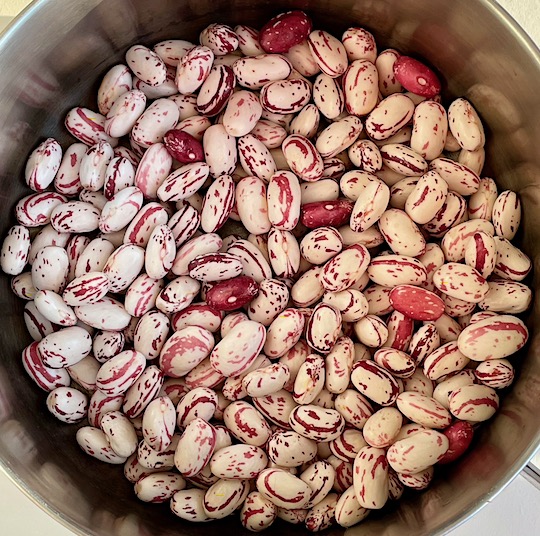
Photo courtesy of the artist