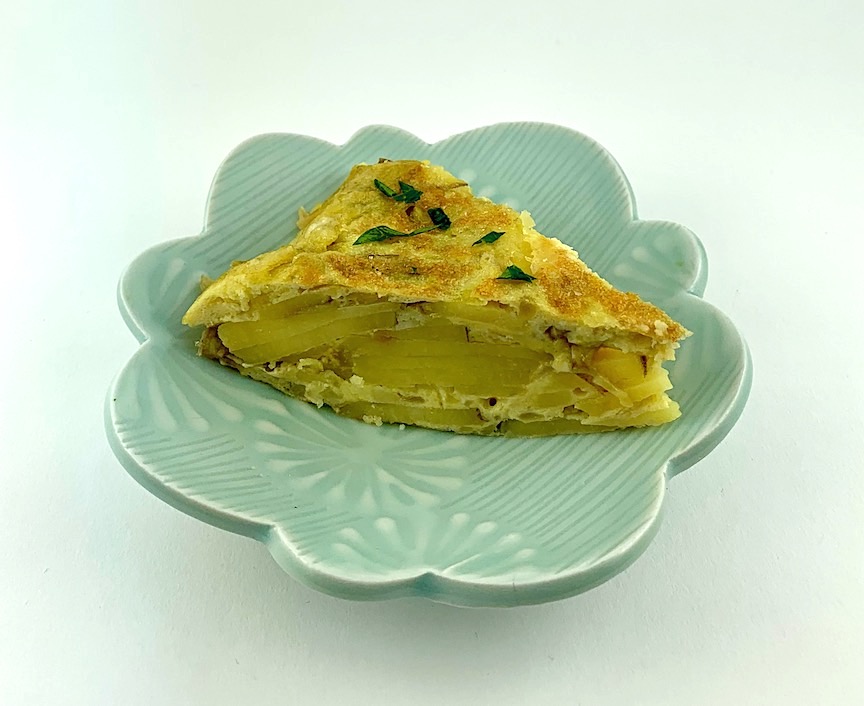
Squirrel plate by Chandra DeBuse
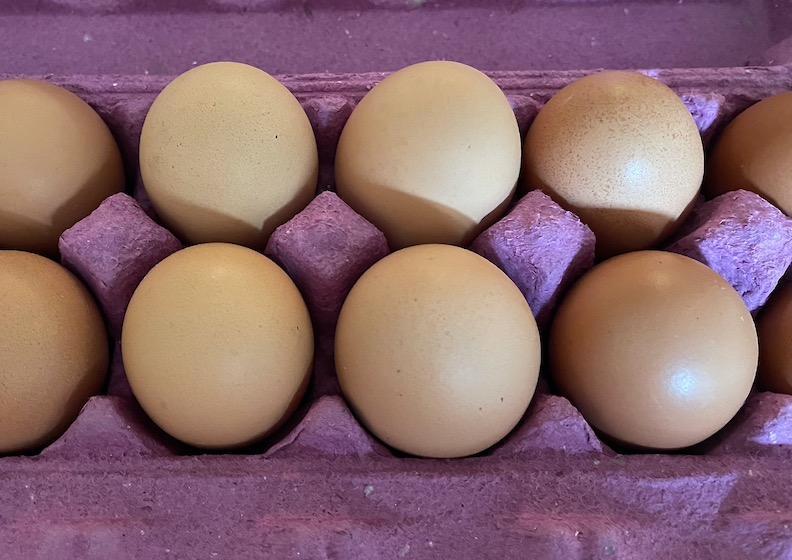
Have you ever noticed how much people love deviled eggs? It is one of the few offerings that always gets eaten up at a cocktail party or potluck supper. As you enter with a platter full, people will help themselves to the eggs and you will always have an empty plate to take home. Not only are they inexpensive but also easy to make and guaranteed to please everyone except vegans (try sesame noodles, lentil salad or bbq tempeh for them). You may have your own favorite method but I will share mine in case it is helpful. Free range local and organic eggs may be more expensive but, in the scheme of things, still reasonable and preferable for so many reasons, including your health and the health of the hens! You’ll make your job easier if you use very fresh eggs. Just put the eggs in a saucepan, add water to cover completely, bring water to a boil, turn off heat, cover and let sit for 10 minutes. Then run under cold water over the egg – they should peel easily.
Dry mustard with a splash of vinegar was always my preferred “deviling” method but there are many ingredient options, including hot sauce, salsa, smoked paprika, chipotle chili (either dry or in adobo sauce), Dijon mustard, Sriracha, nutritional yeast, green chilis, bacon, relish or wasabi. My husband has an aversion to mayonnaise so I opt for a combination of Dijon and yogurt but when I want to go all out, I add a little sour cream or avocado. You can use all avocado, hummus, olive oil or a combination that suits you. I still think mayo makes the most delicious eggs but since I am not the only one eating them, I compromise.
Presentation is important with deviled eggs – you want them to look attractive. An easy solution is to pipe the yolk mixture into the whites using a regular plastic storage bag with the corner snipped off. Another is to use a small ice cream scoop. Then sprinkle with paprika, smoked paprika or chipotle chili powder or top with your choice of roasted red pepper, caviar, chives, bacon crumbles, smoked salmon, blue cheese or fresh dill or cilantro. You can put out small dishes of each and let people top their own – that way they can choose their own happy place. We are still not eating indoors with other people but hope to be gathering with small groups outside this summer. Deviled eggs are one recipe I definitely will be making to share.
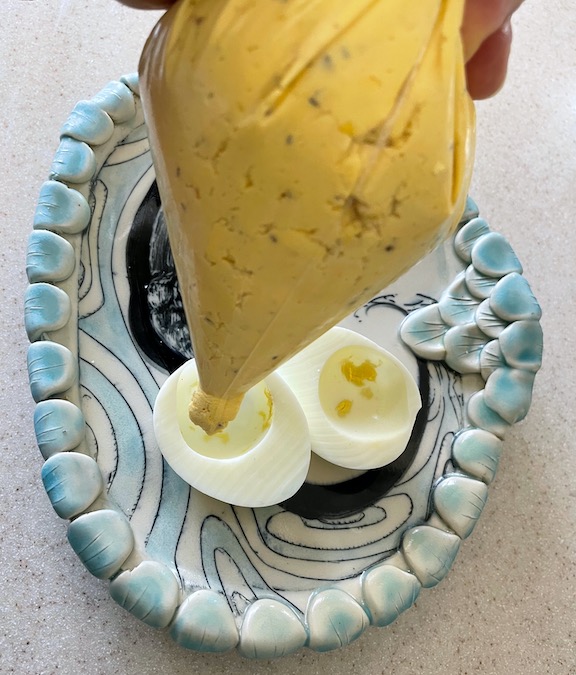
you pipe in prepared yolk mixture
DEVILED EGGS
1 dozen eggs, hard-boiled and peeled (plus a couple extra in case of rips)
Slice eggs in half the long way and put yolks in a bowl.
Put empty whites in a covered container in the refrigerator until ready to fill.
Use a fork to mash yolks and then add and mash until smooth:
- 1 TBs Dijon mustard plus 2 tsps dry mustard powder
- 1/3 cup plain Greek yogurt (or mayo, sour cream, hummus, mashed avocado or a combination)
- 1 tsp cider or white vinegar
- 1 tsp pickle juice (sweet, dill or jalapeño)
- 1 tsp olive oil
- 1/2 tsp kosher salt
- 1/2 tsp black or white pepper
- Optional 1/2 tsp smoked paprika or chipotle chili powder or dill or just sprinkle on top
Taste and adjust seasonings.
Put prepared yolk mixture in a plastic storage bag until chilled (store in fridge up to one day). When ready to serve, cut the corner of the bag and pipe into the dry egg white halves. (I often omit 2-4 egg white halves because they have ripped so the others will be very generously filled). Sprinkle with paprika or your choice of spice and serve.
These can be left out up to two hours.
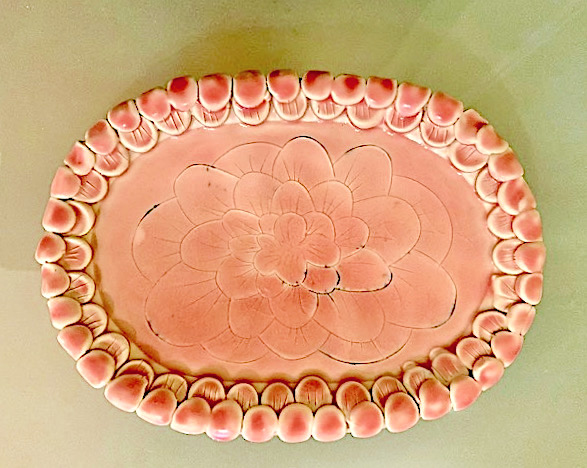
Photo courtesy of @teafor33
CHANDRA DEBUSE is a ceramic artist living in Kansas City who makes playful, patterned pottery using a mid-range porcelain. Her work often includes images from nature – flowers, insects and critters (like squirrels) – with quite a bit of whimsy. She sells her work through Kansas City Urban Potters, on her website and in various galleries.
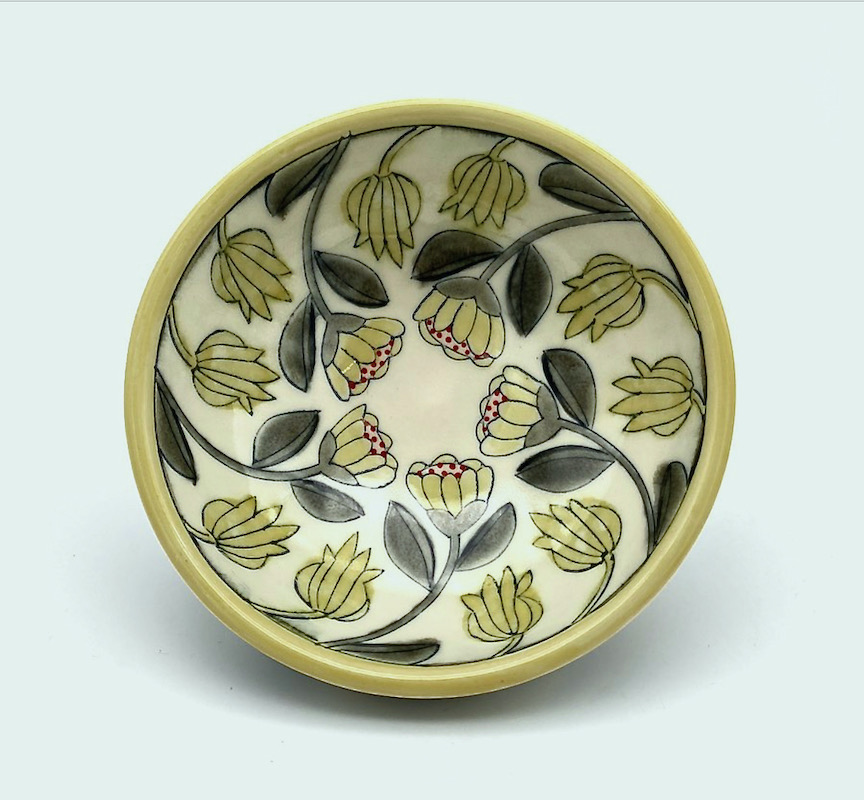
Photo courtesy of the artist

Photo courtesy of the artist