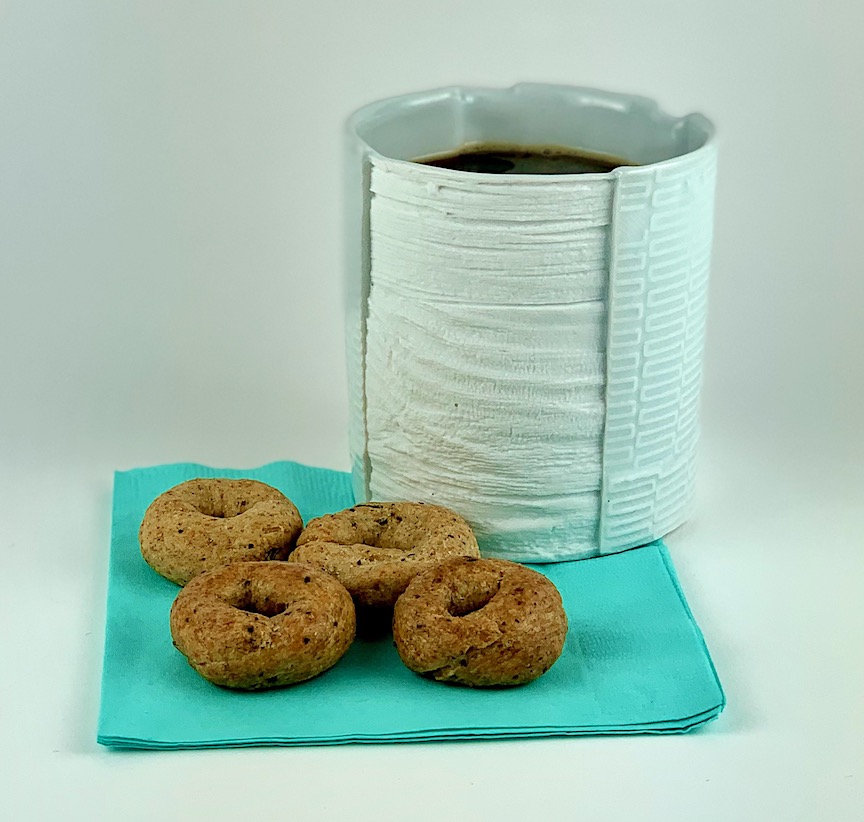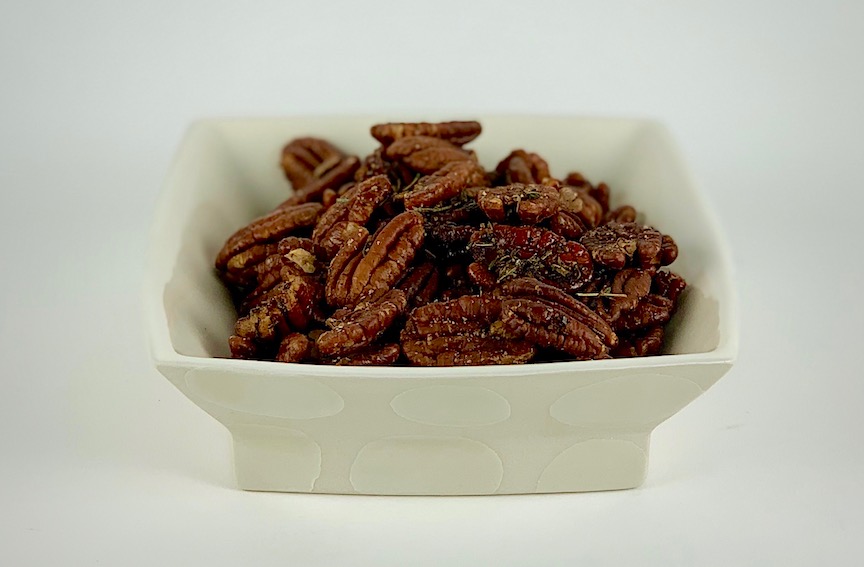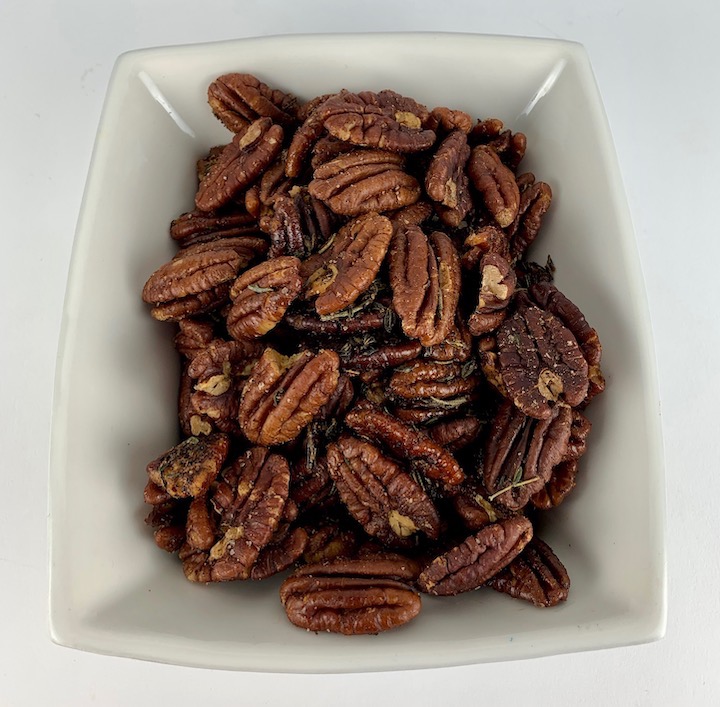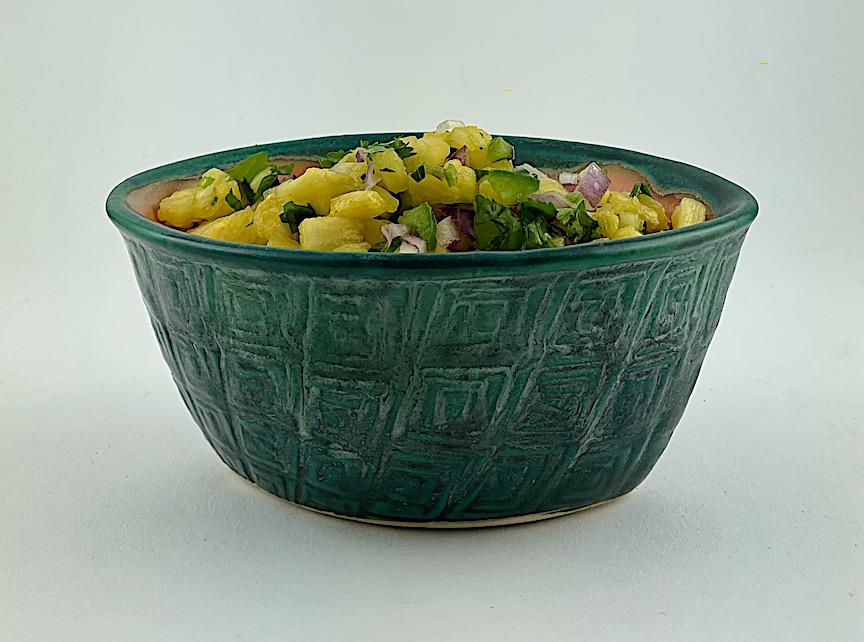
Porcelain bowl by Silvie Granatelli
If your meals need a little brightening on a dreary late winter evening, make some pineapple salsa. The sunny, juicy flavors enliven fish or chicken but the salsa also tastes great on its own with a pile of chips or celery. Where do you usually use pineapple? A summer fruit salad or a piña colada? That is one reason it tastes so good in winter—it is a tropical fruit available year round. I am usually a pretty strict adherent to eating fruit and vegetables seasonally: Asparagus in spring, melons in summer, apples and pears in autumn. So where do tropical fruits fit into this scenario? If I were really strict, I would only eat mango, papaya, avocado and pineapple in the summer, since they are grown in hot weather. But this is where I bend the rules a bit, trying not to be so rigid. In a dark, cold, northern climate, some freshly made guacamole or pineapple salsa provide a lively counterbalance to a lot of white winter foods like potatoes, cauliflower and cabbage.
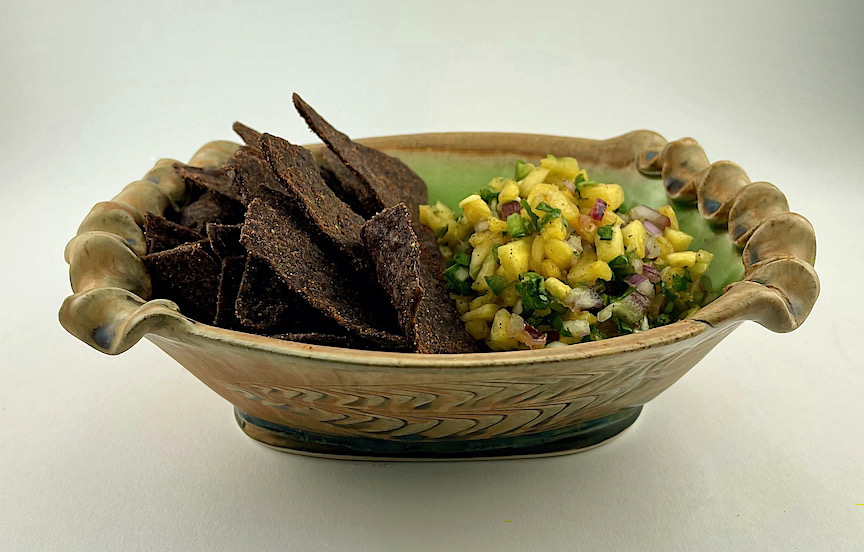
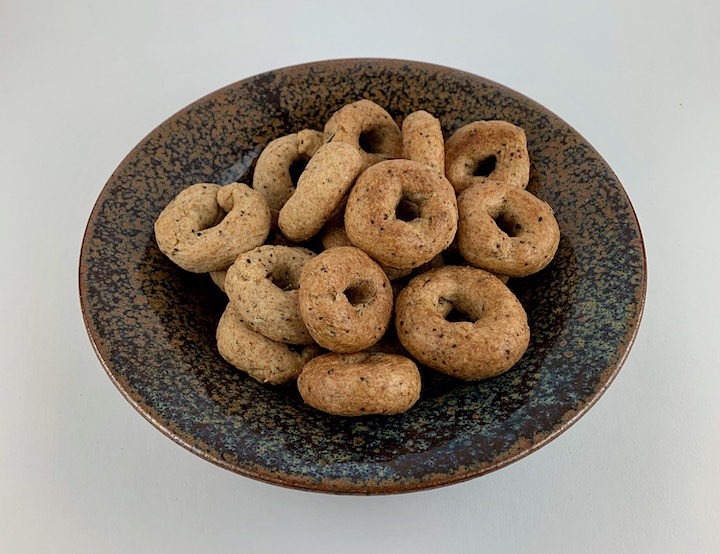
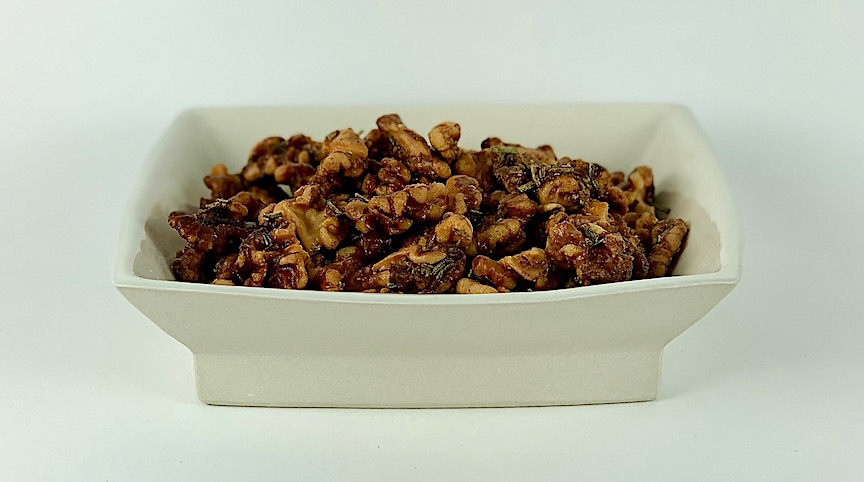
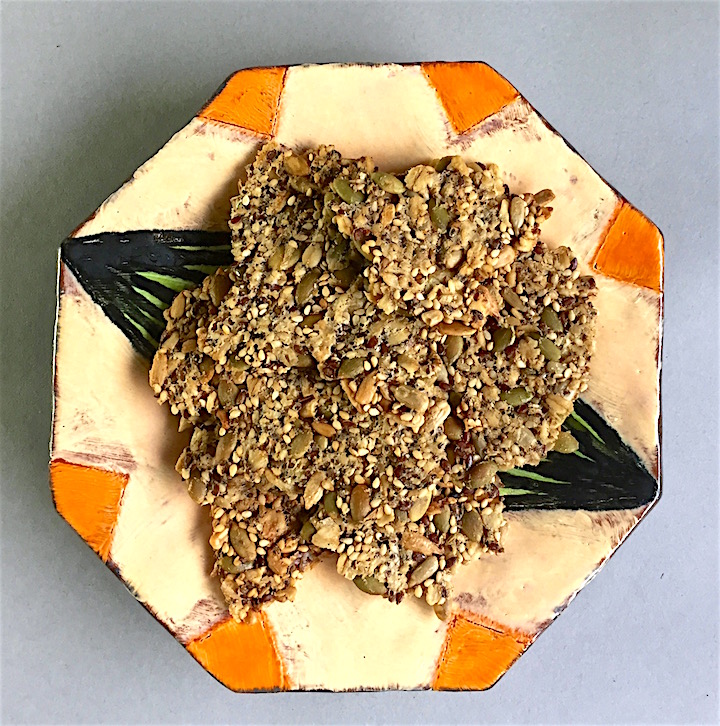
Porcelain bowl by Silvie Granatelli
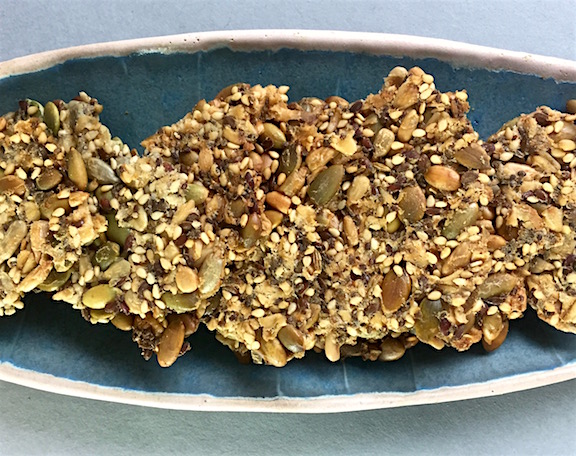
Pineapple salsa is easy to make. It just takes some mincing and dicing. I like it with cumin and coriander but it is also delicious with a little Tajin (Mexican chili/lime seasoning) or, as Sam Sifton recommended in The Times, some straight-up chili powder. I’ve seen recipes with fresh garlic, chopped fresh tomatoes and sweet peppers but I like it just with the mild bite of red onion and jalapeño balanced with lime, cilantro and spices. Try subbing in watermelon, persimmon, mango or star fruit for the pineapple, if you feel adventurous. The whole recipe takes about 15 minutes to make and can last 3 or 4 days in the fridge but I guarantee it won’t be around that long.
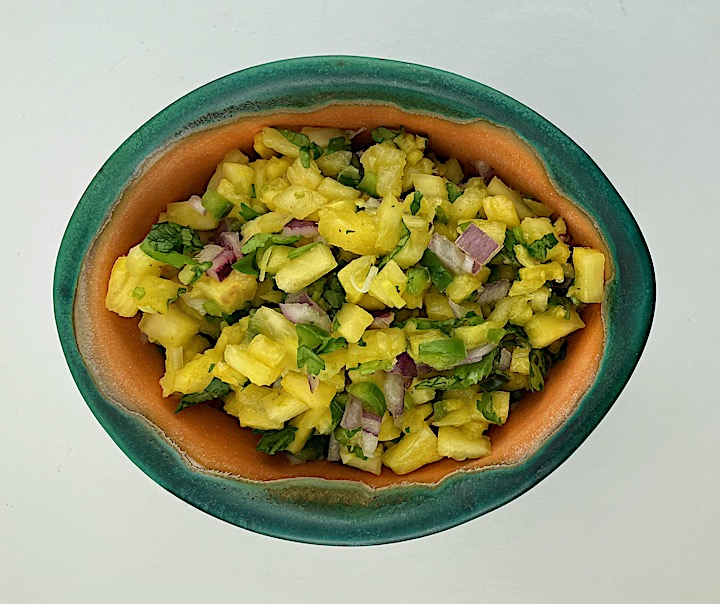
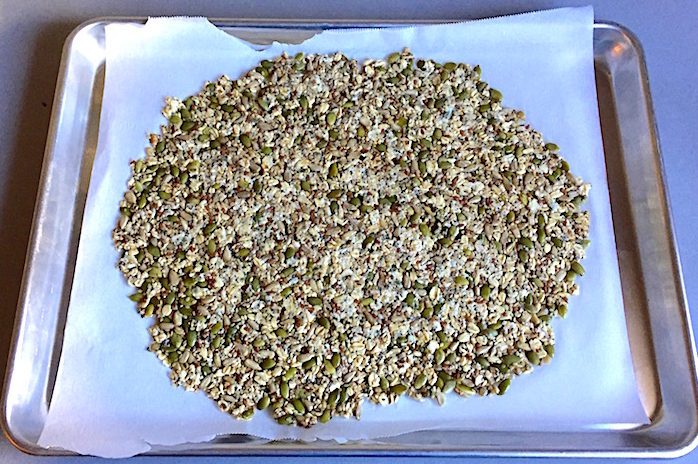
Porcelain bowl by Silvie Granatelli
PINEAPPLE SALSA
- 2 cups finely diced fresh pineapple, peeled and cored
- 1/2 cup minced red onion
- 1 minced fresh jalapeño, about 1/4 cup
- 1/2 cup chopped fresh cilantro
- Zest and juice of 1/2 fresh lime, about 1 tsp zest and 1 TBs juice
- 1/2 tsp salt
- 1/2 tsp ground cumin
- 1/4 tsp ground coriander
- Optional – 1/2-1 tsp chili powder
Mix together and chill if not using immediately.