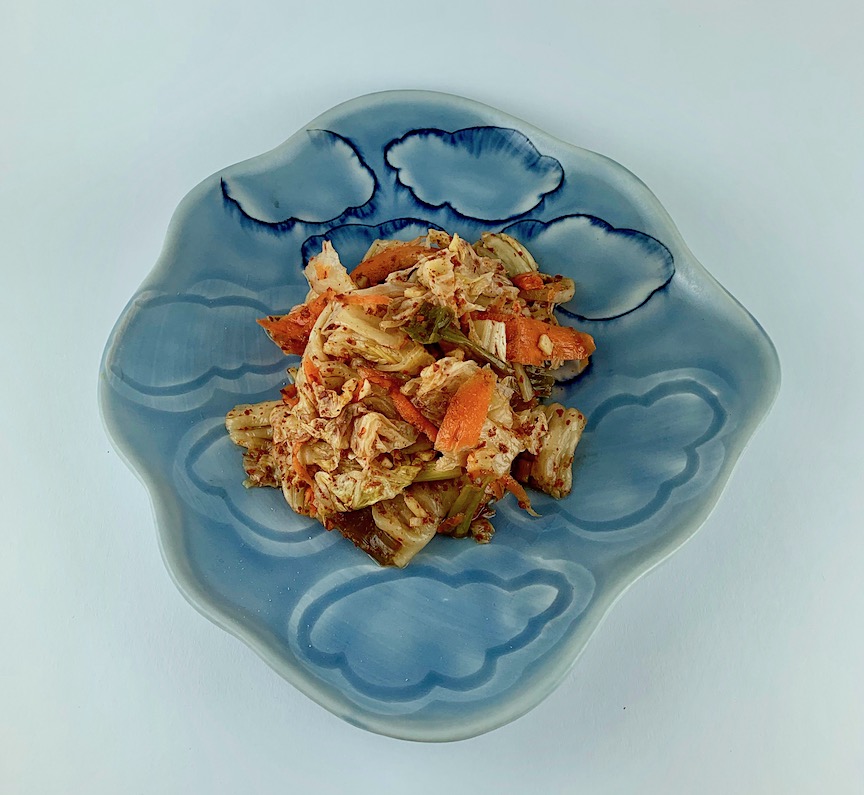
Porcelain cloud plate by Julia Galloway
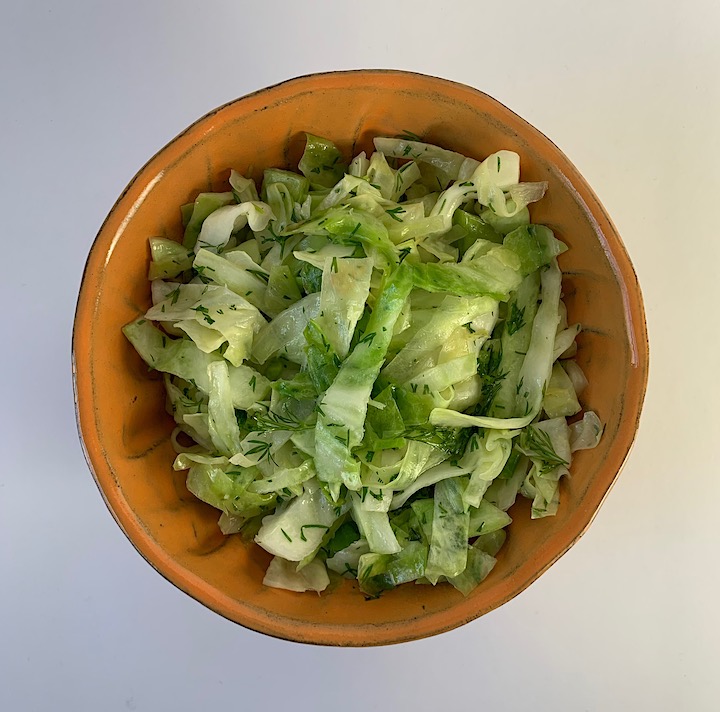
I didn’t grow up eating Kimchi. I had never even heard of it before I was in grad school and tried some at the new Korean restaurant that had just replaced a local coffee shop. From the smell, I was afraid it would be too strong for my taste and was surprised at how much I liked it. But it wasn’t until the last few years that I began eating kimchi with any regularity after it started appearing in our neighborhood markets. Kimchi, spicy pickled Napa cabbage, is eaten daily in many Korean homes and is becoming more popular in contemporary American cooking. Kimchi in fried rice, added to tacos or quesadillas, blended into deviled eggs or layered on a sandwich are just a few of the ways it is used. Kimchi, like yogurt, has gut-friendly probiotics as well as vitamins, minerals and fiber, the kind of food we need more of in our diets. One day last year, when I had run out of our preferred brand and wanted to top a salmon burger with some (our favorite use), it occurred to me that I should try making it myself.
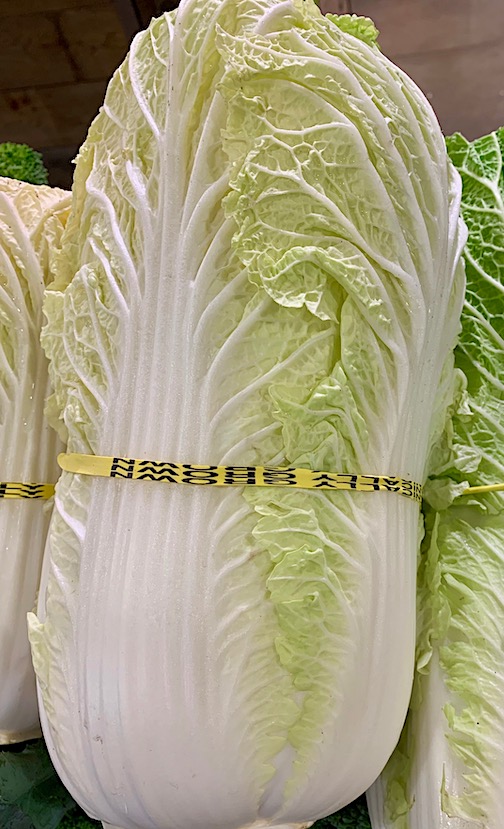
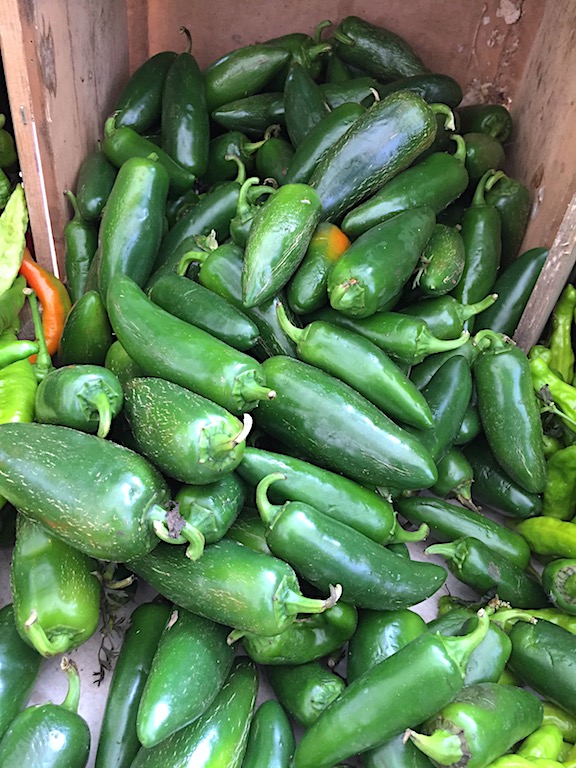
The biggest task in making kimchi at home is gathering the ingredients. The gochugaru, the coarse Korean red pepper flakes, not that obscure anymore, is found in Asian markets or places where globally sourced spices are sold. (In New York, I found it at Kalustyan, Sahadi’s and H Mart and all have online ordering). Napa cabbage, daikon and fresh ginger are widely available these days. Garlic, scallions and carrots round out the ingredient list. Some traditional recipes call for fish sauce, rice flour, fermented baby shrimp, plum paste and sugar, all of which would probably add complexity to the finished product but I wanted a gluten-free, sugar-free, vegan version so I left out all the extras.
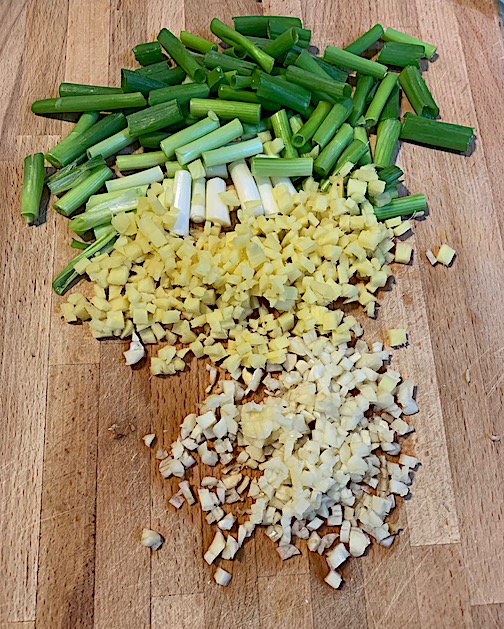
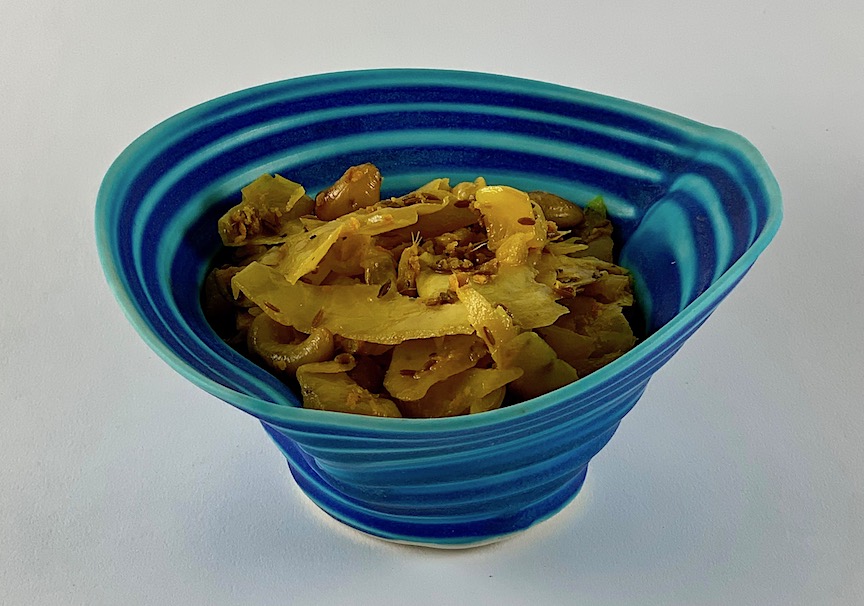
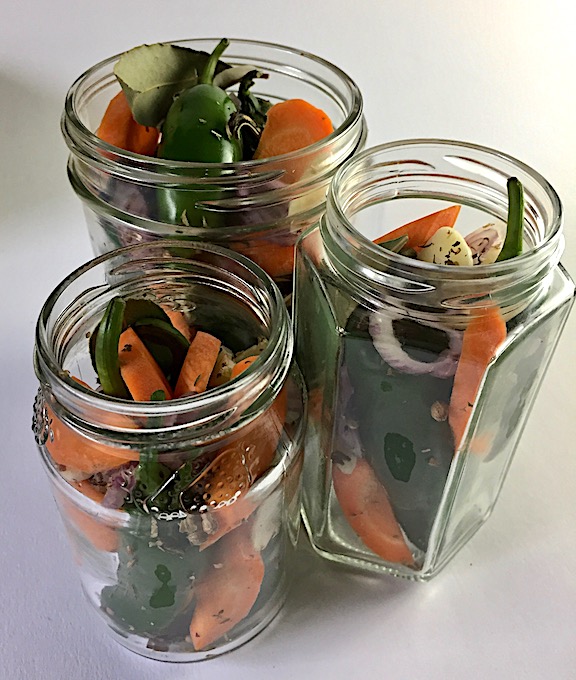
ready to add to the napa. daikon and carrots
When it comes to pickling of any sort, I refer to Sandor Katz, the guru of all things fermented. My recipe is based on the sugar free kimchi recipe in his book Wild Fermentation. In another book, Basic Fermentation, he offers a version of the same recipe using chili paste instead of flakes (so you have an option if you can’t find gochugaru). Another good source is Marta Vongerichten’s The Kimchi Chronicles which is a little more traditional but explains and illustrates every aspect of the process in detail. The steps to making kimchi are pretty simple and straightforward, perhaps the most important being keeping everything submerged to ferment, like making sauerkraut, so as not to grow mold. Just remember to wear disposable gloves if you want to avoid staining your hands from the pepper paste and use, of course, clean glass jars.
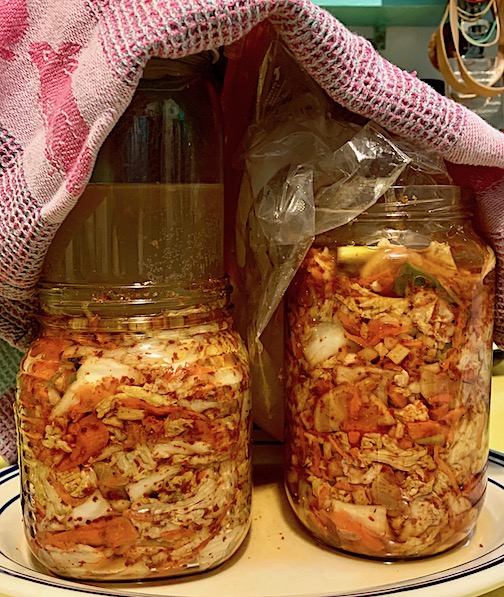
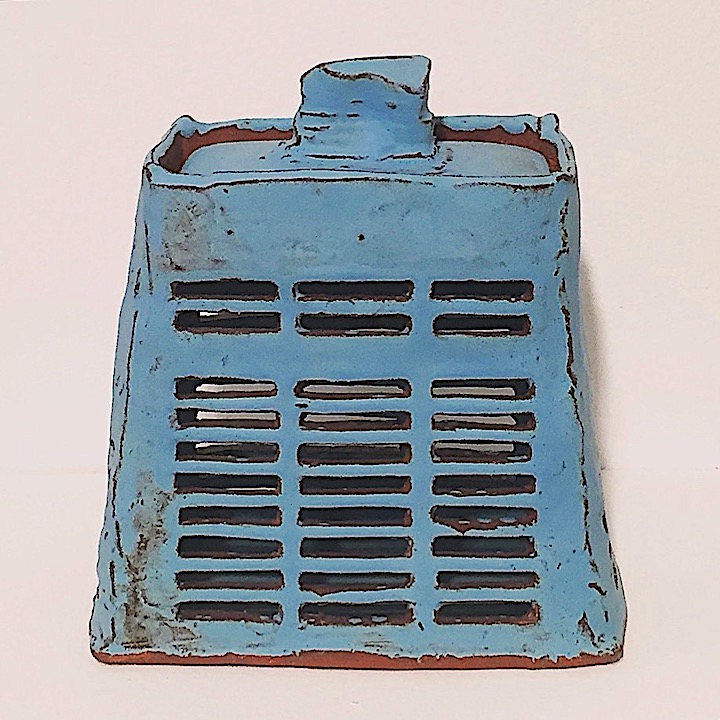
to keep out air while fermenting
EASY KIMCHI
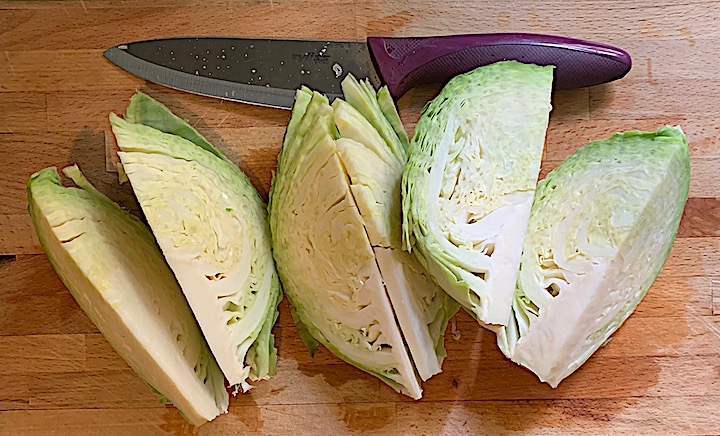
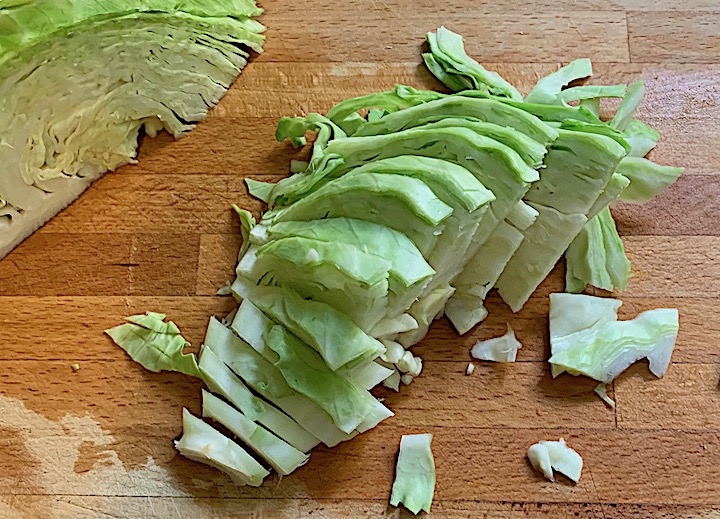
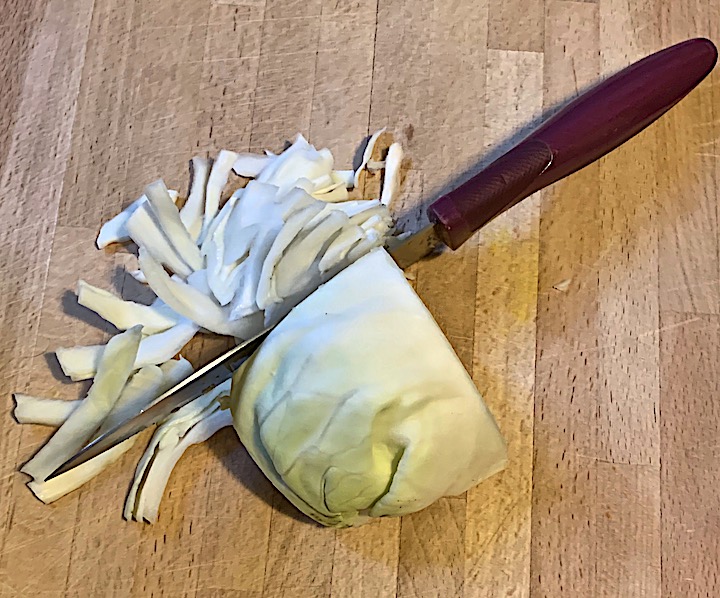
- 1 large head Napa cabbage (+/-2lbs), cored and cut into 1-1 1/2“ wide strips
- 1 medium daikon- peeled and cut into coins or small sticks (julienne)
- 3 carrots; scrubbed or peeled and cut in strips(julienne)(some people prefer thin slices or grated)
- 1 bunch scallions, washed and cut in1-2” pieces
- 3 cloves garlic, minced
- 1-1 1/2” knob of fresh ginger, peeled and minced or sliced thinly
- 3 TBs gochugaru
- 4 TBs salt dissolved in
- 4-8 cups water- as needed to cover vegetables
Combine the cabbage, daikon and carrots in a large non-reactive bowl (like glass or stainless steel)
Pour the salted water over vegetables and soak for 2-3 hours, stirring occasionally
Drain vegetables and reserve the brine.
Wearing disposable gloves to protect your hands, mix together the garlic, ginger and gochugaru
Add the scallions to the drained vegetables, add the seasoned gochugaru paste and rub it into the vegetables.
Pack the coated mixture into clean glass jars and pack down well to release some brine to cover vegetables. If there isn’t enough liquid, add just enough of the reserved brine to cover them. You can keep the vegetables submerged with a plate and jar filled with water, a freezer bag filled with the leftover brine or some other pickling weights.
Cover with a dish towel and let the jars sit for a day or two to start the fermentation. Like sauerkraut, you can decide when you think it is “cooked”. Remove the weights and store covered in the refrigerator for up to 6 months.
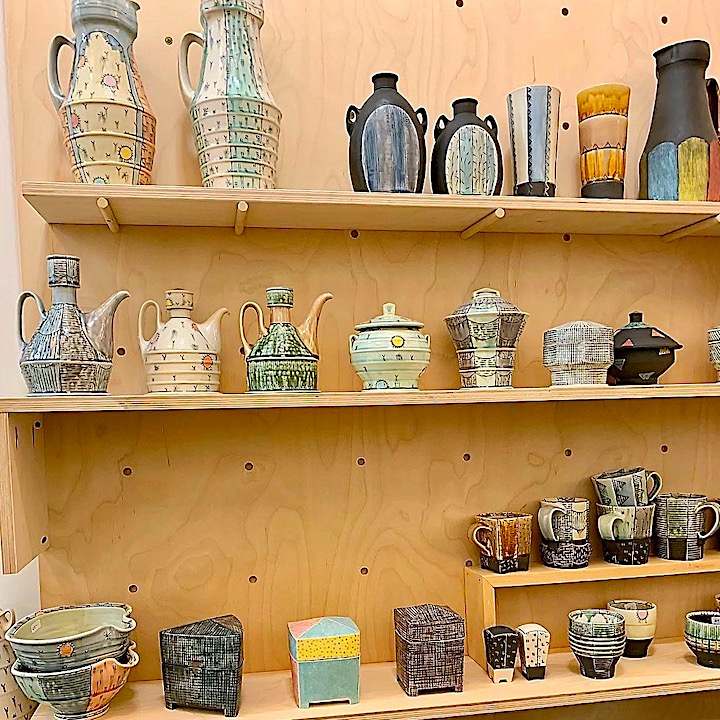
Current work by Julia Galloway is on view at Clay Art Center in Portchester, NY
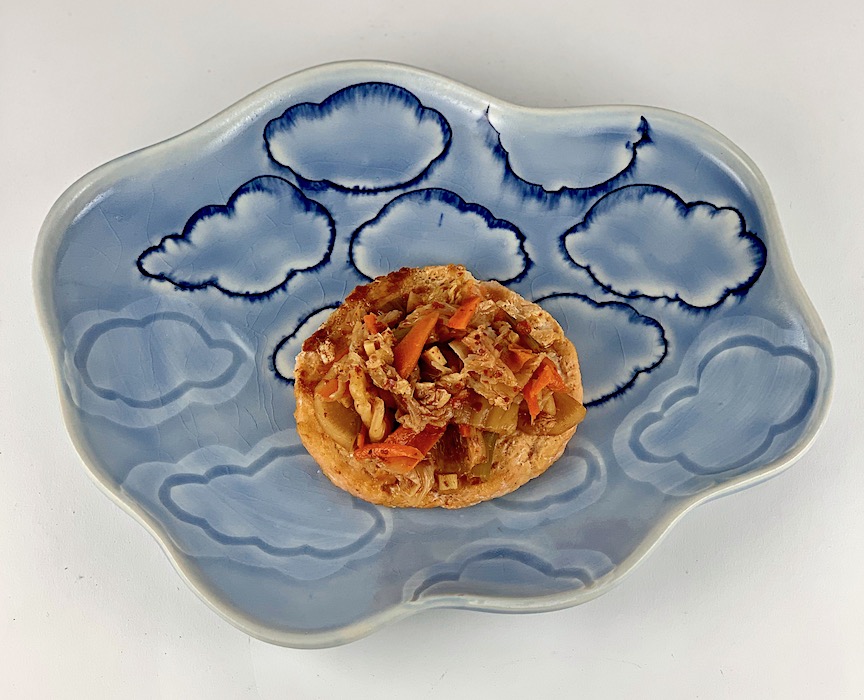
Porcelain cloud plate by Julia Galloway