• About Me
  • Products
  • Recipes
    • Breakfast
    • Drinks
    • Salads
    • Soups
    • Vegetables
  • Places
    • Restaurants
  • People
    • Potters
  • Books

A Good Dish

making food simpler

Summer Cocktails Are Easy And Light Using St. Germain Elderflower Liqueur

July 26, 2018

A Refreshing St. Germain Cocktail
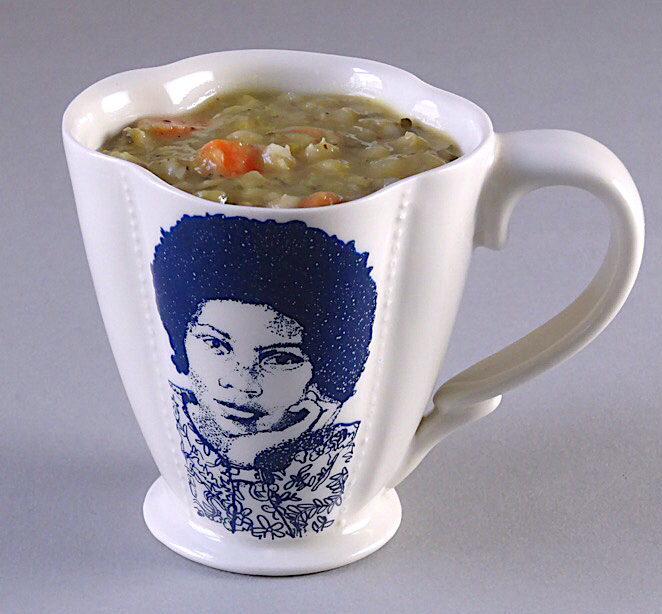
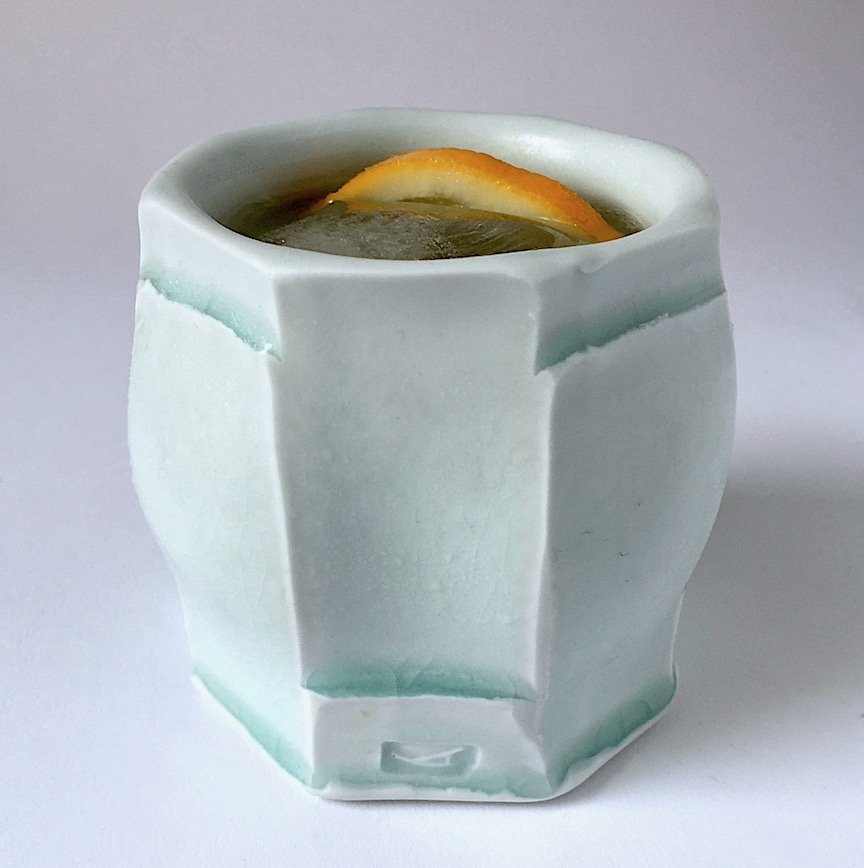
Porcelain cup by Andy Shaw

One of my favorite summer drinks is a version of the St. Germain cocktail. It is more sweet than sour but light and refreshing. Summer in New York can feel too hot for either bourbon or red wine, my winter default drinks when I want warm and cozy. When the temperature climbs, I turn to the increasingly popular Aperol Spritz, which I wrote about a couple of years ago, a gin and tonic, sangria, a citrusy IPA (even a shandy) or an elderflower cocktail.

We first tried St. Germain, which is an elderflower liqueur, about 7 or 8 years ago when it was being promoted at our local liquor store and each bottle came with a complementary carafe and recipe cards for drinks using the liqueur. Having just discovered an inexpensive rose Cava that we liked, the St. Germain cocktail immediately appealed to us. Somehow, we seem to make it only during the summer – because it is so fresh tasting, it is particularly well suited to warm weather concoctions. The recipe for this libation is simply a 2-2-1 mix of Prosecco or Cava, bubbly water like seltzer or club soda and St. Germain. The result – a slightly buzzy but pretty light and spritzy drink.

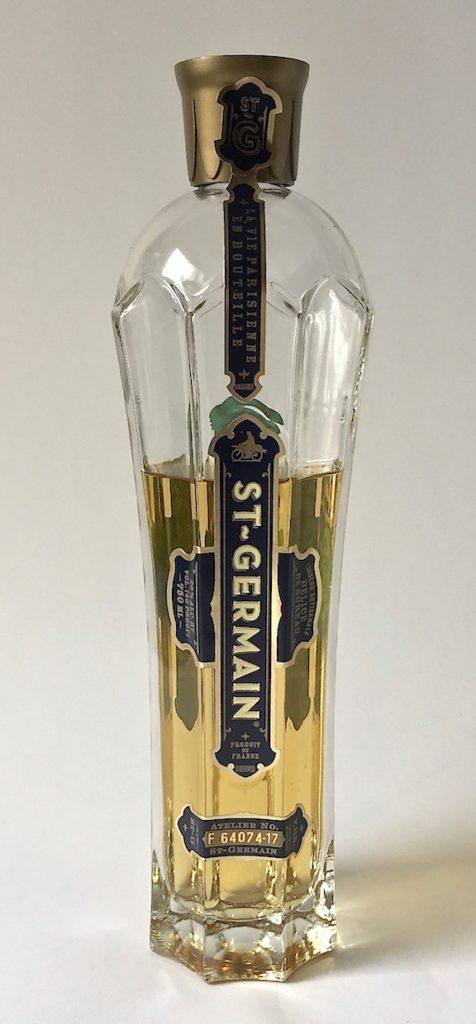
The shapely St. Germain bottle with its old style lettering on the label was well designed to make it appear as if it had been around forever but it was actually first produced in 2007 by the Cooper Spirits Company and then bought up by Bacardi in 2013. The liqueur is sweet but not sugary, floral but not perfume-y and fruity, but in a non-specific way. It is not the only elderflower liqueur out there but clever marketing and packaging, including the faceted bottle and bold graphics, have made it the most well known. The company’s recipe calls for 2-2-1.5 but I think 1 part St. Germain is sufficient and lightens up the drink so you can continue imbibing all evening. If you don’t have or don’t like bubbly wine, just substitute a dry white. You can even mix up a pitcherful before guests arrive and not be bothered bartending. Slices of lemon, lime, grapefruit or peaches add a festive touch.

There are other ways to use St. Germain. To up the ante on a gin and tonic, add 1 part St. Germain to 1 1/2 parts gin to 4 parts tonic and squeeze in a lime. And adding a big splash of elderflower liqueur to a disappointing bottle of wine improves a meh white or rose. Add slices of citrus, peaches or some berries and you’ve rescued your purchase by creating a light style sangria. I don’t mean to sound like an advertisement for St. Germain but it does make delicious summer cocktails.

A Gin and tonic becomes even more summery with a splash of St. Germain
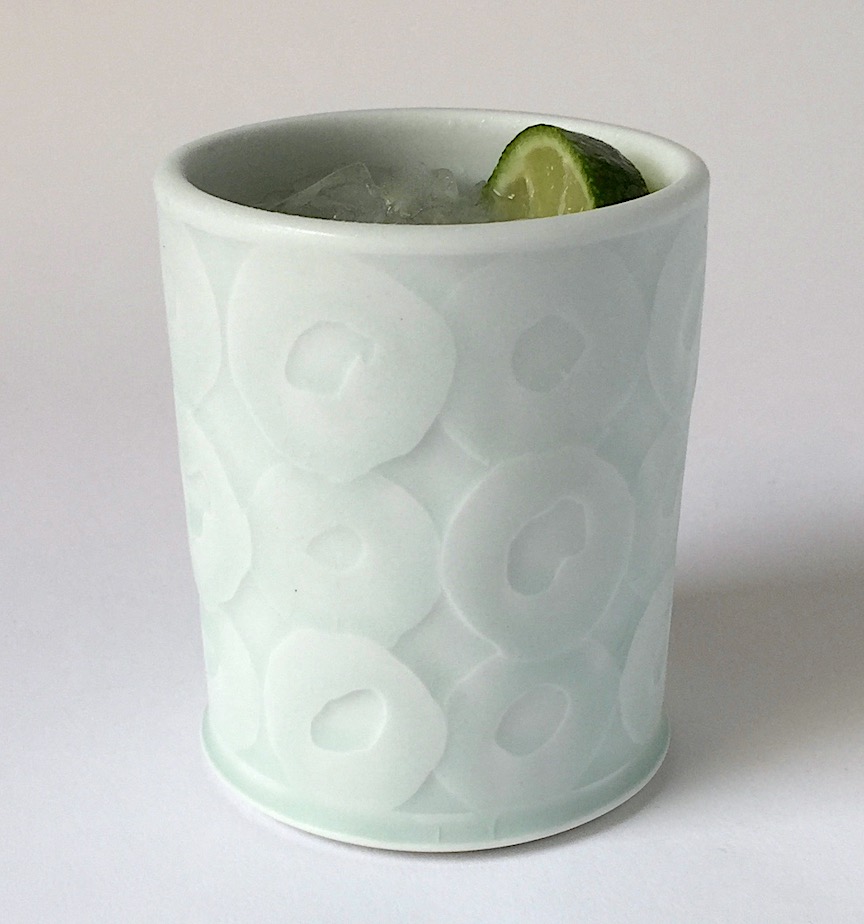
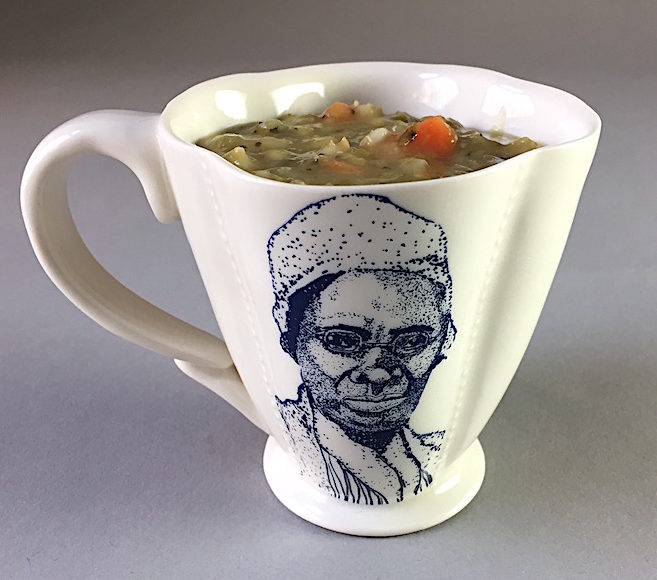
Porcelain tumbler by Andy Shaw

Elderflower Cocktail

Combine and stir:

  • 1 part Elderflower liqueur, such as St. Germain
  • 2 parts Prosecco, Cava or Champagne
  • 2 parts bubbly water like seltzer or club soda
  • Slices of lemon, lime, grapefruit or peach

Serve over ice or chilled.

Share this:

  • Click to email a link to a friend (Opens in new window)
  • Click to share on Facebook (Opens in new window)
  • Click to print (Opens in new window)
  • Click to share on Pinterest (Opens in new window)

Filed Under: Drinks, Products, Recipes Tagged With: elderflower liqueur, St. Germain, summer cocktails

Less Pots & Pans in Your Kitchen – Paring Down to Essential Cookware

April 12, 2017

Colorful grill pans with other color coordinated kitchenware – so tempting!

Browsing a kitchenware store is one of my guilty pleasures (along with strolling through bookstores, flea markets, art supplies, handbags, spice or specialty grocers and a good factory tour). The colorful enamelware pots and colanders attract me like a child to candy bins. While admiring, lifting and examining each pan or sieve, I imagine the scrumptious dish I will prepare in or with it, as if it were already in use. Unfortunately, this preoccupation has resulted in overstuffed kitchen drawers and cabinets, from which I am routinely culling items to add to the give-away pile.

Cast iron dutch ovens and other Le Creuset Flame pots

We really only need a few cooking pots and pans in our kitchens, not a whole fleet. Cookware manufacturers and salespeople would have you think otherwise but as I cook more, I’ve realized that many pots do double duty and many are so similar as to be redundant. Why fill your walls and cupboards with cooking pots and lids that get used only occasionally? If you have an enormous kitchen with unlimited storage – okay – you need not read on. But for most people, deciding how to stock one’s kitchen is a matter of space and utility. For example, if you make paella regularly, you may want to keep that paella pan but if you make it once in 2 or 3 years, your large skillet will suffice. If you only use your wok every 5 years, couldn’t you find a better use for all that space and make do with that same large skillet?

All Clad Master Chef pots with brushed exteriors

Especially in an apartment kitchen, I have to be conscious of the value of cabinet footage, and mindful of what I hoard behind closed doors. (I am especially conscious of this reality this week as we are painting our apartment for the first time in more than 15 years and I have to pack and move each one of those hoarded items). I love stainless steel pots (as they are non-reactive) and cast iron pans (for their heat retention) and I prefer heavier to lighter. My husband, a very good researcher of consumer durables, among many other areas, came to our relationship with several excellent Paderno pots from Bridge Kitchenware that we are still using more than 25 years later. We purchased and were gifted several pieces of All Clad Stainless (love the brushed steel Master Chef) and Le Creuset (addicted to Caribbean and Flame) and I think those are both still the gold standard. Full disclosure, I definitely have accumulated more than I need because some are so beautifully crafted or colored or have sentimental attachments. But as I learn the value of less, I am slowly deaccessioning even my beloved kitchenware.

My motley assortment 

I gave up on Teflon years ago but do use one Tramontina non-scratching, PFOA-free, non-stick pan for making eggs. I ditched my crepe pan (skillet works fine) and egg poacher (saucepan substitutes perfectly) but held on to the wok, extra saucepans (how can I get rid of such good quality pots when I know I am going to need them when I burn yet another after forgetting to set a timer?) and that extra huge stockpot. And this is not mentioning the broiling, roasting and baking pans! Perhaps writing this post is a semi-conscious effort at listening to my own words. In the long struggle to lighten up, I am making steady progress in the kitchen, although that wok ….

Inexpensive Lodge cast iron skillets are highly rated

Here is a list of my essential stovetop cookware:

  • Large stockpot (12 – 16 quarts, depending on the volume of soup you make)
  • Large skillet (mine has a 16″ diameter but I like to cook for 6-8 at a time)
  • Small non-stick skillet (for making your eggs in the morning although you might try seasoned cast iron if you don’t want to use a pan with a non-stick coating)
  • Small saucepan (handy for everything from boiling a couple of eggs to melting butter to reheating a bowl of soup)
  • Medium saucepan (ditto only larger as well as steaming vegetables, making sauces, rice, etc.)
  • Medium stockpot (8 quarts – perfect for pasta, deep frying and larger amounts of vegetables, dumplings, and so on)
  • Cast iron skillet (I found mine at a yard sale butThe Sweethome (com) recommends the Lodge 12″ for around $20.
  • Whistling tea kettle (I’ve burned out the bottom of enough kettles that the whistle is essential)

Beyond that, if you have space or cook a lot, I would recommend:

  • A cast iron grill pan
  • A Dutch oven, preferably enameled cast iron so you can cook with acid things like vinegar and tomato (for braises, stews, baked beans and anything that gets seared and then roasted)
  • A mid-sized saucier (a saucepan with sloping sides for anything, like a sauce or roux, that needs whisking, risotto and, my favorite use – a big batch of asparagus)
  • A double boiler steamer that fits into your medium saucepan (for steaming dumplings, reheating leftovers, etc.) and a double boiler for cooking over water (You can use a stainless steel bowl set over a saucepan of water for melting butter, chocolate, etc. but if you make a lot of custards or puddings, you will need a pot to fit on top.)
  • A cast iron griddle that fits over two stove burners and is great for pancakes (which my guys love)

Please – do as I say, not as I’ve done!

Flame and Caribbean Le Creuset with the old Paderno stockpot

Share this:

  • Click to email a link to a friend (Opens in new window)
  • Click to share on Facebook (Opens in new window)
  • Click to print (Opens in new window)
  • Click to share on Pinterest (Opens in new window)

Filed Under: Products

Is it Worth Waiting in Line for a Cookie?

March 1, 2017

Chocolate Chip Walnut Cookie from Levain Bakery
Glazed Tile by Bruce Winn

There is often a line to get into the Levain Bakery on west 74th Street (near Amsterdam Avenue). And not just a couple of people – a long line – one that oddly rivals the line outside our local soup kitchen! It is so long, in fact, that they have a “cookie line-cam” on their website so you can see how long it is at any moment. Although they sell, among other items, a good sourdough boule, tasty walnut raisin loaves, rustic ciabatta and a decent cup of coffee, Levain is known for their fist sized cookies. They sell 4 varieties – chocolate walnut chip, oatmeal raisin, dark chocolate chocolate chip and dark chocolate peanut butter chip. So when I passed by and there was no line, I stopped in to see if their famous $4 cookie could be worth it.

Levain Bakery on West 74th Street

The chocolate walnut chip, which won a throw down with Bobby Flay, by the way, was developed to satisfy the appetites of the 2 female owners of the bakery when they were training for an Ironman competition. This is a big, dense mountain of a cookie but slightly wet inside and very sweet. If you like eating raw cookie dough, you will probably like this cookie. My husband, who prefers dark chocolate and drinks his coffee black, stopped eating after 2 bites, declaring it to be cloyingly sweet. I agreed but somehow managed to finish mine. I thought it was dense and flavorful but too sweet even for my taste. I don’t buy cookies much anymore or even eat much sugar so I may be out of practice. And I pay more than $4 for plenty of things so, although it seems like a lot, it is a huge cookie and price is relative. If you have a very sweet tooth, this is the cookie for you, except it would be best shared. According to myfitnesspal.com, each cookie is a whopping 563 calories. And, of course, taste is personal – there are gazillions of people who love this cookie so much they are willing to wait on line for it or pay to have it shipped.

6 oz. scoops of cookies waiting to be baked
Whole wheat raisin walnut roll
Levain Bakery’s uptown location

I wouldn’t necessarily buy the chocolate chip walnut again, or the dark chocolate chip, which although darker chocolate tasting, is still super sweet. But I will patronize the bakery both because they bake good bread, are a local business and they donate whatever doesn’t sell each day to City Harvest to feed the hungry, a mission we can all appreciate and support. I might, however, choose to shop at their location on Frederick Douglas Boulevard and 116th Street, as there was no line whatsoever when we walked by last weekend. Levain isn’t revealing its secret method anytime soon but if you love their cookie and search online, there are plenty of copycat recipes out there. And those whole wheat walnut raisin rolls toasted – yum!

Dark Chocolate Chocolate Chip cookie from Levain Bakery
Glazed tile by Bruce Winn

Share this:

  • Click to email a link to a friend (Opens in new window)
  • Click to share on Facebook (Opens in new window)
  • Click to print (Opens in new window)
  • Click to share on Pinterest (Opens in new window)

Filed Under: dessert, Places, Products

Split Pea Soup with Barley and Vegetables – What I Want to Eat on a Cold Day or Night

January 11, 2017

Split Pea Soup with Barley and Vegetables bell hooks and Sojourner Truth cup from The Democratic Cup cup designed by Kristen Kiefer - Image by Roberto Lugo
Split Pea Soup with Barley and Vegetables
bell hooks and Sojourner Truth cup from The Democratic Cup
Cup designed by Kristen Kiefer – Image by Roberto Lugo

One of my favorite winter meals is a bowl of split pea soup. There are good reasons it is part of the food culture of so many northern countries with cold winters (think Sweden, Norway, Finland, Poland, Great Britain, Netherlands, Germany, Canada and the northeastern US). It is easy and inexpensive to make, warming, filling, nutritious and tastes even better after a day in the fridge. You probably have all or most of the ingredients already in your kitchen. The recipe I prefer is not the super smooth pea puree that you would get in both a diner and an upscale restaurant in this country. Rather, it is a chunky style, full of vegetables, herbs and barley. If you prefer pureed, you can easily accomplish it with longer cooking and a regular or an immersion blender.

This recipe originated in the wonderful Laurel’s Kitchen cookbook (see the book section of the blog) and I have modified it to suit my tastes. You should do the same when you make it. My version is vegetarian but if you like yours with meat, add a ham hock with the peas or some diced leftover ham or crumbled bacon with the vegetables. If you like a richer soup, use vegetable or chicken broth instead of water. And take liberties with the vegetables and grains. If you like a lot of celery or carrot, add more. If you have leeks you want to use up, chop and substitute them for part of the onions. If you love garlic, add more and if you hate garlic, omit it. If you prefer less starch, leave out the barley and/or the potato and use a little less water. If you want the soup heartier, add some baby limas with the barley or throw in some leftover cooked or canned white beans toward the end of cooking. If you don’t like Italian herbs, use dill. If you want your soup spicy, add some cayenne or a dash or two of hot sauce. And if you like a little more green, add a handful of frozen green peas and/or fresh arugula or baby spinach leaves to each bowl before you ladle in the soup.

Make sure your split peas aren’t old or they will never soften properly. I used to buy big quantities of beans and grains so they would be on hand when I wanted them. But I have learned to buy them, especially split peas, more frequently and in smaller amounts from a source or market with a big turnover so they are fresher. You don’t want to cook and cook and cook your soup and still find it crunchy.

Simmer gently so as not to scorch

There are two ways to prepare the same ingredients. If you are in a hurry or avoiding fats, you can just put all the ingredients minus the oil and parsley, in a stockpot and cook for an hour, adding the parsley close to the end of cooking. But the soup gains flavor with a short sauté to start and then you add the bulk of vegetables in the second half of cooking. You can serve it chunky the first night and purée it later in the week to serve for a second meal.

A note about the folks who made the cups in which the split pea soup is pictured here – The Democratic Cup is a group of artists who are trying to generate “positive political discourse” through their collaborative creation and production of cups with political content. Check them out at thedemocraticcup.com where you can order your own cup!

bell hooks and Sojourner Truth cup (verso) by The Democratic Cup Image by Roberto Lugo - Cup designed by Kristen Kiefer
bell hooks and Sojourner Truth cup (verso) by The Democratic Cup
Image by Roberto Lugo – Cup designed by Kristen Kiefer

Split Pea Soup with Barley and Vegetables

1 TBs olive oil
2 cups chopped onion (1 large)
1 TBs minced garlic (about 2 cloves, depending on size)
1 generous tsp celery seed

Heat oil in a stock pot and add onions, garlic and celery seed. Cook until onions begin to turn translucent.

Add:
2 level cups dried green split peas
1/2 cup uncooked barley (I like hulled but pearled is okay)
2 bay leaves
14 cups water

Bring to a boil and then reduce heat and simmer 1 hour, stirring occasionally.
Then add:
1 heaping cup (or more) chopped celery (about 2 big stalks)
1 heaping cup (or more) diced or sliced carrots (2-3 carrots)
1 cup potato, diced
1/2 cup chopped parsley (this can also be added close to the end of cooking)
2 tsps salt
1/2-1 tsp. black pepper
1 tsp dried basil
1 tsp dried thyme
1/2 tsp smoked paprika (optional but flavorful)

Gently simmer 45 minutes longer, stirring often to avoid scorching, adding water if necessary. Taste and adjust seasonings as needed. As it cools, the soup should thicken. If you want an even heartier dish, add some croutons (you can make these easily by sautéing bread or cornbread cubes in butter or oil) when serving, but I think the barley hefts it up sufficiently. And, like many soups, this one tastes better if made the day before and reheated slowly. Use low head so it doesn’t scorch, and stir often. I think it is particularly good served with something crunchy, like toast or crackers.
(To halve the recipe, simply cut the amount of split peas to 1 cup, barley to 1/4 cup, water to 8 cups and salt to 1 tsp. Adjust amounts of vegetables or not).
Serves 6-10, depending on serving size (big bowl or mug), and freezes well.

Share this:

  • Click to email a link to a friend (Opens in new window)
  • Click to share on Facebook (Opens in new window)
  • Click to print (Opens in new window)
  • Click to share on Pinterest (Opens in new window)

Filed Under: Potters, Products, Recipes, Soups Tagged With: split pea soup, the democratic cup

Granola – A Pretty Healthy, Tasty and Useful Gift from Your Kitchen

December 7, 2016

Homemade Granola Wood fired Porcelain Mug by Perry Haas
Homemade Granola
Wood fired Porcelain Mug by Perry Haas

I make granola about 3 times a year. Once for the birthday of a dear friend who loves it, perhaps once a year when out-of town friends visit and I need a breakfast to leave out and once at the end of the year for holiday gifts when I don’t feel capable of assembling something more complicated. Granola only takes about an hour to bake, is easy to make and fun to vary.

Oats are the main ingredient but everything may be modified to suit your taste. Use part rolled oats and part rolled barley. If you don’t like almonds or walnuts, use pistachios or hazelnuts. If you prefer pumpkin pie spice or cardamom to cinnamon, go for it. If you want to add dried cherries, goji berries, mulberries or pineapple instead of apricots, dates or raisins, substitute as you please. Even the sweetener is flexible – if you don’t want to use or don’t have maple syrup, use agave, honey or brown sugar. Vanilla is a choice. You could use maple or almond extract or leave it out altogether. You could grate in some lemon or orange zest or add shredded or flaked coconut. The recipe below is the way I prefer it but if you have strong preferences, try them.

Sheet Pan of baked Granola

How you package your granola to gift is also up to you. Glass jars are perfect for storing granola so I usually use a Mason jar, with raffia tied around the lid if I am gifting. Cellophane bags wrapped with ribbon work well as would ziploc bags with a pretty label affixed. Including a printed or hand-written recipe is a nice touch and makes it an even more useful present (just punch a hole in the corner of the recipe card and you can tie it on with the ribbon or raffia).

Quart of homemade granola packaged and ready to gift
Quart of homemade granola
packaged and ready to gift

This recipe is lower in oil and sugar than most but it is still not a low calorie food. I enjoy a bowl of granola with milk or yogurt each time I make it but I can’t keep much of it around or I would constantly be snacking on it. Like candied or curried nuts, for me, granola is best made and given away or stored in the freezer for when guests visit. You may have better self-control and in that case, keep a jar in your kitchen for hurried mornings or light dinners on nights you come home too late to cook. At this busy time of year, any lucky recipient will appreciate your healthy and delicious gift.

Granola in a wood fired cup by Perry Haas

GIFTABLE GRANOLA

  • 6 cups old-fashioned rolled oats (not quick cooking, not steel-cut)
  • 1-1 1/2 cups raw pumpkin seeds, hulled
  • 1-1 1/2 cups raw sunflower seeds, hulled
  • 2 cups raw nuts, shelled and coarsely chopped (I use almonds and walnuts but pecans, hazelnuts and pistachios all work)
  • 3 TBs flax seeds
  • 1/4 cup extra virgin olive oil (or avocado, coconut or grape seed)
  • 1/2 – 3/4 cup maple syrup (or honey, agave or brown sugar), depending on how sweet you like it
  • 1/2 tsp vanilla extract, optional
  • 1/2 tsp ground cinnamon (or pumpkin pie spice, ginger or cardamom), optional
  • 1 tsp salt

Possible add-ins after baking:

  • 1-2 cups of any combination of raisins, currents, chopped dates or apricots, dried cranberries or cherries, chopped dried mango or pineapple, goji berries, mulberries, chopped dried figs, toasted coconut flakes or shredded coconut, chopped dried apples or pears
  • 1-3 TBs chia and/or hemp seeds

Preheat oven to 300 degrees.

Mix oil, syrup, vanilla, cinnamon and salt in a large bowl.

Add oats, seeds and nuts and stir until well combined.

Spread the mixture in an even layer on a parchment lined rimmed baking sheet (the parchment just makes clean up easier).

Bake, stirring about every 10 minutes, until oats look toasty, about 45 minutes but watch carefully at the end.

Remove from oven, sprinkle with a little salt if you like, and cool completely.

When completely cool, add chopped dried fruit, or whatever you like, and package in jars or bags.

Share this:

  • Click to email a link to a friend (Opens in new window)
  • Click to share on Facebook (Opens in new window)
  • Click to print (Opens in new window)
  • Click to share on Pinterest (Opens in new window)

Filed Under: Breakfast, Products, Recipes Tagged With: breakfast, granola

  • « Previous Page
  • 1
  • 2
  • 3
  • 4
  • Next Page »
  • View agooddishblog’s profile on Facebook
  • View agooddisher’s profile on Instagram
  • View a good dish’s profile on Pinterest
Spring Market on Columbus Ave
West 97th St Farmers' Market

Welcome to A Good Dish

Here you will find recipes and ideas for easy to make and tasty meals, sources for interesting dinnerware on which to serve those meals and resources for ingredients, classes and food related travel. My goal is to make daily cooking simpler and to inspire you to try different recipes beyond the handful you already make repeatedly. I hope that relaying my experiences will enhance yours. Follow along and let me know about your own cooking and food journeys.

Archives

Subscribe to Blog via Email

Enter your email address to subscribe to this blog and receive notifications of new posts by email.

Copyright © 2025 · Lifestyle Pro Theme On Genesis Framework · WordPress · Log in