Earthenware cups by Karon Doherty
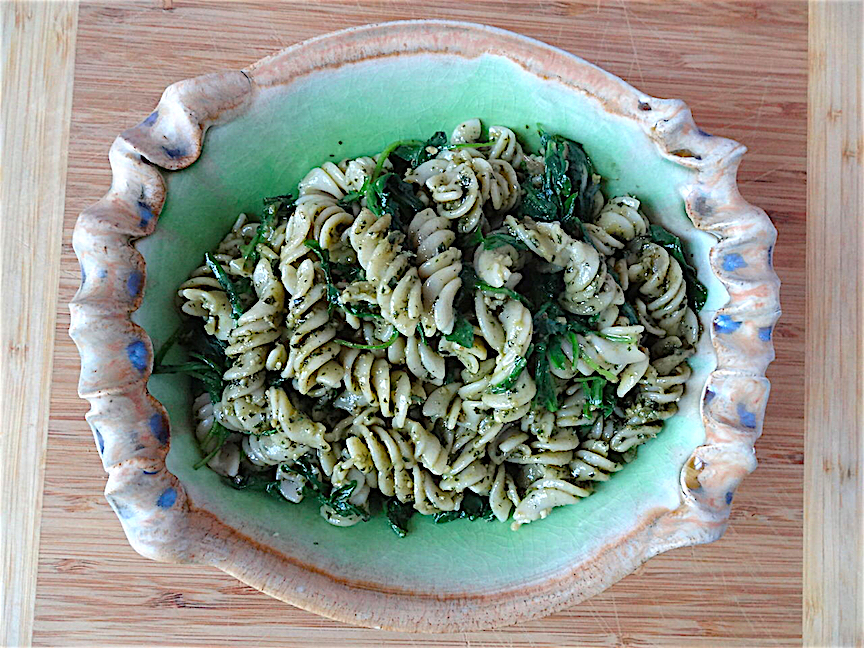
When the temperatures start to drop at the end of the day, I want something warming but not heavy to eat. Earlier in the week, I rooted around in the refrigerator and came up with some spinach, celery, parsley and green beans from last week’s market. With the help of some frozen peas, a can of white beans, a box of stock and a handful of grated Parmesan, green minestrone was on the table in less than an hour. A warm, nutritious dinner couldn’t be much easier.
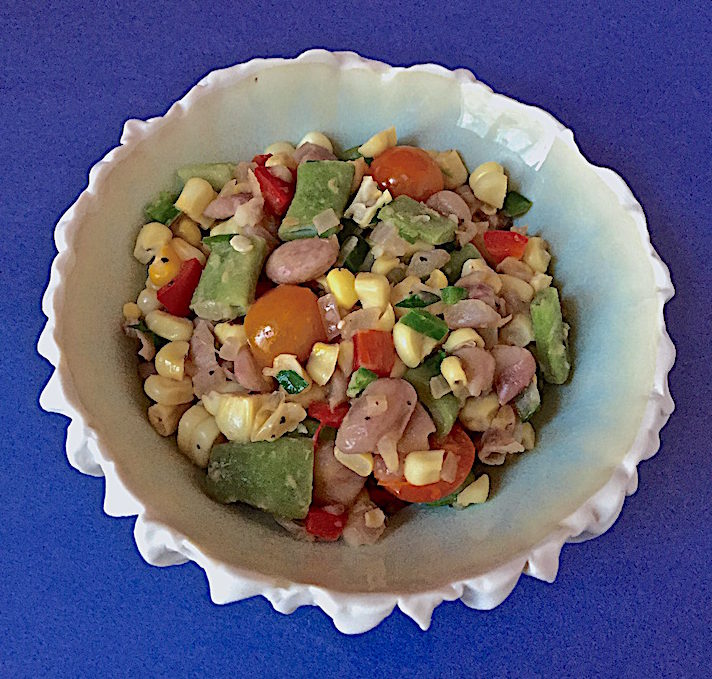
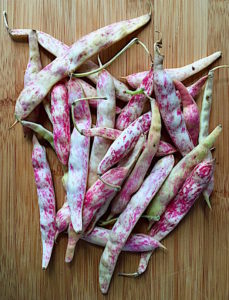
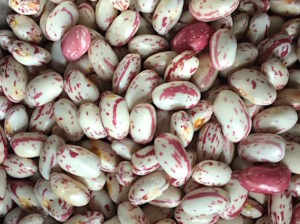
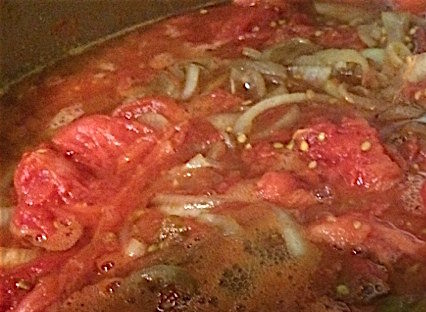
Minestrone is usually a red, tomato-based soup with beans and pasta, traditionally a small pasta like baby shells or ditalini, tiny pasta tubes. Because I try to avoid white flour when I can, I substituted potatoes for pasta in my version. And because I had no tomatoes but did have some lovely arrowhead spinach and parsley from our farm share, green minestrone seemed the logical choice. I tested substituting a bag of frozen spinach for the fresh and it worked fine but made the soup thicker. If you use frozen, consider using less spinach or add more stock. If you still have a zucchini in your crisper, cut it into bite-sized pieces and add with the green beans. If you don’t have white beans, use garbanzo or pinto beans, or fresh shell beans. If you aren’t being a purist about the green of the soup, add some carrots with the beans – the color contrast of green and orange is beautiful and seasonal.
Spinach, celery and Parmesan are all fairly salty so they seasoned the soup well enough. I only added a ½ teaspoon of salt but taste and judge for yourself. If you want more zing, add some scallions, jalapeño or cayenne. A little fresh dill added at the end could be tasty. If you don’t have an immersion blender, purée in a standard blender a few cups at a time. (Use a ladle to transfer soup to the blender and watch out because it will be very hot.) Please be careful not to overcook the vegetables – you don’t want them to turn to mush. If you need to reheat your soup, take care just to warm not cook it again.
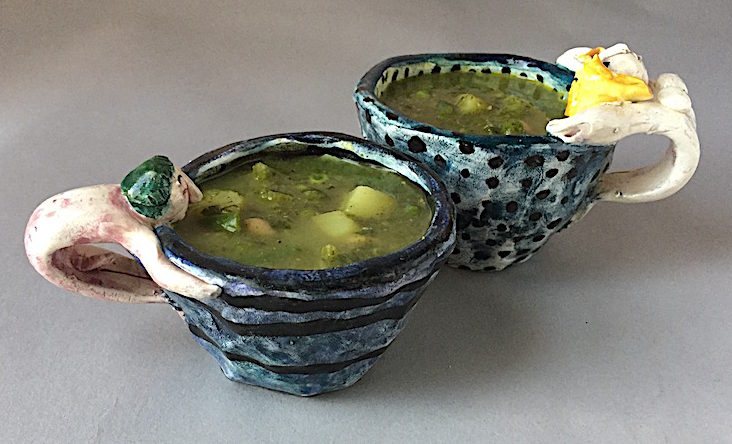
Because it was National Clay Week, I served the minestrone in cups by Karon Doherty, one of the most passionate, generous and whimsical ceramic artists I have known. These colorful earthenware cups illustrate her playful approach to creating clay art, which was often boldly autobiographical. Karon was an enthusiastic maker, teacher, mentor, friend and artist who we lost much too soon (d.1999) but her spirit lives on in her delightful artwork.
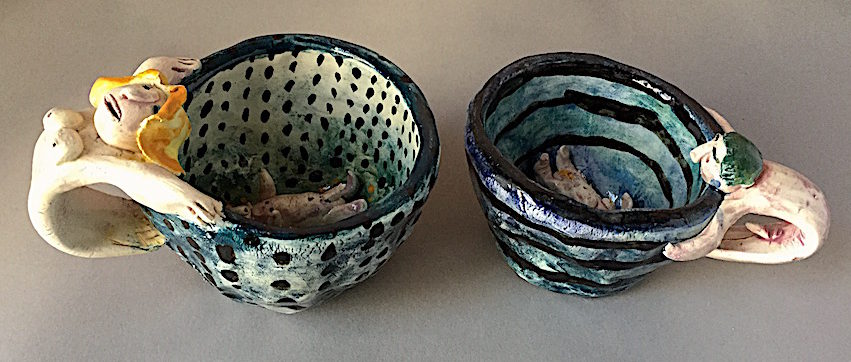
Earthenware cups by Karon Doherty
GREEN MINESTRONE
- 2 TBs olive oil
- 1 large (Spanish sized) onion, peeled and chopped
- 2 large or 3 regular cloves of garlic, peeled and chopped
- 1 lb. bag or 5 cups roughly chopped fresh spinach, washed with thick stems removed
- 2 cups frozen peas
- 2 cups potato, chopped (about 4 small)
- 1-2 cups fresh green beans, cut in bite-sized pieces
- 1 cup (about 2 stalks) celery, thinly sliced
- 1 – 2 cups cooked white beans, like Cannellini, Great Northern, or Navy Pea or a 15.5 oz. can
- 4 cups (1 32 oz. box) of vegetable or chicken stock
- 1/2 cup grated Parmesan cheese, plus more to garnish
- 1/2 cup chopped parsley (optional)
- 1 cup carrot, chopped (optional)
- Salt and pepper to taste
Heat the oil in a medium stockpot.
Add the onions and garlic and cook until translucent and starting to turn golden, about 7-8 minutes, stirring occasionally.
Add the spinach and 1 cup of peas and stir until the spinach wilts.
Add stock, bring to a boil, lower to a simmer and cook about 4-5 minutes.
Turn off the heat and use an immersion (stick) blender to purée until smooth.
Turn on the heat and add the potatoes, celery and carrots, if using and cook 5 minutes.
Add the other cup of peas, green beans, white beans and parsley, if using.
Cook 3-4 minutes until beans are just tender then turn off the heat.
Stir in the grated cheese and taste for seasoning. (I added 1/2 tsp salt and 1 tsp black pepper)
Serve garnished with a little bit of grated cheese or a sprinkle of parsley.
Serves 4-6, depending on portion size